Curly hair coach helping you better understand your naturally curly hair through easy-to-follow tutorials, science-based haircare tips, and problem-solving.
How to Style Curly Hair for Volume Using the Curl Stacking Method
|
Your styling technique could be the reason your curls are drying flat, stretched out, and stuck to your head — not your products, not your curl pattern, not your density. As a Curl Coach, I watch my clients style in real time and see the same problem consistently: hair compressed into one flat sheet instead of stacking on top of itself. Curls defined at the ends, but the root area stuck to the head with no space and no lift. The Curl Stacking Method fixes that. Style your hair so curls stack on top of themselves, and you get more volume, more root lift, and more curl definition all the way from the roots — regardless of wave or curl type, regardless of density. This post covers the full method in three versions, plus the prep, diffusing, and finishing steps that lock the results in. What Is the Curl Stacking Method?Curl stacking means styling your hair so the curls sit on top of each other rather than compressing together. Compression gives you that flat triangle shape — lots of hair, no height, no separation. Stacking gives you fullness and root lift that starts at the scalp. You don’t need thick hair or layers to be able to achieve some level of curl stacking. The method builds in three versions:
The Most Common MistakeMost people rake product through their hair and scrunch from the ends. The problem: the hair from the part down to the eyebrows stays stuck to the head — smushed, not lifted, stretched out because there’s no space. Pull your hair away from your scalp after doing this and you’ll see it: webbed, stuck together, defined only at the ends. That’s compression. The fix isn’t a product switch. It’s what you do between raking and scrunching. Step 1: PrepStart with clean, evenly wet hair. If it’s already starting to dry, mist it down first. Apply your leave-in or heat protectant, brush it through, then run your hands through to lift the hair away from the scalp before moving on to gel.
Bouclème Flairosol Mist Spray Bottle
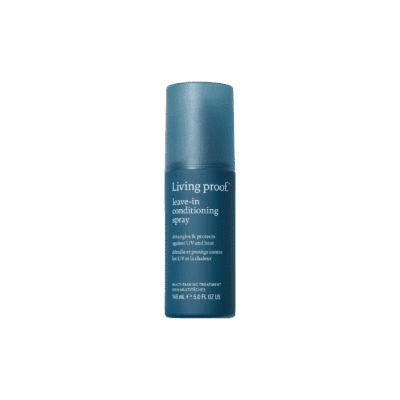
Living Proof Leave-In Conditioning Spray
Tangle Teezer Naturally Curly Detangling Brush Step 2: Apply GelApply gel before styling. How you apply products and style your curls matters, especially for root lift — but this step is straightforward. The lesson today is technique.
Ouidad Advanced Climate Control Heat & Humidity Stronger Hold Gel Step 3: Style — The Curl Stacking MethodChoose the version that fits your hair and your time. Version 1: Rake, Lift, and ScrunchThe foundation of the method. No sectioning required, and for many people this alone is enough.
This alone makes the biggest difference for volume and root lift. Version 2: Sectioning Add-OnAdds section lines to Version 1. Good for thicker hair, root frizz, or if you want more even product distribution. Sectioning also creates intentional breaks in the hair that help curls stack instead of clump. Creating the sectionsLift your hair away from the scalp before you start so you can create clean lines.
Styling within each sectionWork bottom to top. Apply about a nickel-size amount of gel per section, then rake, lift, and scrunch exactly as in Version 1. Sectioning just means you’re doing that process in smaller zones to get all the way up to the root on every section. You can also use a brush for the lift step — brush from underneath, pulling hair up and away from the scalp. Avoid going straight up (creates bends and tangling). Always finish with your hands to break up clumps.
Bounce Curl Volume Root Clips
Tangle Teezer Naturally Curly Detangling Brush Version 3: Individual Sections Add-OnThis is where the real stacking happens. Narrow individual sections within each zone build more separation — and that separation is what allows curls to sit on top of each other instead of merging into one mass. A brush helps you pick up precise sections, but the sections themselves are doing the work.
Crown sectionCreate individual section lines running parallel to the hairline, working back to front (or front to back — doesn’t matter). Put your finger into the hair, go all the way across, pinch and separate. Each section should be narrow. Rake gel through, lift, scrunch. The clump sizes stay controlled because the sections are narrow, and the intentional partings between sections are what allow stacking. With a brush: spread the hair flat across the width of the brush base — not pinched together in the middle. Center sections can go straight up and back for volume. If a section feels like too much hair, split it. Front sectionThe front section is about an inch and a half deep — intentionally shallow to maintain a no-part look with lift on top. Create your part where the hair naturally separates, then split this section into individual lines running parallel to the part. The direction changes here: lines run parallel to the floor, temple toward the back of the ear — not all the way back. Why it matters: brushing the entire front section in one pass compresses four to five inches of hair along the hairline into one flat clump. Individual sections with the direction change creates the rounded shape on the sides and prevents that collapse. For low-density hair: section widths need to be even narrower. What looks like the right amount may already be four natural curl clumps forced together. When the hair wants to separate, let it. Brush Styling Mistakes That Kill Curl Stacking❌ Picking up too much hair: What looks right is usually too wide. An inch and a half is too much — split it. Smaller sections mean more control and more stacking. ❌ Pinching the hair on release: Spread the hair across the width of the brush base, take a pass with a little tension, then release without grabbing. Put your hand underneath or let it fall. The moment you pinch to grab it, you’ve re-clumped it. Go in with your hands to separate after. ❌ Over-directing the hair: Too far from where it naturally grows creates weird bends. Keep hair close to where it grows. Exception: center crown sections can go up or out and back. ❌ Not finishing with your hands: Always go in after brushing to separate clumps that are too large. You’re looking at whether there’s space at the root, not whether it’s perfect. Finger coiling helps when a section has a bend at the root or isn’t cooperating. Not required for every section. Fixing StringinessVery small individual sections can produce stringy ends. ✅ Fix: wet your hands, add a little extra gel if needed, and use praying hands on the ends. Go back and forth between separating clumps and smoothing with praying hands until the clump size feels balanced. Follow with a scrunch using wet hands to bring out the curl, especially for waves. Step 4: Final Scrunch, Microplop, and Second Layer of GelShake out the roots to blur section lines. Scrunch with wet hands to bring out the curl. Micro-plop with a damp towel to absorb excess product and speed up dry time. Finish with a thin glaze of gel — this tames frizz and amps up hold. If you can’t seem to get a gel cast or hold, this step is non-negotiable.
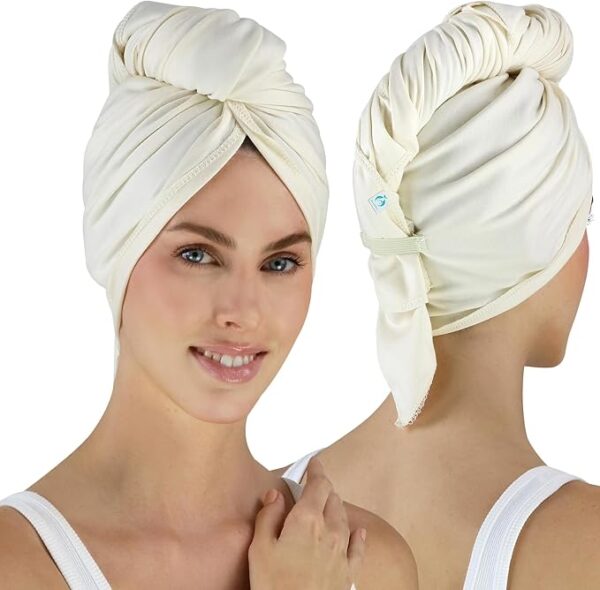
Hair RePear Premium Cotton Hair Towel, Not Dyed
Ouidad Advanced Climate Control Heat & Humidity Stronger Hold Gel Step 5: DiffuseAir drying and hover diffusing leave your hair stuck to your head. You need the prongs of your diffuser in the hair, lifting and holding at the root — that’s what locks the stacking in place. Turn your head side to side, lean far to the side, and focus on scrunching the root area with the prongs.
Curlsmith Defrizzion Hair Dryer & XXL Diffuser Step 6: Break the Cast and FinishScrunch through with dry hands, shake out the roots, separate where needed. Breaking the cast creates noticeably more volume. You can leave it in, but most of the time it’s worth breaking. Optional: pinch the root area, lift, and mist with hairspray to add friction and keep curls separated. Useful if your roots fall easily or your hair is soft and silky and wants to re-clump. A texture spray or dry shampoo works too.
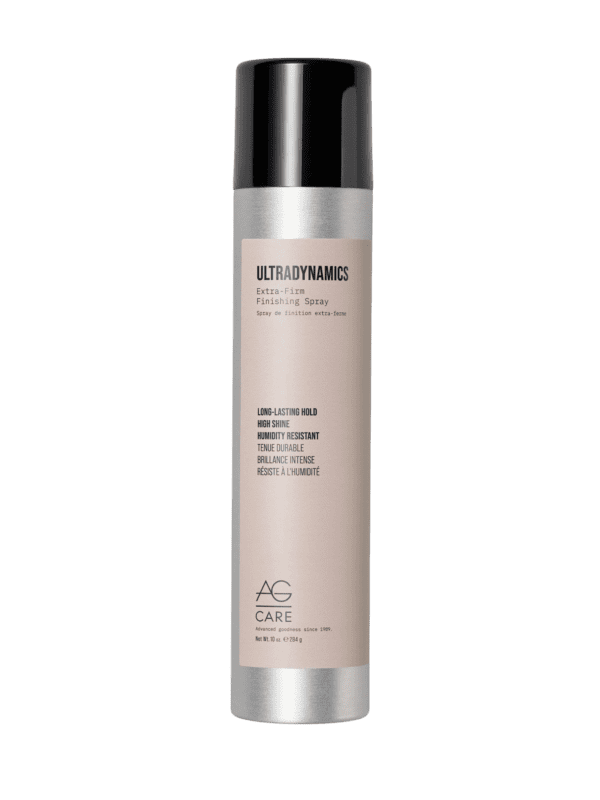
AG ULTRADYNAMICS Extra-Firm Finishing Spray Day 1 ResultsThe finished style has a noticeably rounded shape — more fullness on the sides versus the flat triangle shape from the start. You can already see the stacking before it’s fully dry: space between the curl clumps at the root, curls forming at the scalp instead of compressed and stretched. Day 2 ResultsDay 2 is where curl stacking results really shine. The volume comes out more as the style softens. The cast can be hard to fully break on wash day, but once it naturally releases the style looks softer, the stacking is still visible, and it lasts. The Ouidad Gel specifically looks better on day two — things really soften up, and you have a different starting point that extends wear. Re-clumping overnight is normal. The fix is a dry refresh: no water, no product. Shake out your roots, fluff, and pull apart large clumps with dry hands. This is the first step of the Minimal Refresh Method — do this before you add anything to your hair. [Day 2 result photo — insert here] What to Expect Based on Your HairThere’s a ceiling for everyone. The Curl Stacking Method gives you more than you’re currently getting — but what that looks like varies:
Regardless of pattern, density, or products — you can get better results by adjusting your technique. Your Curls Are Not UnpredictableCurls are sensitive to tiny variables most people have never been shown. Pinching the hair as it comes out of the brush. Scrunching only the ends. Skipping the lift step. Taking a section half an inch too wide. These things don’t show up on an ingredient label — they only show up when someone watches you style in real time. That’s exactly what I do inside my Curl Coaching Program. I watch my clients style, give feedback immediately, and they apply it on their next wash day until it sticks — building a routine that lasts. You don’t have to change your products. Sometimes it’s one small thing, and sometimes you just need someone to show you what it is.
|





Gena Marie
Curly hair coach helping you better understand your naturally curly hair through easy-to-follow tutorials, science-based haircare tips, and problem-solving.
If diffusing always gives you frizz or wonky curls, or you’ve decided it isn’t worth your time, it’s not diffusing itself. It’s that no one has taught you how to do it properly. You have more control over your curls than you think, and diffusing is one of the best ways to get it. This guide walks through the six steps, and where most people go wrong in each one. It’s part of my Beginner Curl Series, where I teach the foundations you need for longer-lasting curls. Click to watch ❗️Doors close...
Do you really need different products for your exact hair type? That question came up over and over in today’s live Q&A, and the answer surprised a lot of people. I answered your pre-submitted curl questions in real time, covering how gels actually differ, what to do when your hair has mixed textures, why a crispy gel cast isn’t damaging your hair, and more. Watch the replay below. Livestream Replay Below is a recap of everything we covered, plus the products I recommended during the stream....
You put all that work into wash day, only for your curls to frizz and fall out by the next day. Then you’re stuck restyling or doing a major refresh, spending way more time on your hair than you should. You have far more control over this than you think. You just need the right process. In my Curl Coaching Program, this is exactly what I run through with my clients to get longer lasting results, before we ever buy a new product. Fall Curl Coaching Begins on Tuesday Sept 1. Enroll before doors...