Curly hair coach helping you better understand your naturally curly hair through easy-to-follow tutorials, science-based haircare tips, and problem-solving.
Still Getting Frizz? You’re Applying Your Products Wrong
|
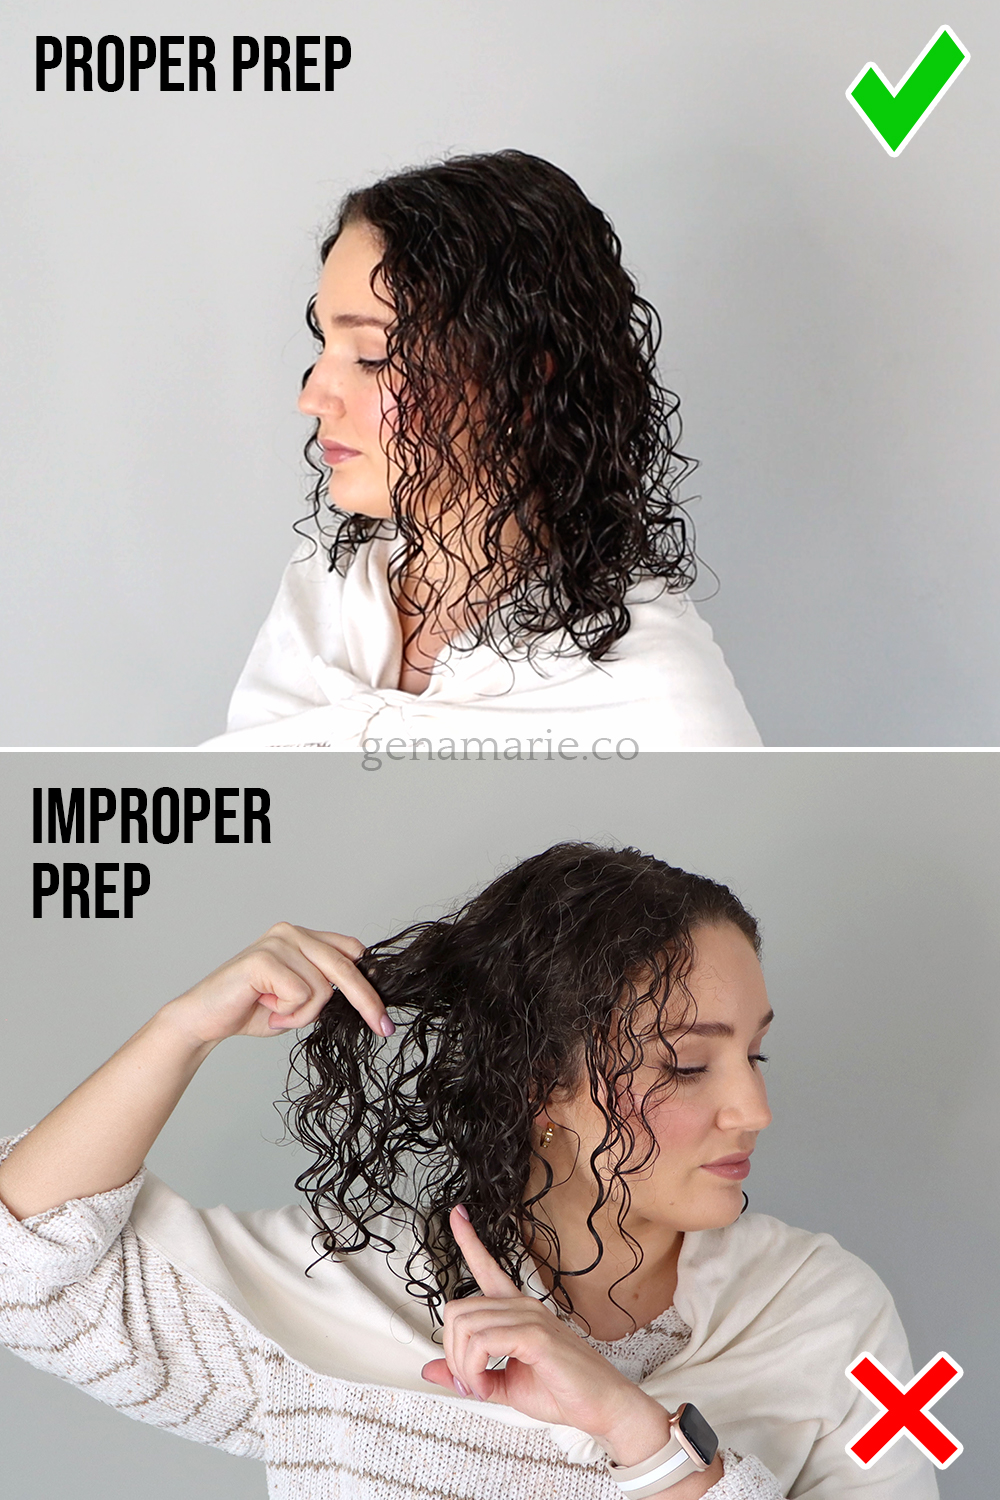
If you’re still getting frizz even though you’ve tried so many products, the issue may not be the products at all — it might be how you’re applying them. After coaching hundreds of curlies inside my Curl Coaching Membership, I’ve noticed something: In this step-by-step routine, I’ll walk you through exactly how I apply my products to reduce frizz, boost hold, and get long-lasting results — using the same methods I teach my clients. Step 1: Prep by Rewetting and Smoothing Hair
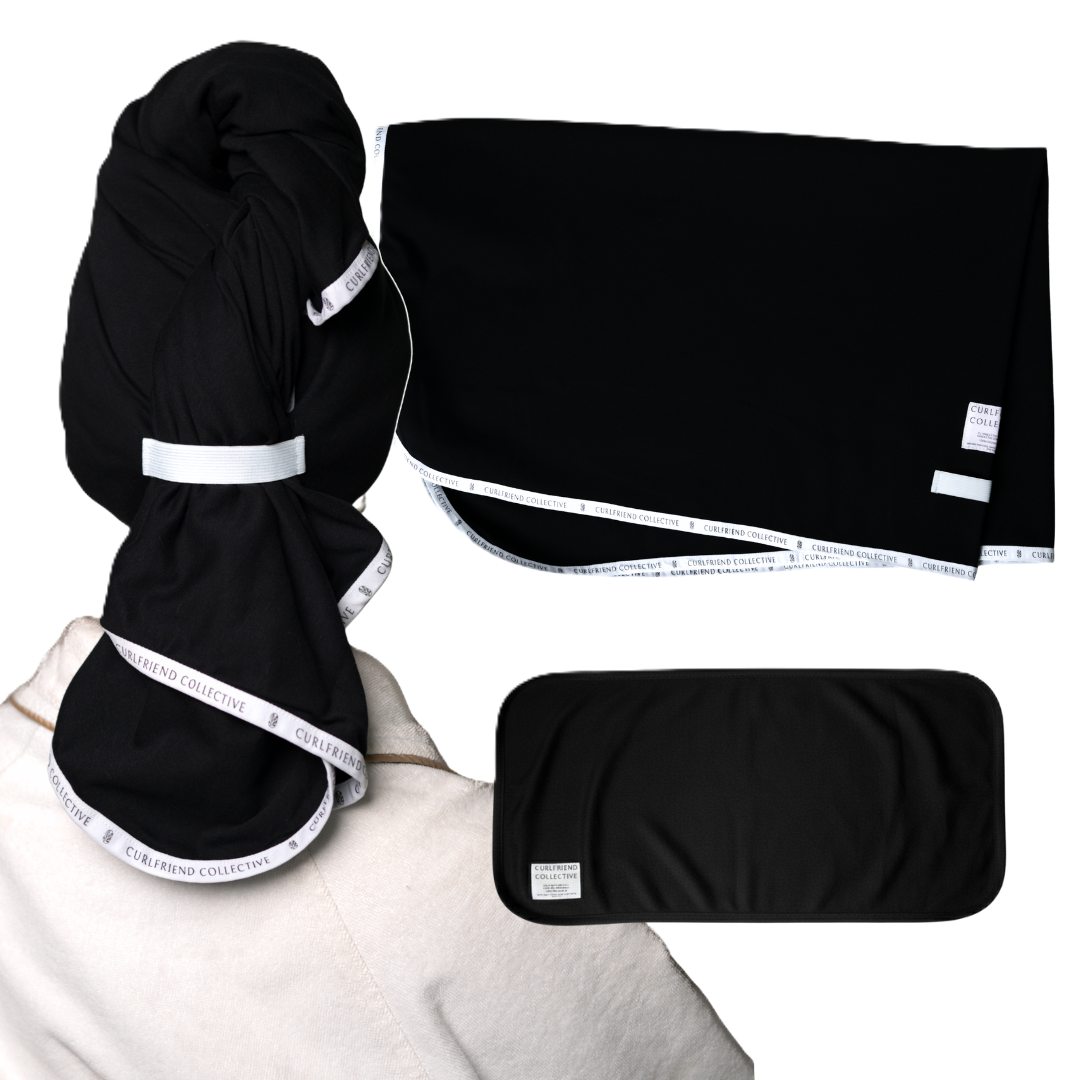
You should never begin styling on hair that has already started to dry. This leads to patchy, uneven application and instant frizz. After washing and conditioning, I wrap my hair in a microfiber towel or cotton t-shirt. I love the Curlfriend Collective towel since it is large and also includes a mini scrunching towel. When I take my hair out of the towel, it is frizzy and dry, which is not ready for product. To fix that:
Dry patches lead to uneven product distribution and frizz. Skipping this prep step is also one of the biggest reasons people struggle with sectioning. Before sectioning, I always run my hands underneath to lift my hair off the scalp. This creates space and makes sectioning much easier.
Curlfriend Collective Black to Basics Cotton Cloud T-Shirt Hair Towel Duo
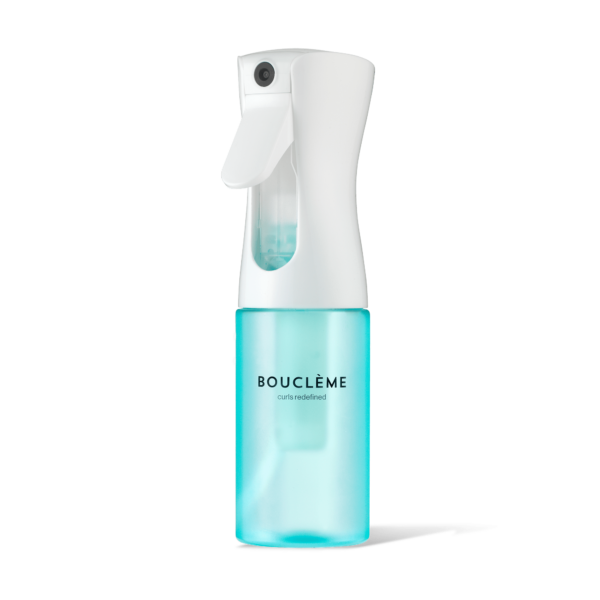
Bouclème Flairosol Mist Spray Bottle
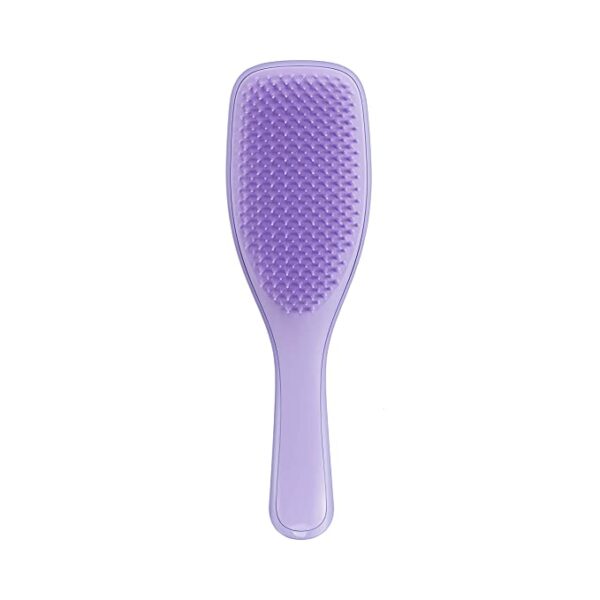
Tangle Teezer Naturally Curly Detangling Brush Step 2: Apply heat protectant, leave-in, cream, etc., to palms and rake in thoroughly
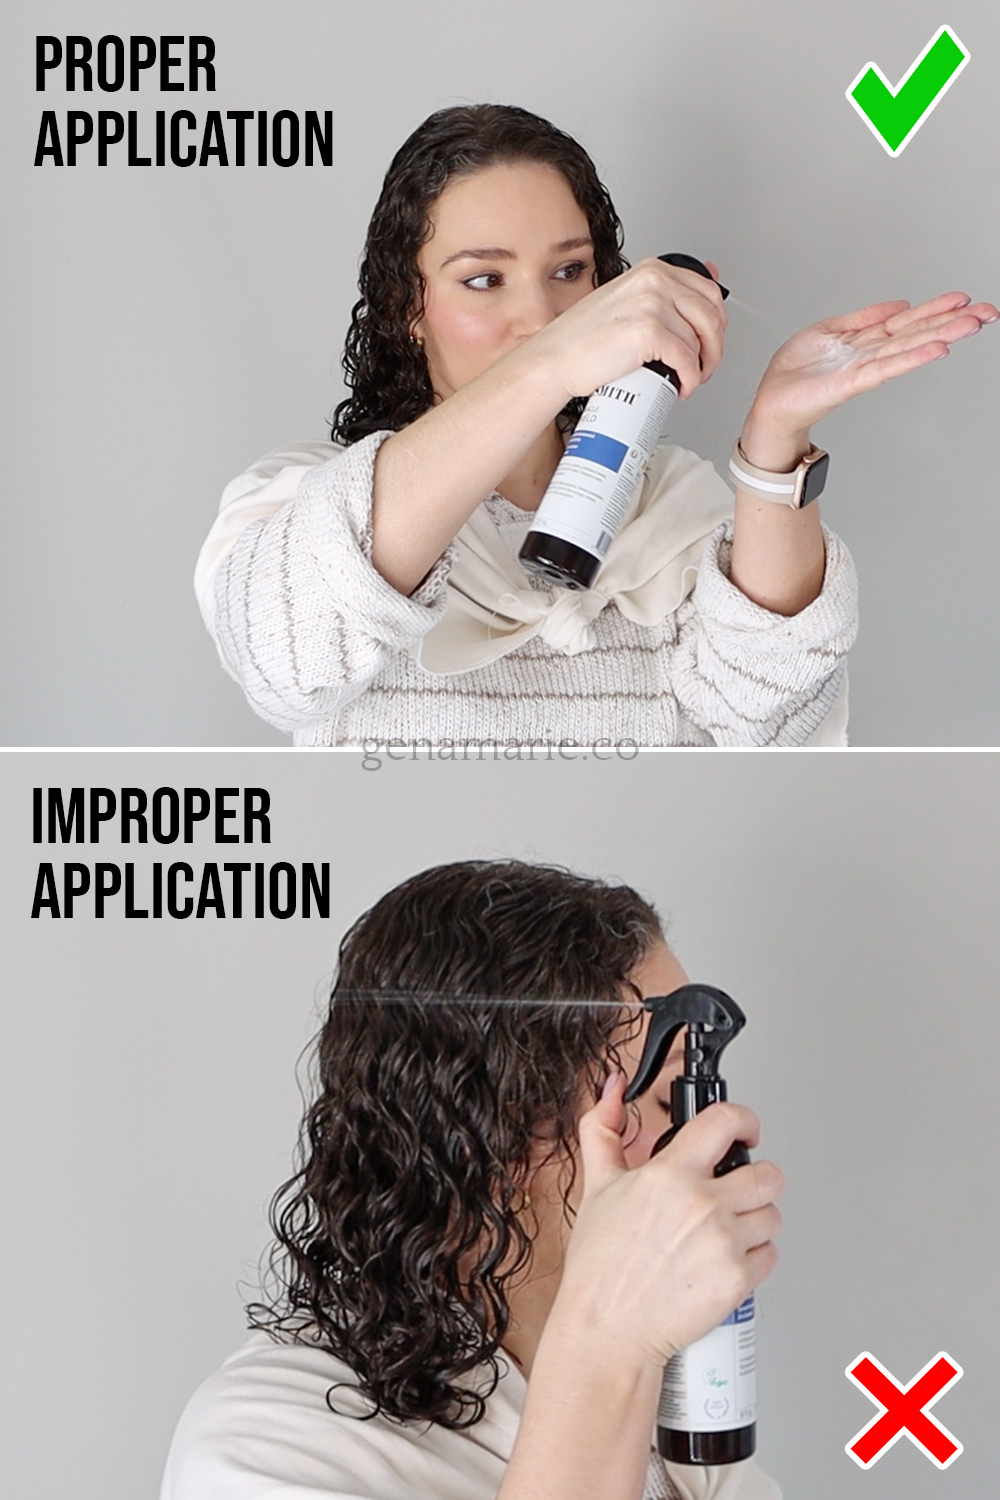
Once the base is smooth and evenly wet, you can apply your prep products. If you are using a spray heat protectant, do not spray it directly onto your hair. Most of it lands on the floor and walls. Instead:
This is one of the top mistakes I fix for clients who still experience heat damage even though they use protectants. For creams:
If your hair is very fine, soft, or easily weighed down, you may want to skip the cream. A gel only routine may give you better results.
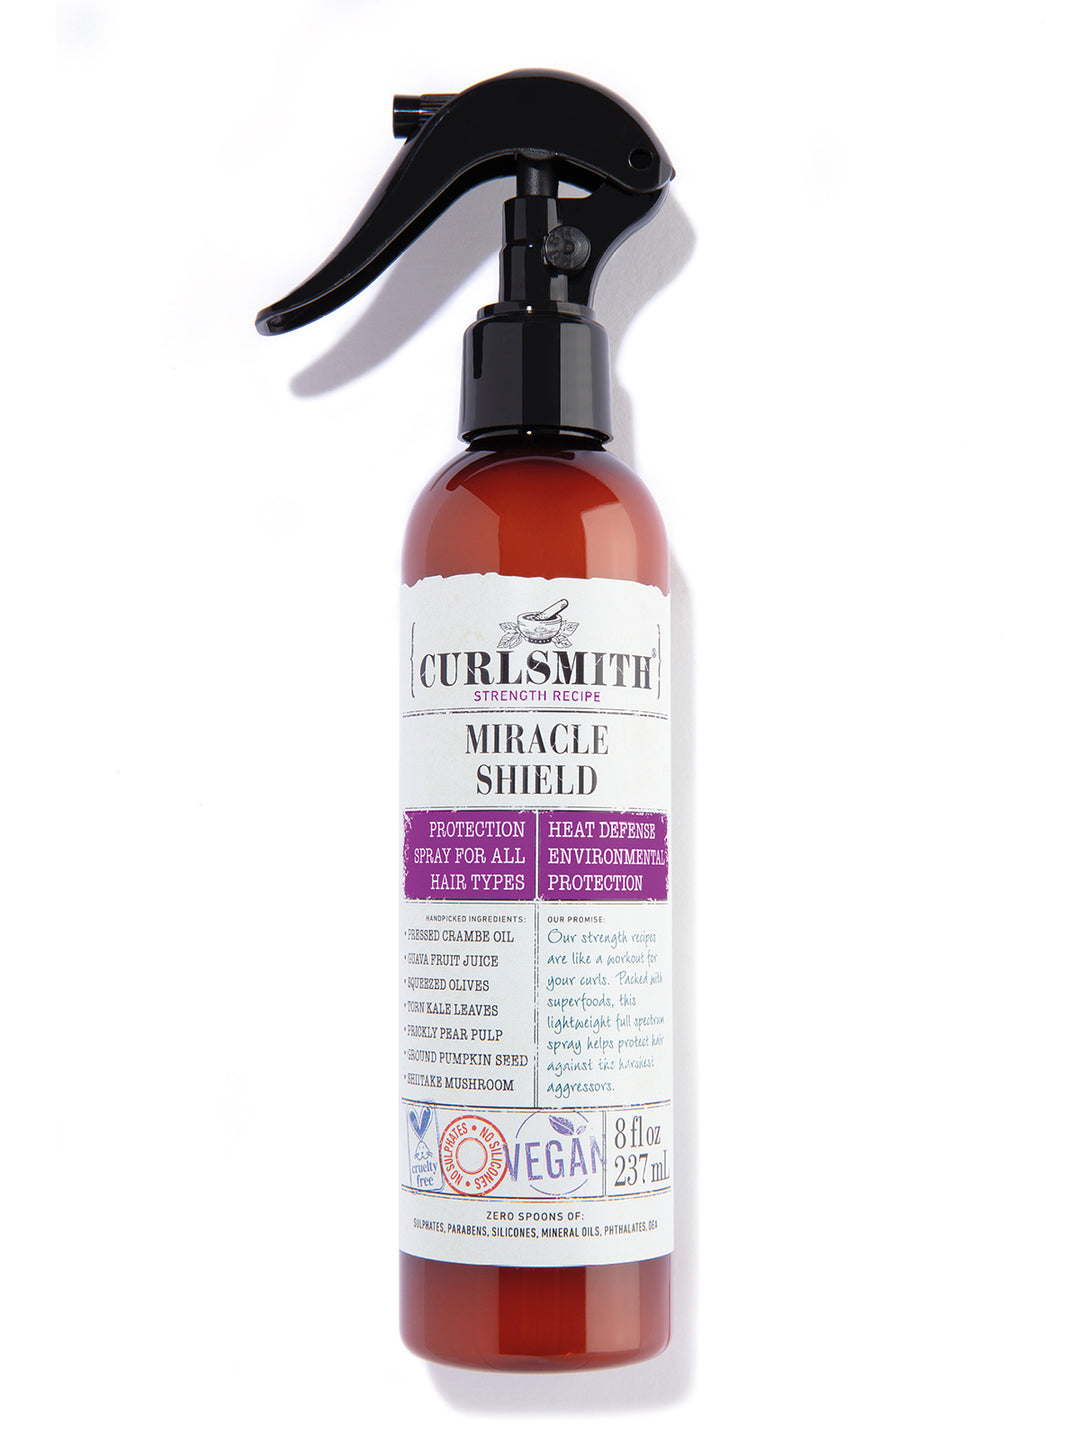
Curlsmith Miracle Shield Heat Protection Spray
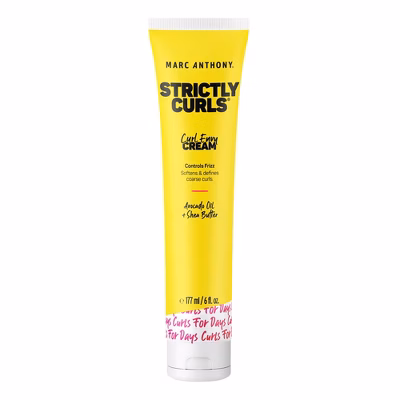
Marc Anthony Strictly Curls Curl Envy Cream Step 3: Section (optional for low-density hair, critical for high-density hair)
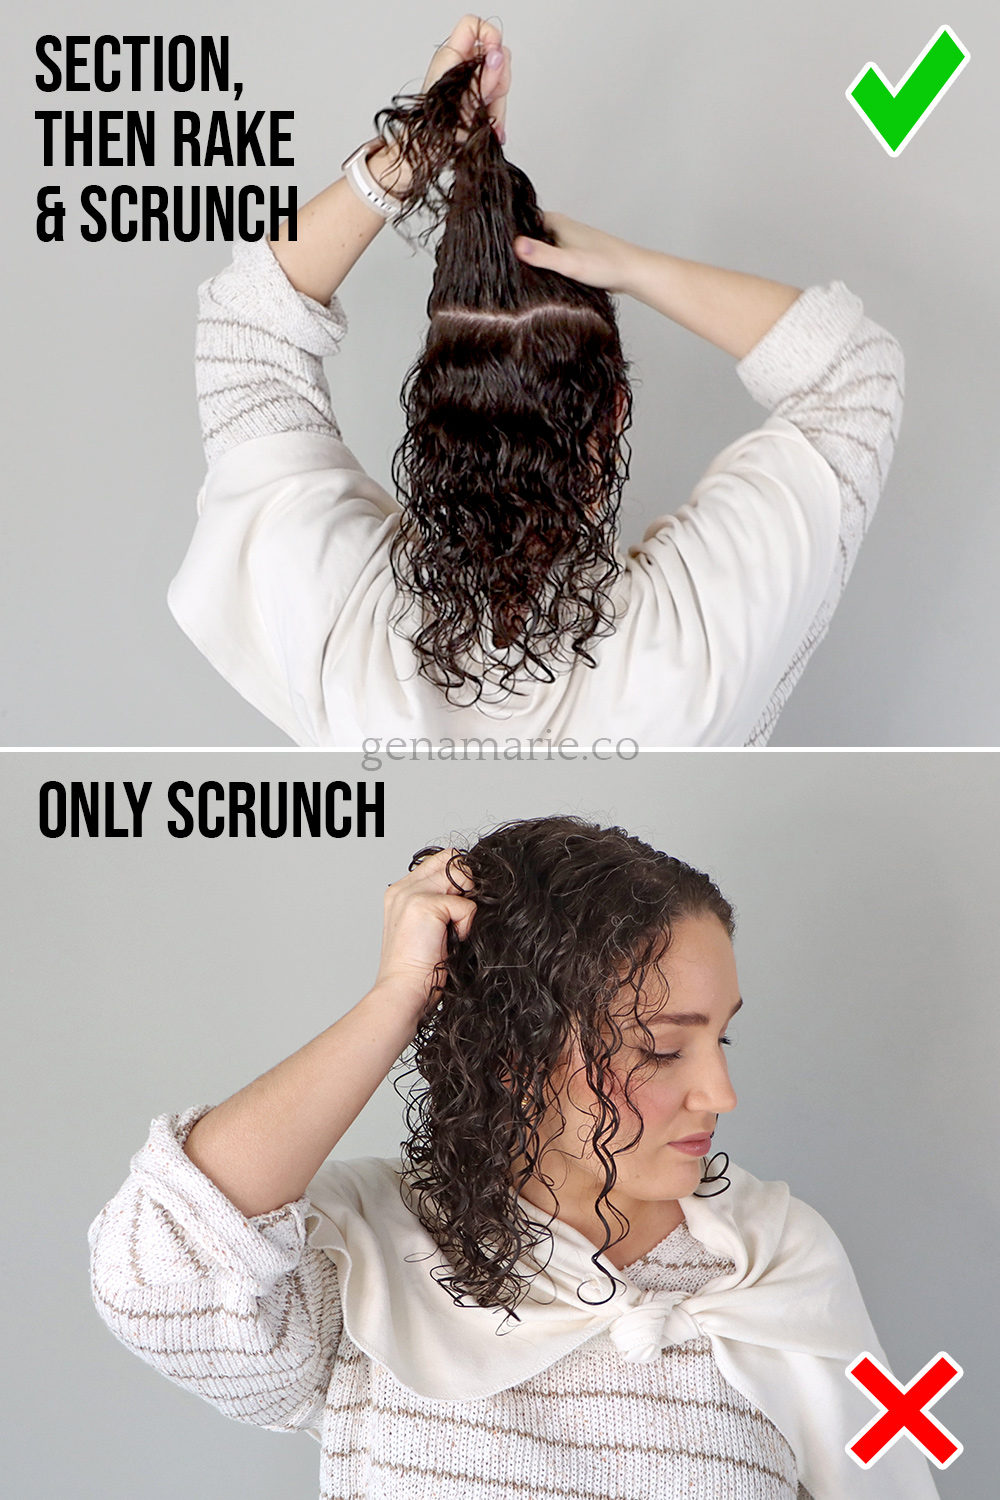
Sectioning ensures your gel reaches all layers, not just the outside. When you only scrunch gel onto the surface, here is what happens:
This is why scrunch-only routines cause so much trouble. Sectioning does not need to be complicated.
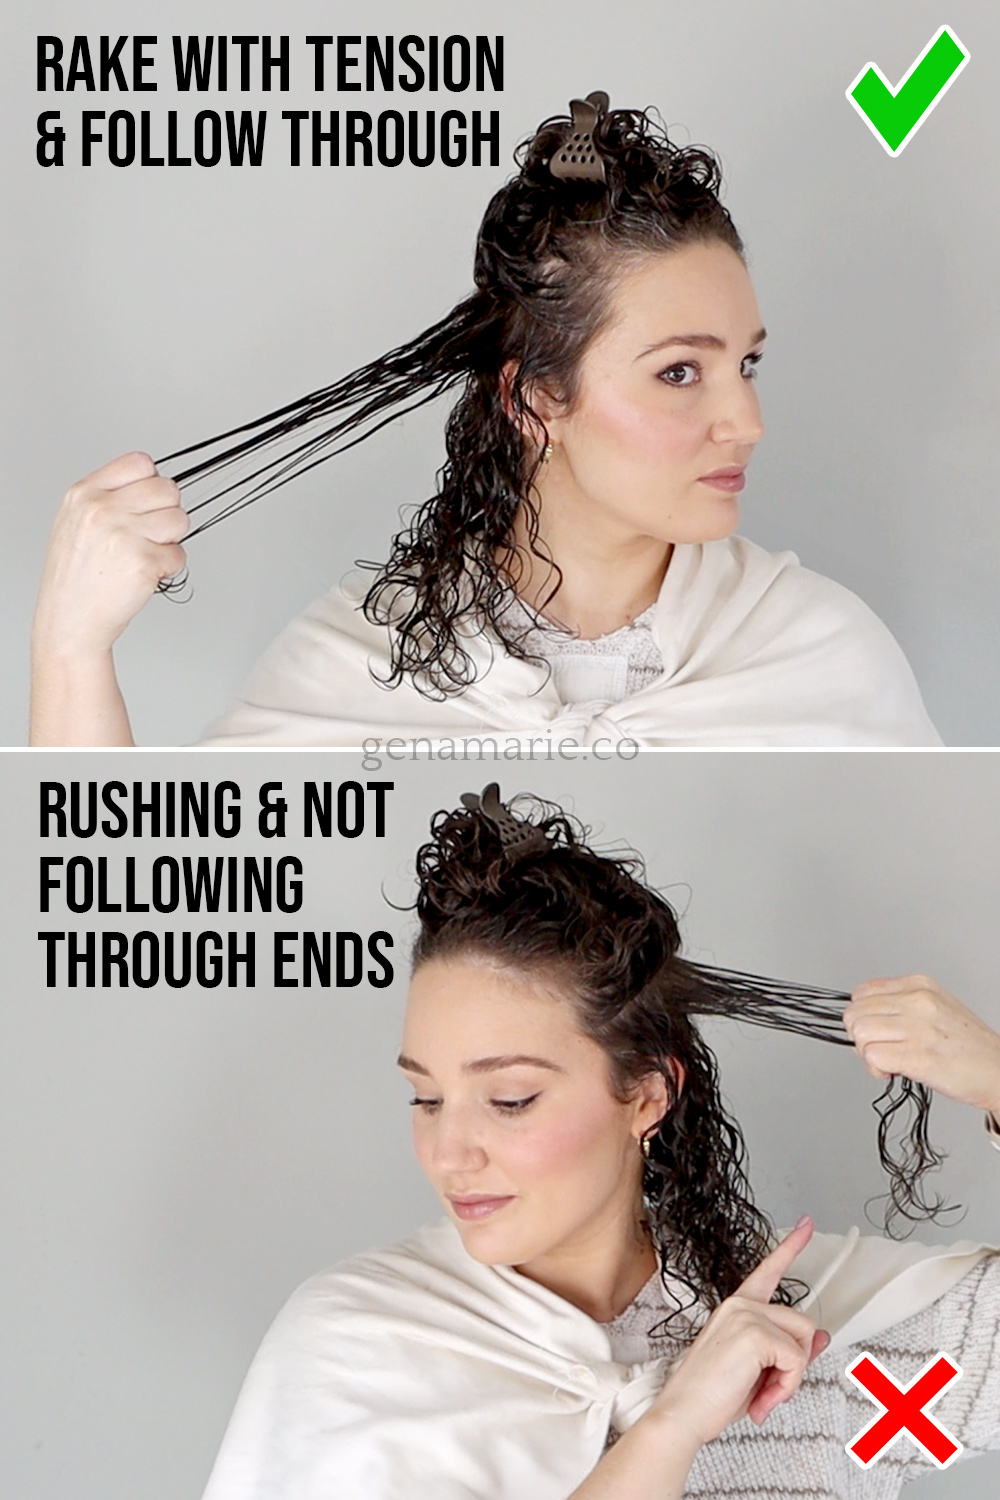
Step 4: Apply stylers thoroughly by raking
Gel only works where it touches. If entire sections of hair never make contact with gel, those will become your frizziest pieces. For this routine, I used the Marc Anthony Strictly Curls Define & Hold Flex Gel.
Marc Anthony Define & Hold Flex Hair Styling Gel ❌ Common mistakes include:
✅ Correct raking technique:
Your curls will start clumping evenly when you have full coverage. Many wavy and loose curly clients fear raking because it temporarily stretches their curls, but the curl pattern returns in the next step. Step 5: Style for definition after products are applied
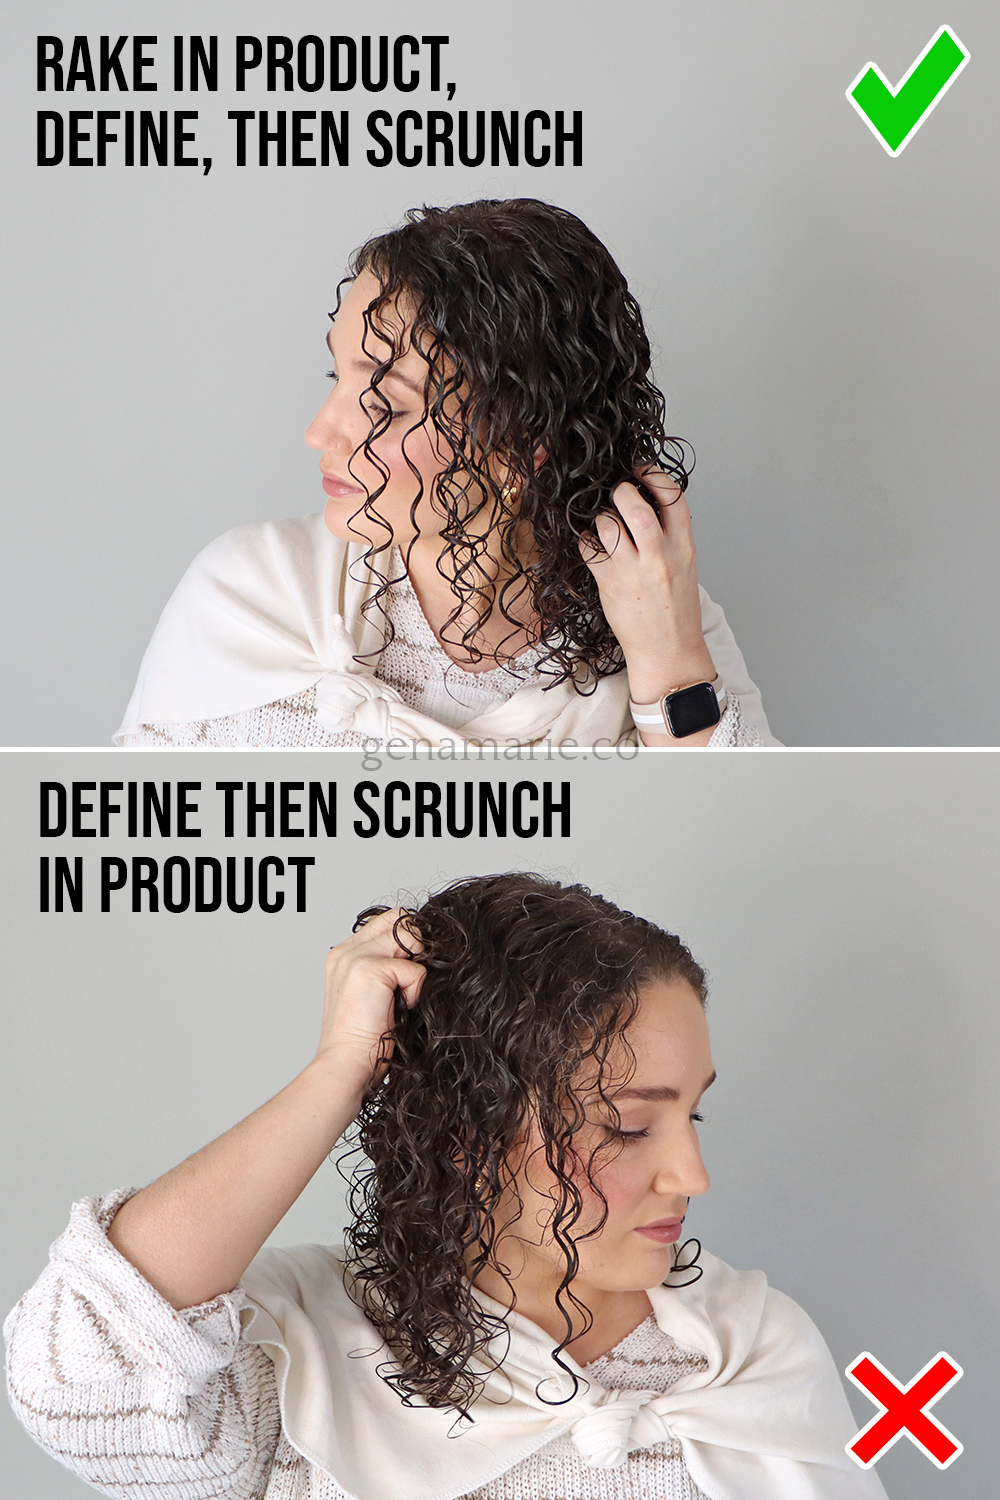
Do not define first, then apply products. If you brush style or finger coil before coating your hair with product, you lock in uneven application. This leads to random frizz patches. After your gel is evenly applied:
Skipping this step is why many people end up restyling twice. Step 6: Microplop & add extra gel (optional)Microplopping removes excess water and shortens dry time. It also allows you to add one more thin layer of gel for extra hold. A helpful tip is to lightly wet your towel if you do not want it to remove too much product. After microplopping:
This helps prevent those areas from getting progressively frizzier through the day.
Curlfriend Collective Black to Basics Cotton Cloud T-Shirt Hair Towel Duo Step 7: DiffuseDiffusing can greatly reduce frizz and help curls set their shape. Key tips:
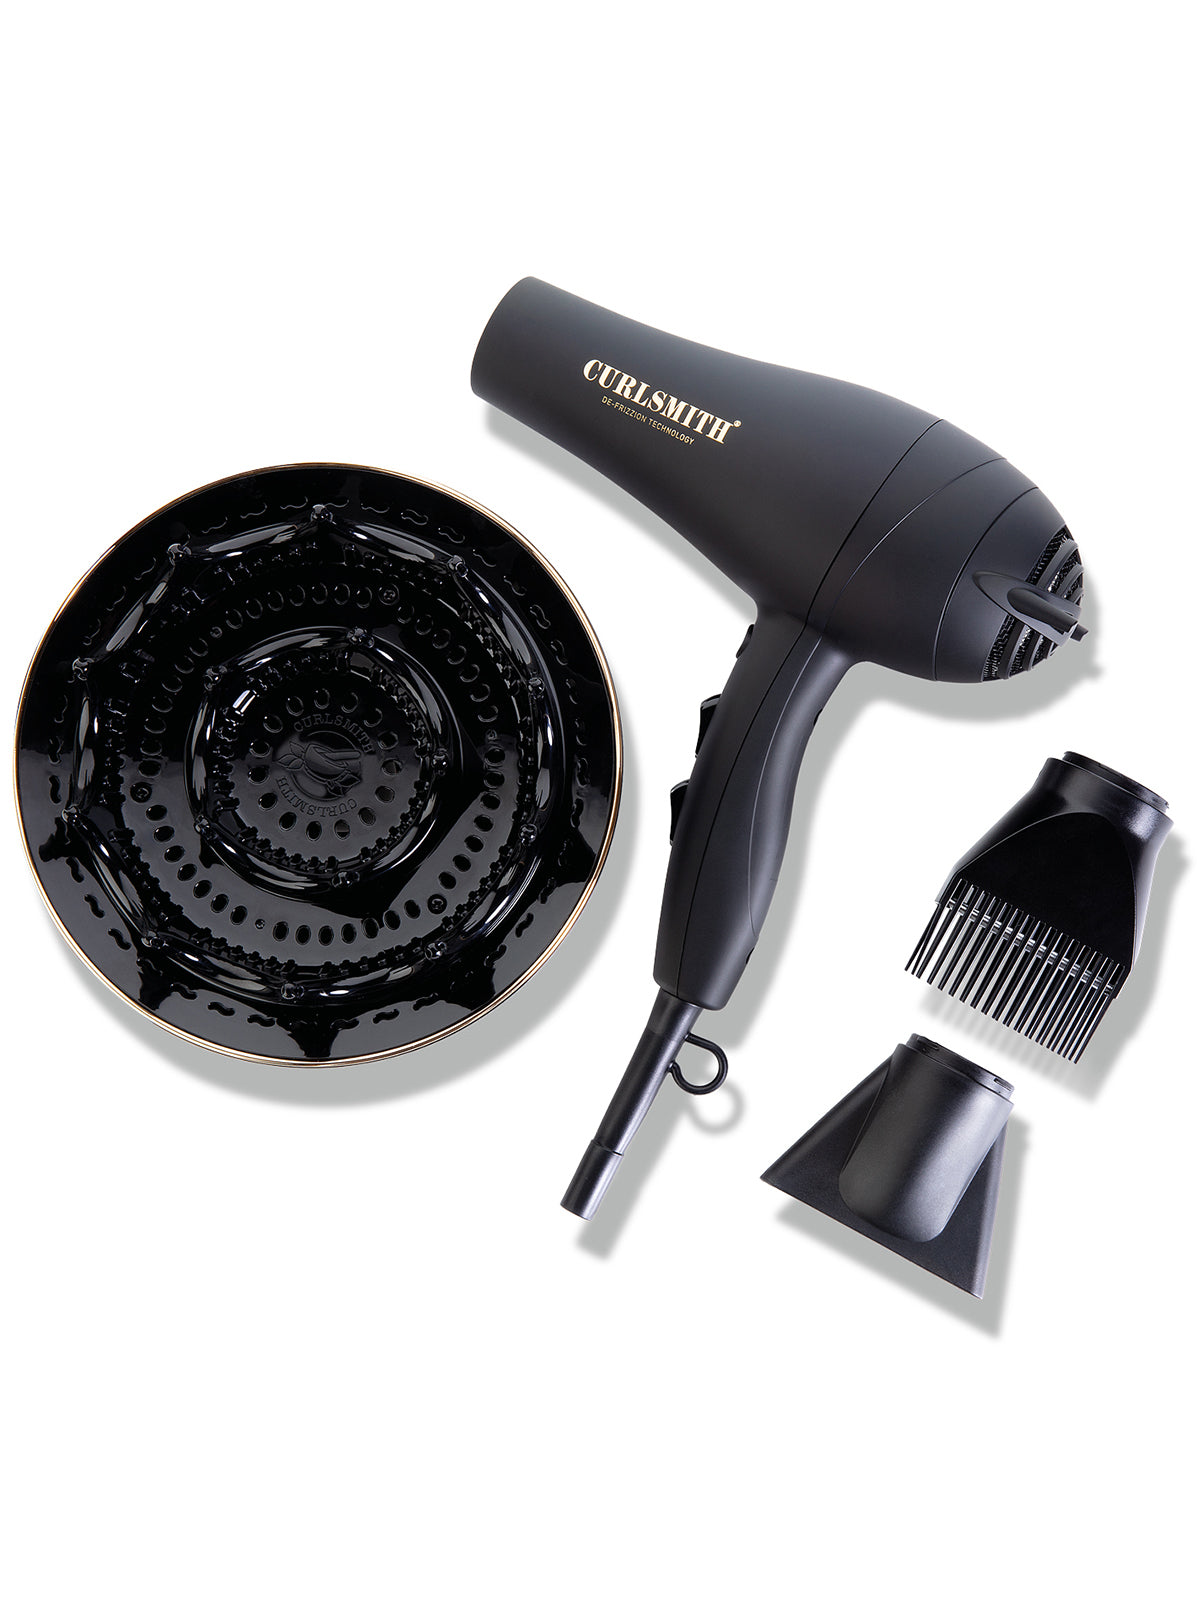
I use the Curlsmith Hairdryer with XXL Diffuser, which dries my hair quickly because of its large bowl. Air drying often leads to more frizz and stringiness.
Curlsmith Defrizzion Hair Dryer & XXL Diffuser Step 8: Fluff & scrunch (optional)If you are very frizz prone, you can leave more of your cast intact to extend longevity. If you prefer soft curls:
This step is customizable. How to Fix Patchy FrizzEven with great technique, a little frizz after diffusing is completely normal. No routine will give you a completely frizz free result, and expecting that sets you up for disappointment. But if you notice a few frizzy pieces right after drying and you want your results to last longer, you can fix them immediately before they spread throughout the day. Here is exactly how I fix patchy frizz, just like I demonstrated in the video:
This takes only a few seconds and prevents those frizzy patches from getting worse on day two. I use this trick on my ends, my hairline pieces, and any stubborn areas that consistently frizz. Final Results
After completing this routine with the Marc Anthony Strictly Curls products, my curls turned out defined and evenly coated from root to tip. Everything set beautifully once I diffused, and the cast formed quickly, which helped prevent frizz before it even had a chance to show up. My front pieces and ends kept a light cast, which I choose to leave on those areas since they tend to frizz fastest. The rest of my curls softened once I scrunched the cast out, leaving me with touchable definition, consistent clumps, and a strong hold that still felt lightweight. What I love the most about this routine is how long the results last. With the Marc Anthony Flex Gel applied evenly and reinforced after microplopping, I am able to get several days of wear with little to no refreshing. On day two, my curls still look defined and controlled without needing extra product, and I do not see the usual frizzy patches around my hairline or ends. This is a medium hold gel, so some touchup by day 3-4 is expected. This routine is a great example of how much technique matters. These results were not because I used a ton of product. They came from slowing down, working in sections, rewetting when needed, and applying the gel thoroughly so every part of my hair was supported. Still Getting Frizz? Here Is What to Check NextIf you have followed all the steps above and you are still seeing frizz, here are a few simple questions to help narrow down the cause:
If you answered yes to those and still have frizz, the next things to evaluate are:
There are many variables that affect frizz, and it can be hard to pinpoint which one is causing the issue on your own. That is exactly why I help my Curl Coaching members work through a flowchart to identify what is normal frizz versus frizz that is caused by a technique or product issue. You Don't Have to Figure It Out AloneIf you want help figuring out what part of your routine is holding your results back, I would love to guide you inside my Group Curl Coaching Membership. I watch you style, diffuse, and refresh in real time and help you make simple adjustments that completely change your results. Today is the final day to save $100 off the Winter Progam! To discuss if you are a fit, email me at info@genamarie.co or send me a DM on Instagram or Facebook with the word GROUP.
|

Gena Marie
Curly hair coach helping you better understand your naturally curly hair through easy-to-follow tutorials, science-based haircare tips, and problem-solving.
If your curls are falling limp, feel dry, or are showing signs of damage, it might be worth adding some targeted treatments into your routine. A lot of people don’t have any of these products in their routine at all. They may be washing and styling consistently, but still feel like their curls don’t last, don’t feel as healthy as they used to, or never quite bounce back. Treatments are often the missing piece, especially when hair has been exposed to heat, tension, or long-term wear and tear....
In 2025, I tested a large number of curly hair products across real wash days, different routines, and different styling approaches. Some of those products earned a permanent spot in my routine. Others did not come close to delivering what the brand claims promised. This post breaks down the best and worst products I tried in 2025, based on my personal results on my hair, with a clear comparison between what the brand claims and what actually happened when I used them. These are products I...
Do you feel like your curls need a bit more moisture this time of year, but you don’t want to weigh them down or reduce hold? Today I’m sharing a dry weather styling routine and how to condition your hair just enough for flexibility and health, without sacrificing definition, volume, or longevity. Why Balancing Moisture & Hold Matters Before we even get into products, it’s important to understand why this balance of moisture and hold matters. Moisture = softness and flexibility Hold =...