Curly hair coach helping you better understand your naturally curly hair through easy-to-follow tutorials, science-based haircare tips, and problem-solving.
Why Brush Styling Is Straightening Your Waves (and How to Fix It Fast)
|
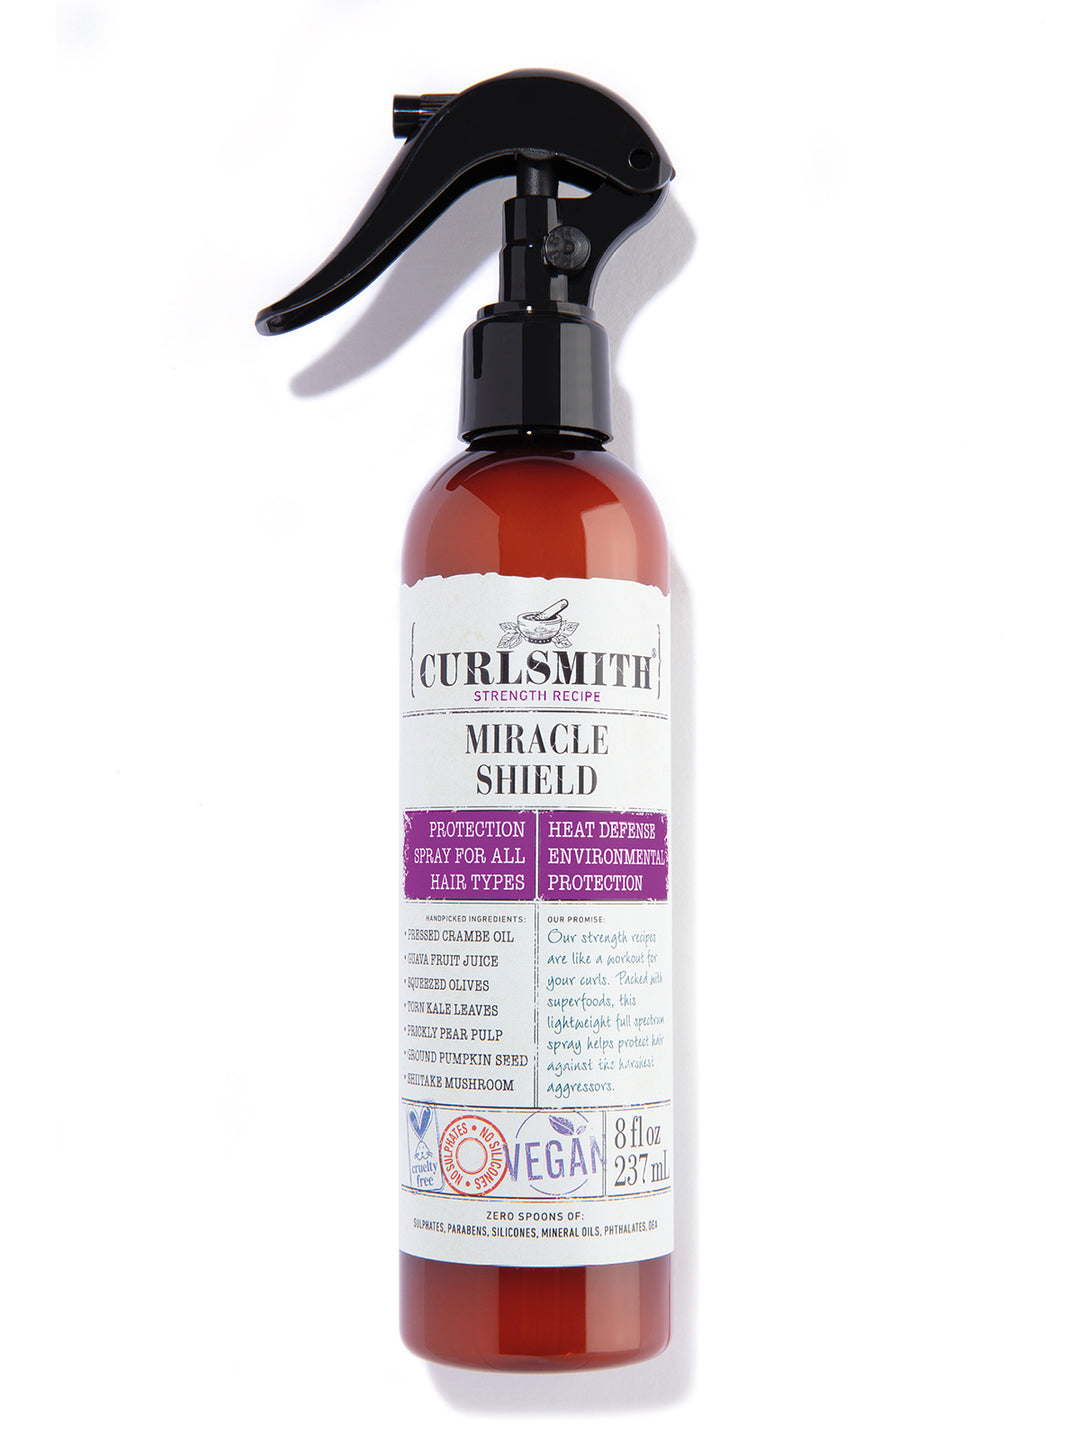
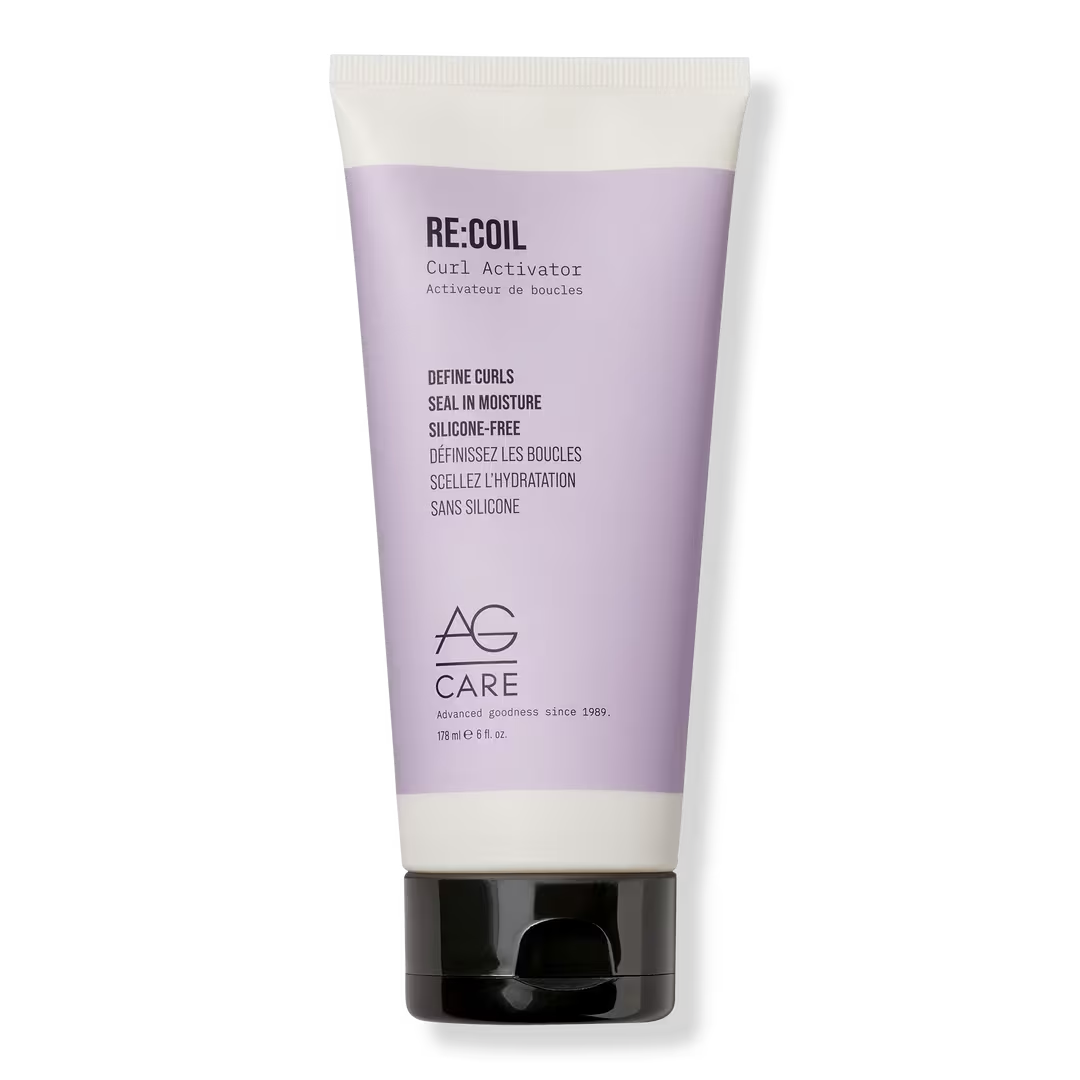
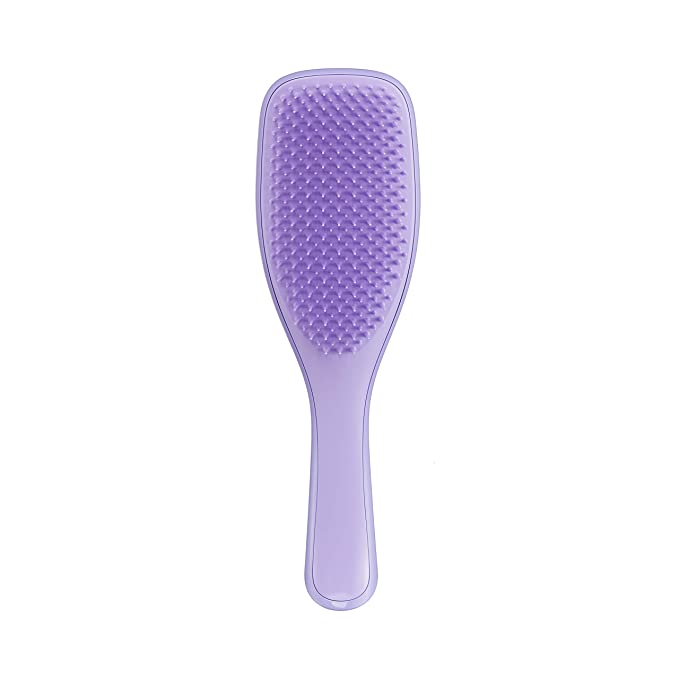
Do you ever feel like brush styling takes forever, only to leave your waves or curls looking straighter instead of curlier? Here I’ll show you a quick brush styling method that gives you all the benefits – such as even product distribution and frizz control – without weighing down or stretching out your waves and curls. Step 1: Prep – apply leave-in or creamI start with damp hair, and then applied a heat protectant, Curlsmith’s Miracle Shield, and brush it it through gently with my Tangle Teezer Brush. Today I went with the AG Re:Coil Curl Activator Cream for some extra moisture because my main styler for this routine is a gel that is very low in moisture. If you have naturally soft waves or curls, or if your hair gets weighed down easily, skip the curl cream!
Curlsmith Miracle Shield Heat Protection Spray
Step 2: SectionNext, I section my hair into 3 sections, which is plenty for my hair’s density and length. Avoid creating too many unnecessary sections. Too many sections is a common mistake I often see people make and it can cost you so much time. How many sections you need really depends on your hair’s density – if you have lower-density waves, you might only need two or three. For higher-density curls, you can do a few more, but you don’t need to go overboard.
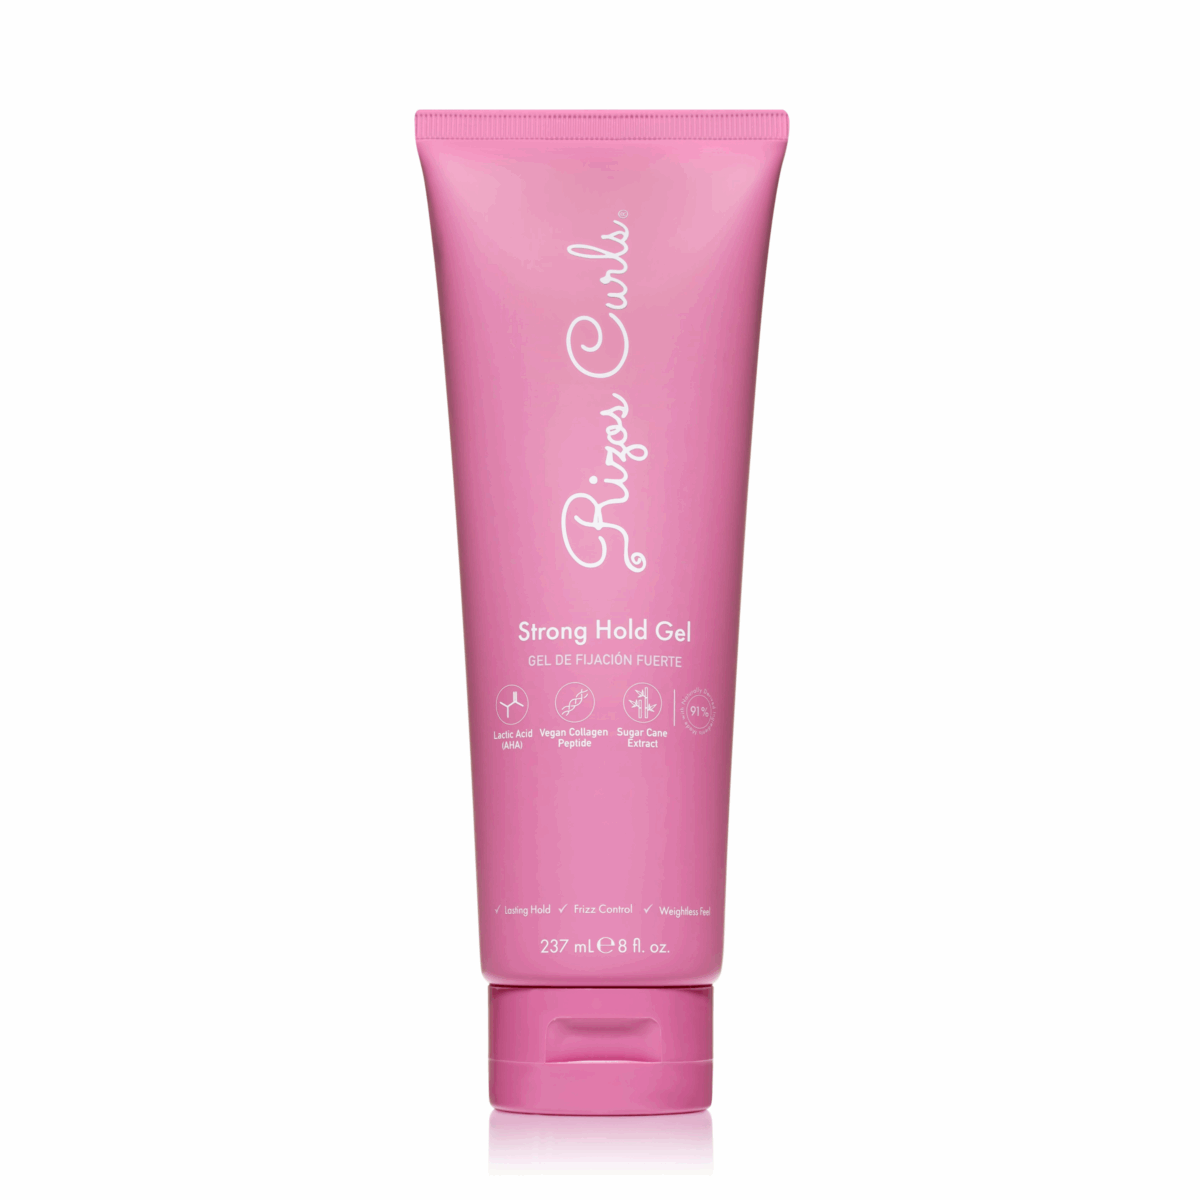
Step 3: Apply stylerFor this routine, I used the Rizos Curls Strong Hold Gel. This gel gives a strong hold, is very low in conditioning ingredients, and has that texture and grit to it making it ideal for fine, overly soft hair types. My hair is more coarse which is why I used the cream because I tend to get dry with this gel by itself. I rake the gel through with my hands. This helps coat as much as possible before I bring in the brush. The key here is not to be stingy with your gel – especially if you struggle with frizz like I do. I like to make sure I really work it through from root to tip with my fingers first. This step alone helps with definition and ensures my brush is just refining the distribution, not doing all the work.
Step 4: Brush styleQuickest & Easiest MethodThe easiest and fastest way to brush style is to simply brush each section horizontally from underneath, so you can apply a little tension. Tension is what helps the curls form. If you want extra tension, you can gently press your hair against the brush using your opposite hand as you glide down. Ensure you’re brushing the hair out away from your head for volume and to prevent flat roots. If you want to enhance the curl further, turn your wrist slightly as you brush so that the hair wraps over the edge of the brush. I prefer the Tangle Teezer brush because it’s very gentle on the hair and won’t over-clump it or over-manipulate the hair. You can customize your curl clump size by adjusting the amount of hair you put in it or the amount of tension you apply. This method is still beneficial opposed to skipping brush styling, because it smooths frizz and spreads the product evenly on each strand. Most brush styling routines include more manipulating with the brush, such as twisting, coiling, or applying a lot of tension. Simply gliding it through gently to distribute the product evenly and smooth frizz won’t disturb your curl pattern and allows the curls to form on their own with less weight.
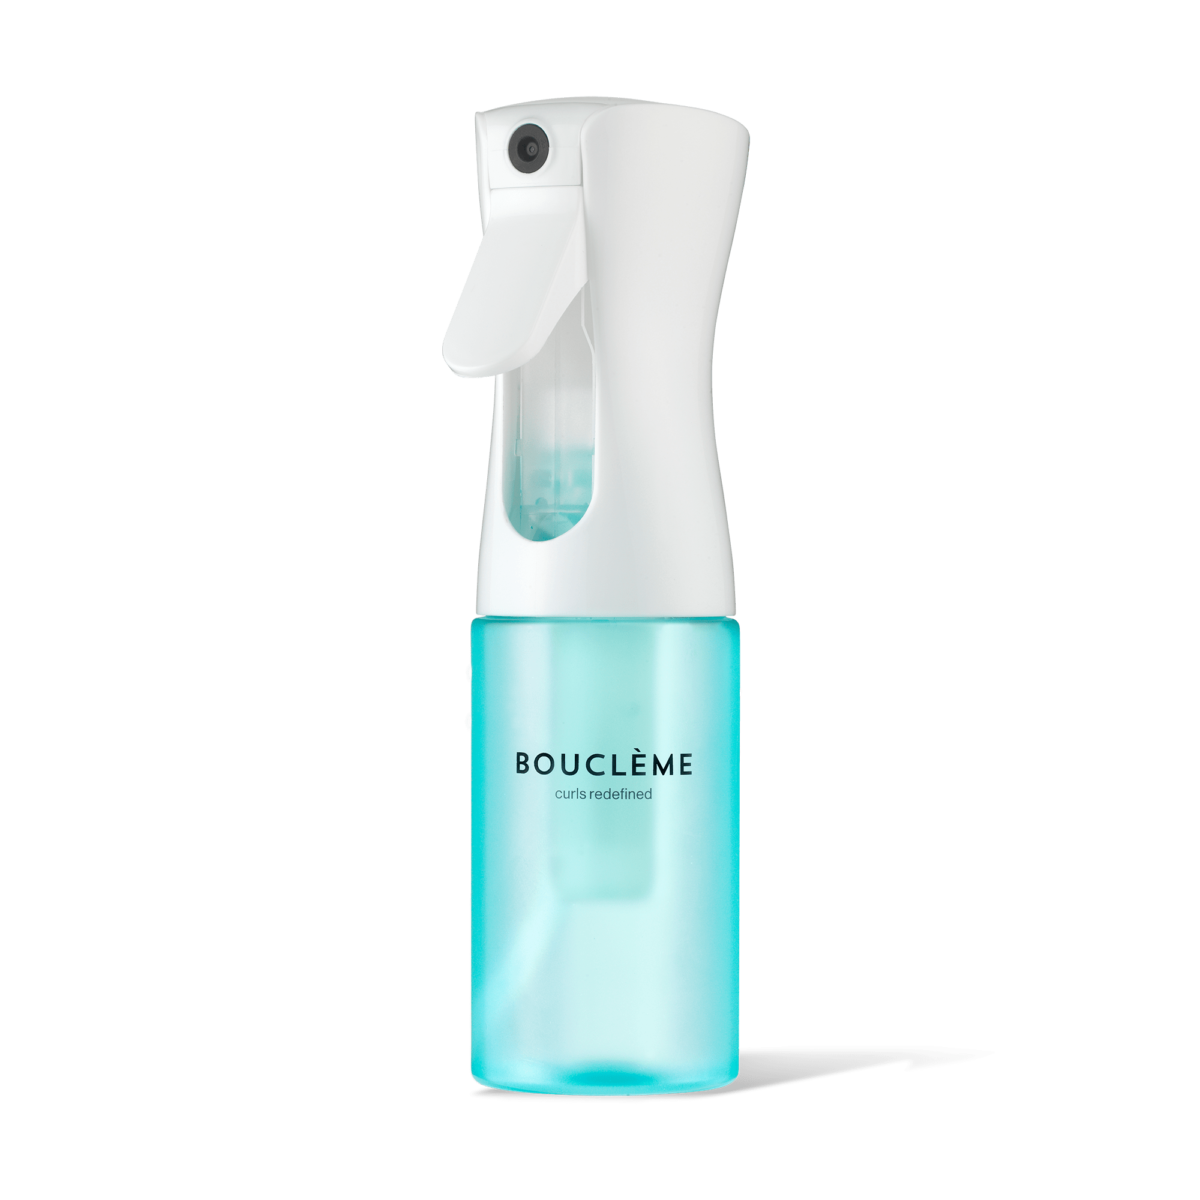
Tangle Teezer Naturally Curly Detangling Brush Brush Styling Mistakes that Cause Straightened Out CurlsThere is so much room for error when you’re brush styling waves and loose curls. If you don’t have tight curls, and you hold your brush at the wrong angle, go in the wrong direction, or pick up the incorrect clump size, it’s going to straighten them out. Sometimes, excessive tension or manipulation can have the opposite effect on waves and just straighten them out. ❌ Section is too large, creating weight ❌ Over-clumping or forcing different curl families together ❌ Holding the brush at the wrong angle ❌ Brushing in the wrong direction with vertical sections ❌ Not applying enough tension or following through to the end ❌ Weak hair and/or lack of protein ❌ Buildup or too much moisture Important note: Step 5: Scrunch to enhance waves/curls – DON’T SKIPBefore you jump to microplopping or diffusing, you cannot skip this step! I noticed many of my clients weren’t doing this but makes a huge difference in waves and loose curls. After I take my clips down, I mist my hair some because it usually has started to dry by the time I’m done styling. Then I simply scrunch each section to encourage curl formation. I make sure I scrunch with wet hands. Sometimes I add a little product to lock in definition and seal down frizz. If you skip scrunching, especially for wavy hair, the brush might leave your hair too smooth and elongated. So scrunching is what resets that curl pattern after the brush pass. This needs to be done while the hair is still wet.
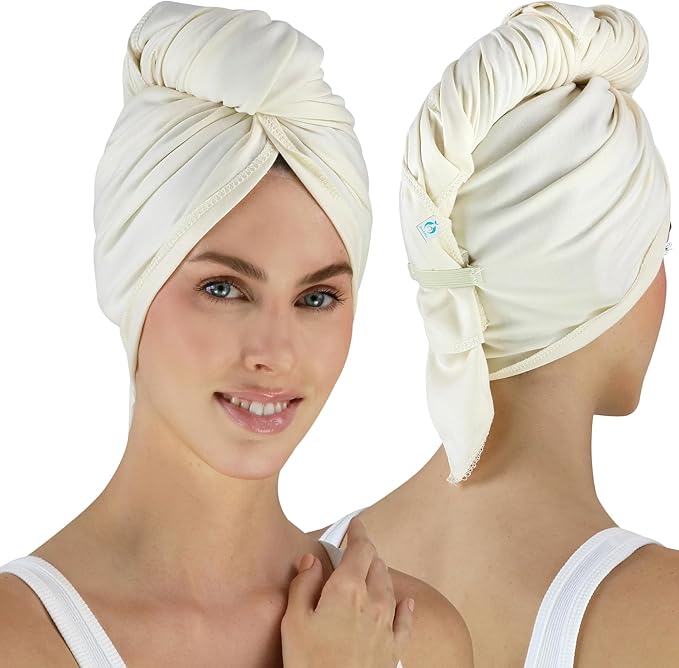
Bouclème Flairosol Mist Spray Bottle Step 6: Microplop + extra gel (optional)If you styled soaking wet, which can be helpful for waves and loose curls, you’ll need to remove some of that water so your curls don’t elongate further. Take a wet section of your hair towel, and gently scrunch your hair to remove the excess water. I don’t recommend the traditional plopping technique where you wrap your hair up against your scalp because that can weigh down your roots and press product onto your scalp. Microplopping is faster and gives even better benefits. Then, glaze a bit of extra gel on top to lock in frizz.
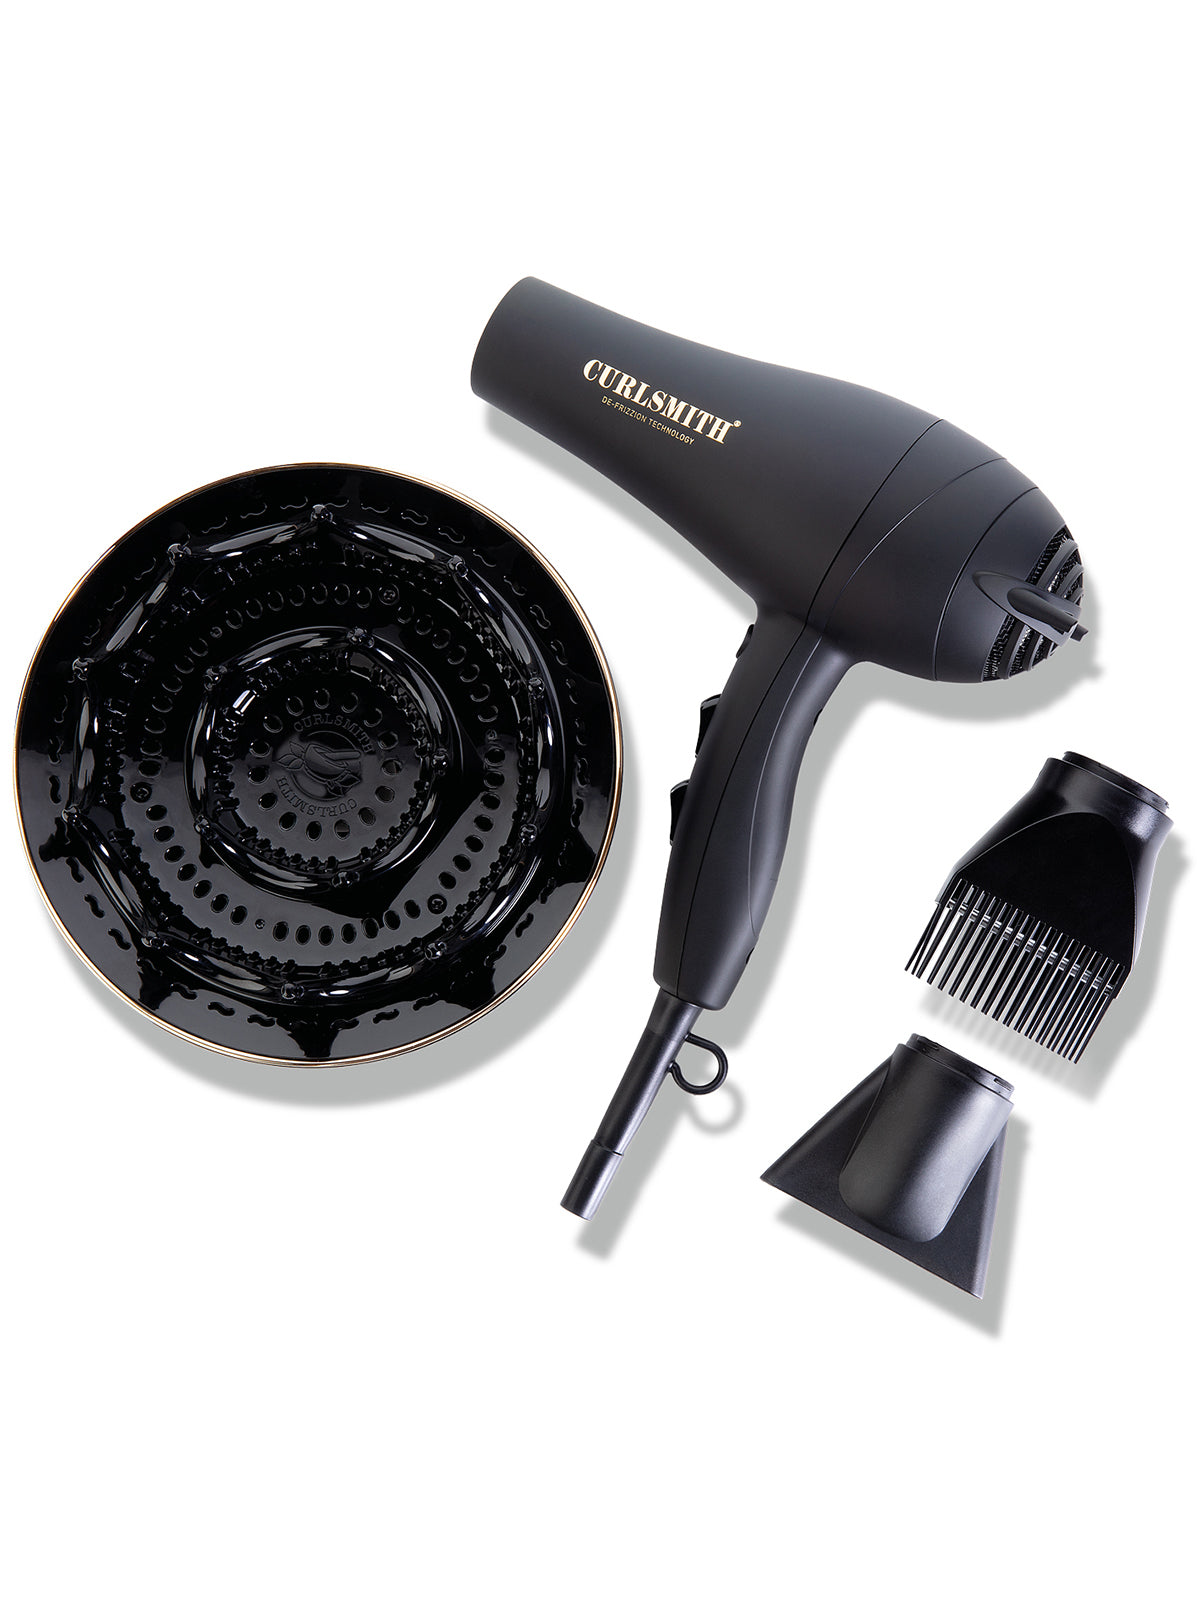
Hair RePear Premium Cotton Hair Towel, Not Dyed Step 7: DiffuseDiffusing is critical to set your waves and curls in place. If you air dry, your curls may elongate due to gravity and not last as long. Diffusing sets your curl shape with gentle heat. It should not take forever for you to diffuse either. Microplopping will drastically reduce your dry time. The Curlsmith diffuser has also greatly reduced my dry time. It usually takes about 8-10 minutes, depending on the stylers I used. Your density will also impact your dry time.
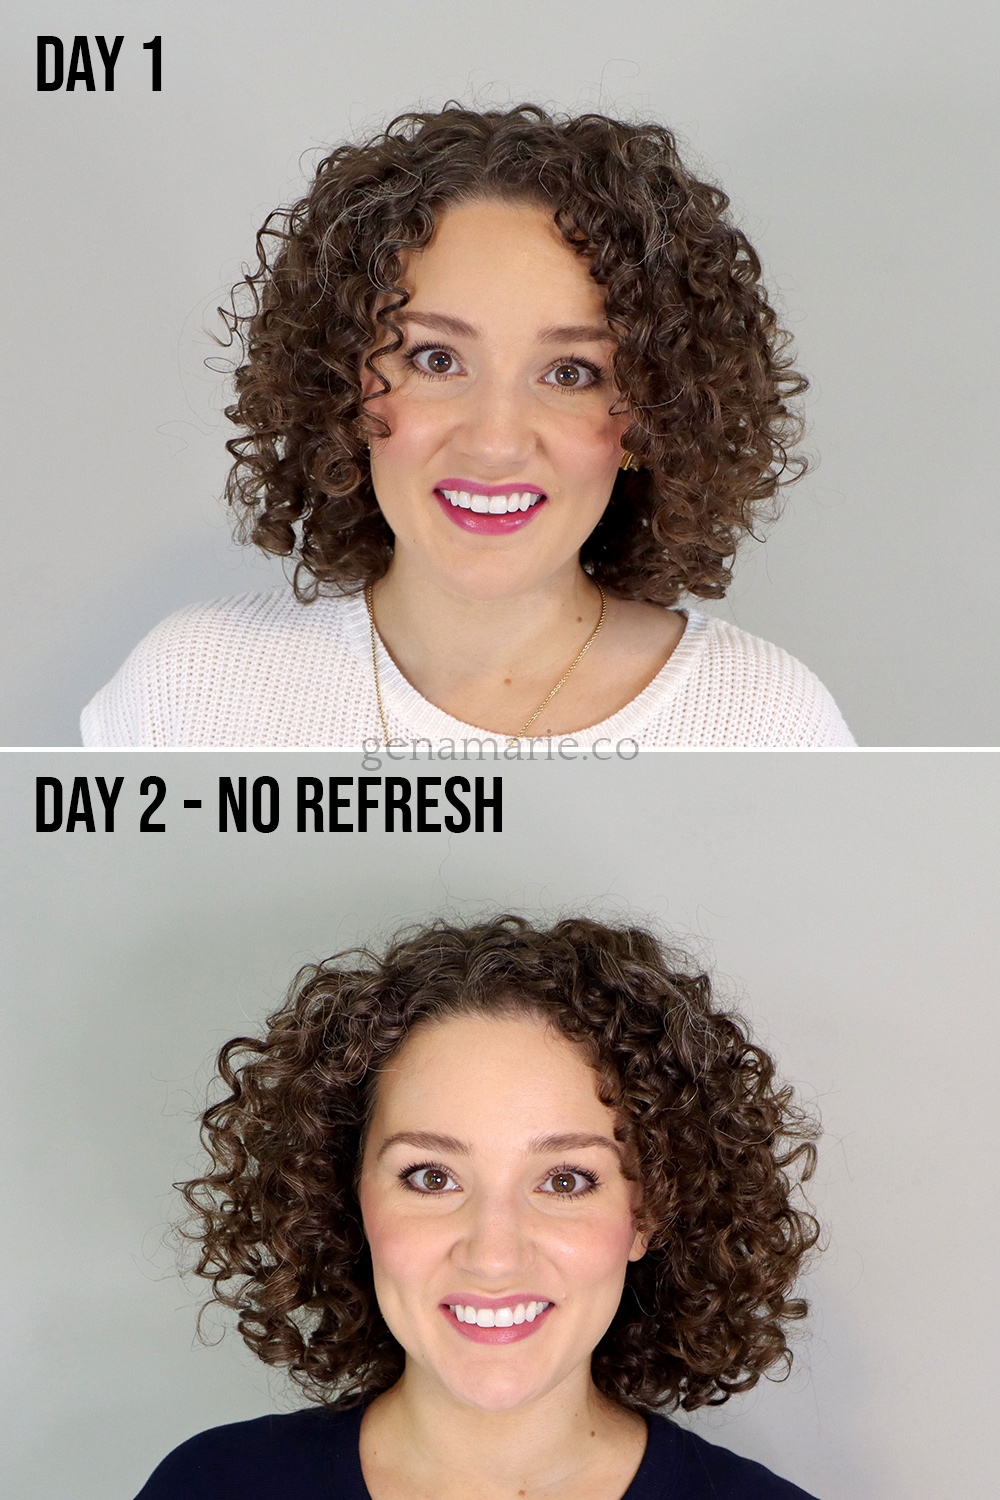
Curlsmith Defrizzion Hair Dryer & XXL Diffuser Step 8: Fluff/scrunch out the castOnce my hair was fully dry, I scrunch out the cast. I recommend leaving this in if you struggle with your curls falling limp or not lasting because it will help it last longer. It will gradually release throughout the day or overnight. If your curls immediately flop or frizz up at this stage, that is a sign that you may not have the right gel or there’s an imbalance of hold and moisture in your routine. Final ResultsAfter using this quick brush styling method, my curls turned out soft, defined, and full of bounce—without that stretched or straightened look that can happen with over-brushing. The brush still helped evenly distribute my products for a smooth finish, but because I used fewer sections and lighter tension, my natural curl pattern stayed intact. The result is definition without much frizz that looks effortless and takes half the time of a full brush styling routine.
Day 2 ResultsBy day two, my curls still held their shape with minimal frizz and great volume. Since this method doesn’t rely on heavy manipulation or over-clumping, the curls separate more naturally as you sleep, which makes refreshing much easier. I just used a bit of water to reactivate the gel and scrunched to bring everything back—no need to re-brush or add extra product. Need additional help?If you find that your curls are still losing hold or your definition doesn’t last past day one, that’s usually a sign that your products or ratios might need adjusting. My Strong Hold Method Cheat Sheet walks you through exactly how to balance moisture, hold, and product application to make your results last longer—without overloading your hair. You can download it free here. It’s the perfect next step to build on what you learned in this routine.
|

Gena Marie
Curly hair coach helping you better understand your naturally curly hair through easy-to-follow tutorials, science-based haircare tips, and problem-solving.
If your waves or loose curls fall flat every summer — losing definition by midday, never lasting past wash day — this routine is built specifically for you. While I don’t have wavy hair myself, I’ve coached hundreds of clients with all hair types, from 2A to 3C. I’m familiar with the struggles and problems that wavy and loose curls experience, and the patterns are consistent. In my coaching program, we’ve tested and proven that my Moisture-Hold Balance Framework and Strong Hold Method work....
You read the reviews online. One person says a product completely changed their hair. Someone else says it’s the worst thing they’ve ever tried. And you’re left with no idea whether it will actually work for your hair. That disconnect is not a coincidence — and it’s not your fault. It’s a combination of misleading marketing, mismatched expectations, and the simple fact that products work very differently depending on your hair type, your needs, and what you’re pairing them with. As a Curl...
Amazon’s Prime Day Deals are happening today through Friday! I’ve rounded up my top curly hair picks on my Amazon storefront—plus shared quick notes below on each product’s key characteristics to help you decide what’s worth grabbing. I also went live on YouTube to break down these deals, explain how to choose for your hair type, and even picked out products for many of you! 🎥 Watch the replay here: Please note: Prices and deal amounts are subject to change and may vary based on your...