Curly hair coach helping you better understand your naturally curly hair through easy-to-follow tutorials, science-based haircare tips, and problem-solving.
How to Get Curly Hair: Your First Wash Day Experiment | Beginner Curl Series
|
If you think you might have curly hair but don’t know where to start — or you tried before and your curls were frizzy and didn’t even last the day — this is the first wash day routine I recommend, and no, it’s not the Curly Girl Method. This post is part of my Beginner Curl Series, where I help you bring out your curls without getting overwhelmed by conflicting advice or complicated routines. This is not about perfect curls or copying someone else’s results. Any wave or curl you didn’t see before counts as progress. What This First Wash Day Is (and Is Not)This wash day is meant to be:
This is not:
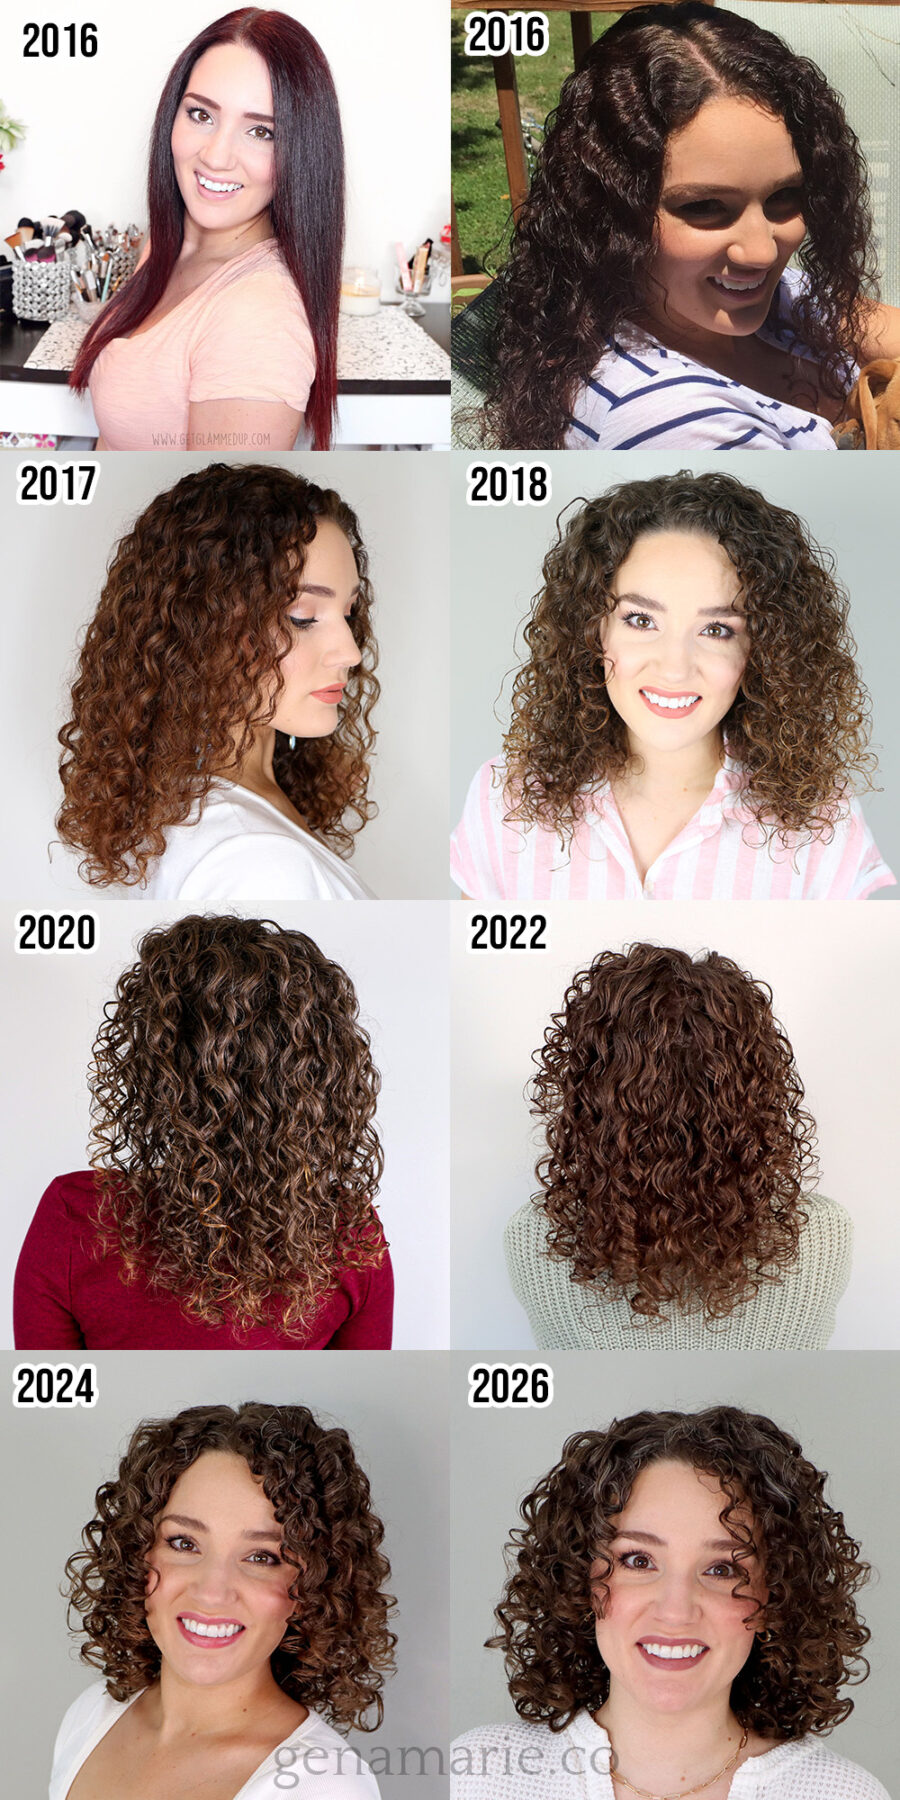
If curly hair advice has felt confusing or overwhelming, this routine is designed to cut through the noise and help you focus on what actually matters first. My hair may be very curly now, but I’ve been consistently wearing it curly without straightening or blowouts for over 10 years. Here’s a look at how my hair looked prior:
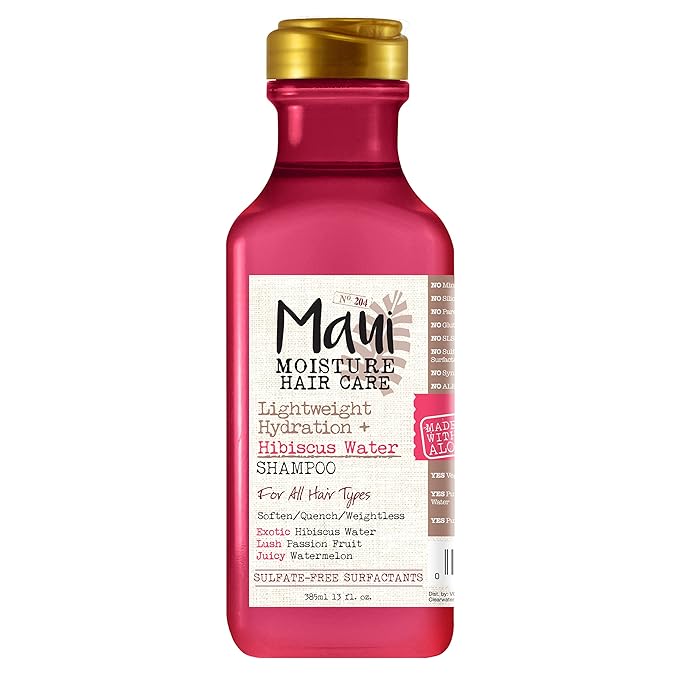
Step 1: Shampoo – Start With Clean HairWe’re starting with shampoo. Clean hair matters more than most beginners realize, especially if you want your curls to last. For this wash day, I’m using the Maui Moisture Lightweight Hydration Shampoo. It’s affordable, lathers well, and cleans thoroughly without leaving the hair overly soft or coated. You don’t need anything fancy here. Look for a shampoo that:
A common beginner mistake is using a shampoo that’s too softening. Many shampoos marketed for curly hair can weigh the hair down before you even start styling. Massage gently, cover the entire scalp, and rinse thoroughly.
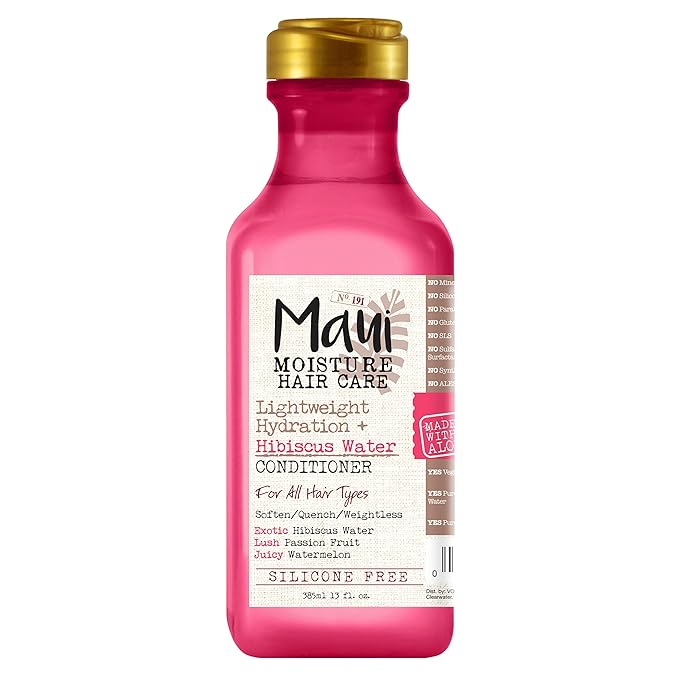
Maui Moisture Lightweight Hydration + Hibiscus Water Shampoo Step 2: Condition + Detangle (In the Shower)After shampooing, this is where conditioning and detangling actually matter. I’m using the Maui Moisture Lightweight Hydration + Hibiscus Water Conditioner. It’s lightweight, doesn’t contain oils or butters, and works especially well for fine hair, wavy hair, curly hair, or hair that gets weighed down easily. One of the most common mistakes I see — especially with looser curl patterns — is using a conditioner that’s too heavy. Even if your hair feels dry or frizzy, thick conditioners with a lot of oils or butters can reduce bounce and definition. You want slip without weight. With the conditioner in:
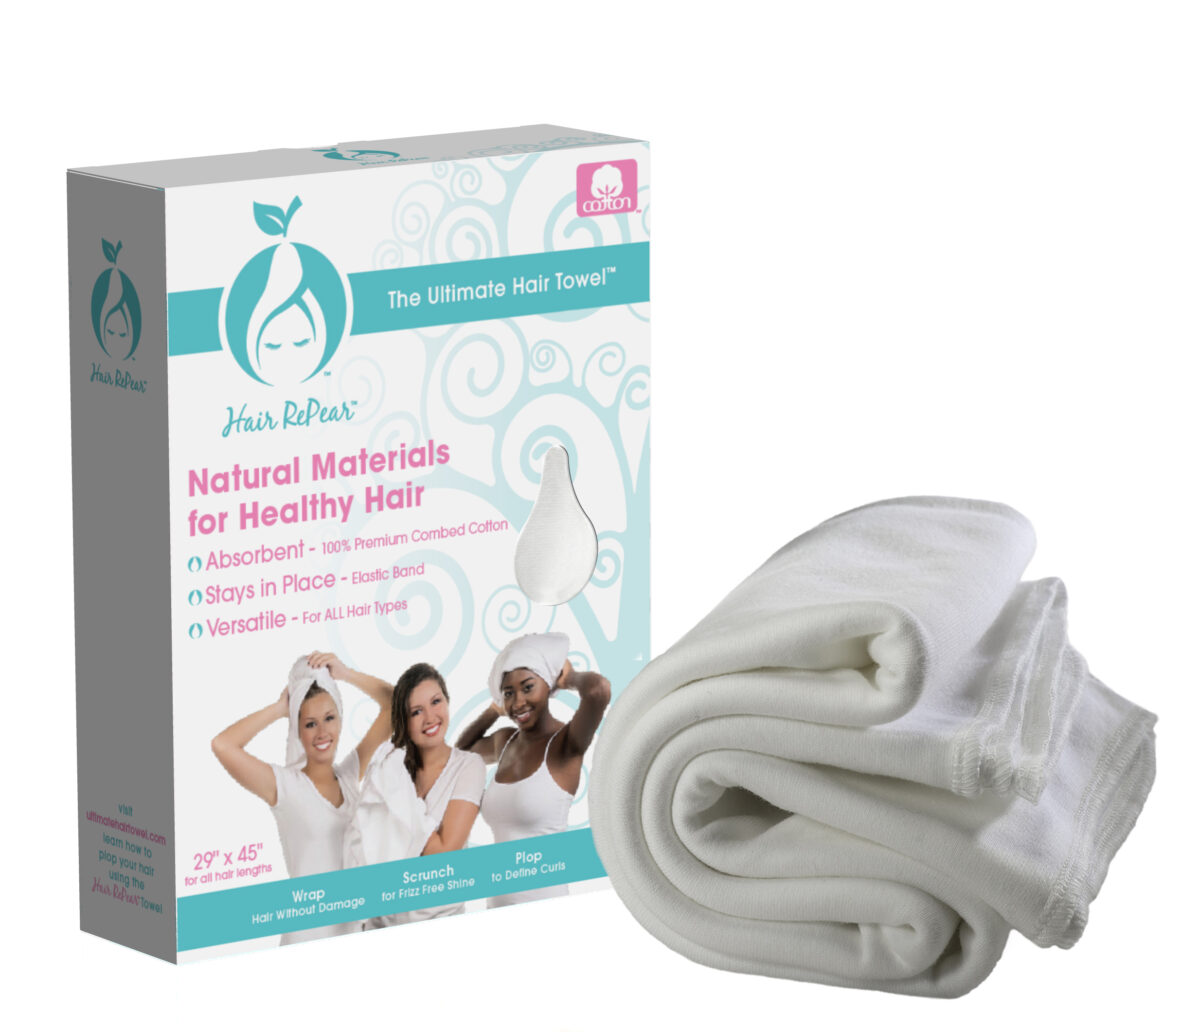
Maui Moisture Lightweight Hydration + Hibiscus Water Conditioner Detangling here helps distribute moisture evenly and creates space so curls can start forming instead of sticking flat to your head. Rinse thoroughly. Your hair should feel clean and soft, not overly silky or coated. After rinsing, run your hands through your hair to separate it slightly. This simple step allows curls to spring up naturally. Wrap your hair in a hair towel or T-shirt — not a regular bath towel — to reduce friction and frizz.
Hair RePear Ultimate Hair Towel Step 3: Prep (Optional)The next step is to prep the hair for styling. After taking down your towel, your hair should already be mostly detangled from what you did in the shower. If you’re taking your towel down and then trying to fully detangle your hair at this point, that’s usually too late. When detangling is delayed, the hair has already started to dry, which can disrupt curl clumps and create frizz before you even start styling. At this stage, we’re re-wetting and prepping so we have a smooth base to apply stylers. If your hair looks webby, frizzy, stringy, or stuck to itself, that’s a sign it’s too dry. Pause and re-wet. You’re going to need more water than you think to help curls clump and form. Your hair doesn’t need to be dripping, but it should be evenly wet and smoothed out before moving on.
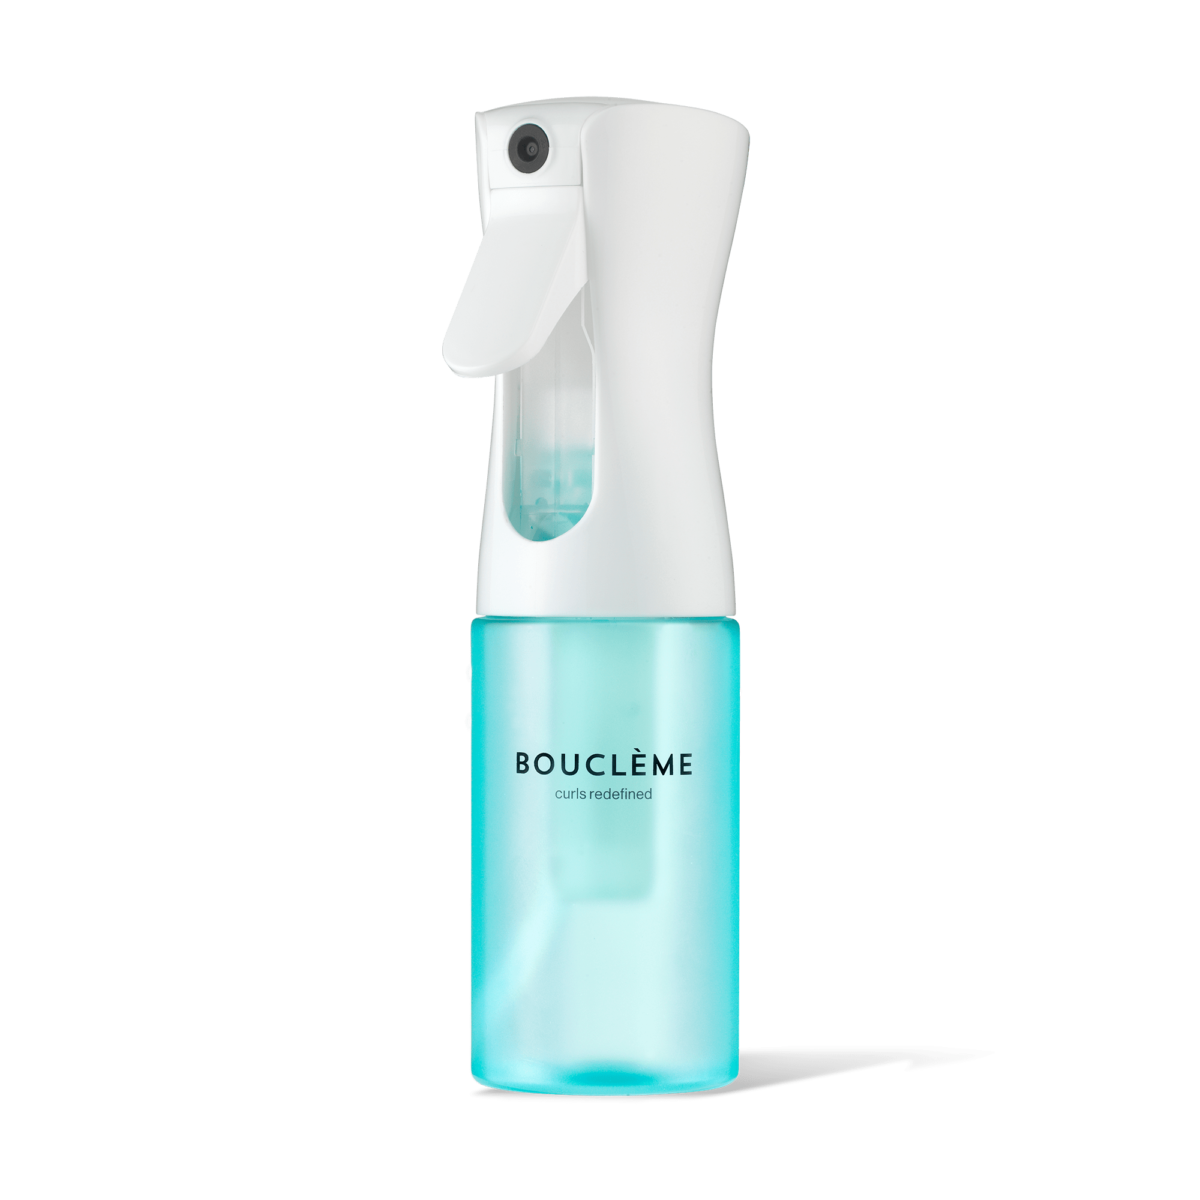
Bouclème Flairosol Mist Spray Bottle For prep, I’m using the Not Your Mother’s Leave-In Spray. It’s lightweight, adds slip, and includes heat protection. I apply it to my hands first, then work from the ends upward for even coverage. At this point, your hair may look smooth, flat, or even a little straight — especially near the scalp. That’s okay. Right now, we’re focusing on smoothing. Styling and volume come later. One helpful step here is gently reaching underneath the hair with wet hands and lifting it off the scalp. You’re not scrunching yet — just creating space so the hair isn’t stuck flat.
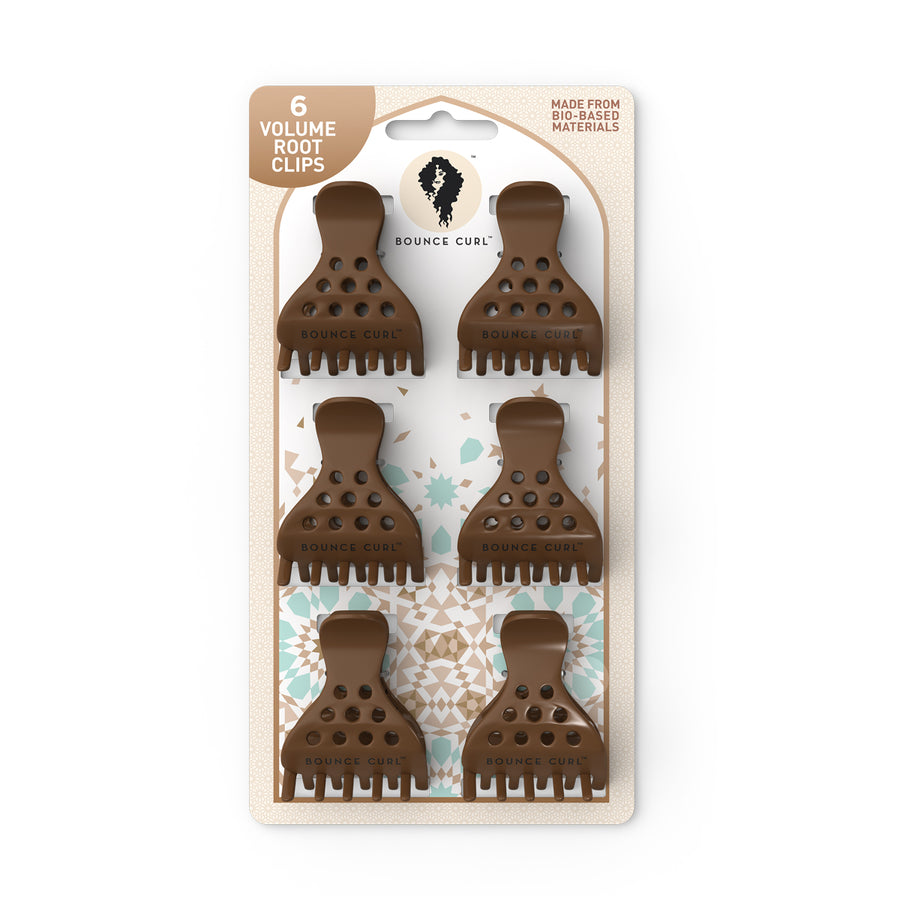
Not Your Mother’s Curl Talk Leave-In Conditioner Sectioning (Optional)Sectioning is optional, but it can make the next step easier, especially if you’re using a thicker gel. Keep section lines simple and use claw clips. I usually work in about three sections, depending on thickness.
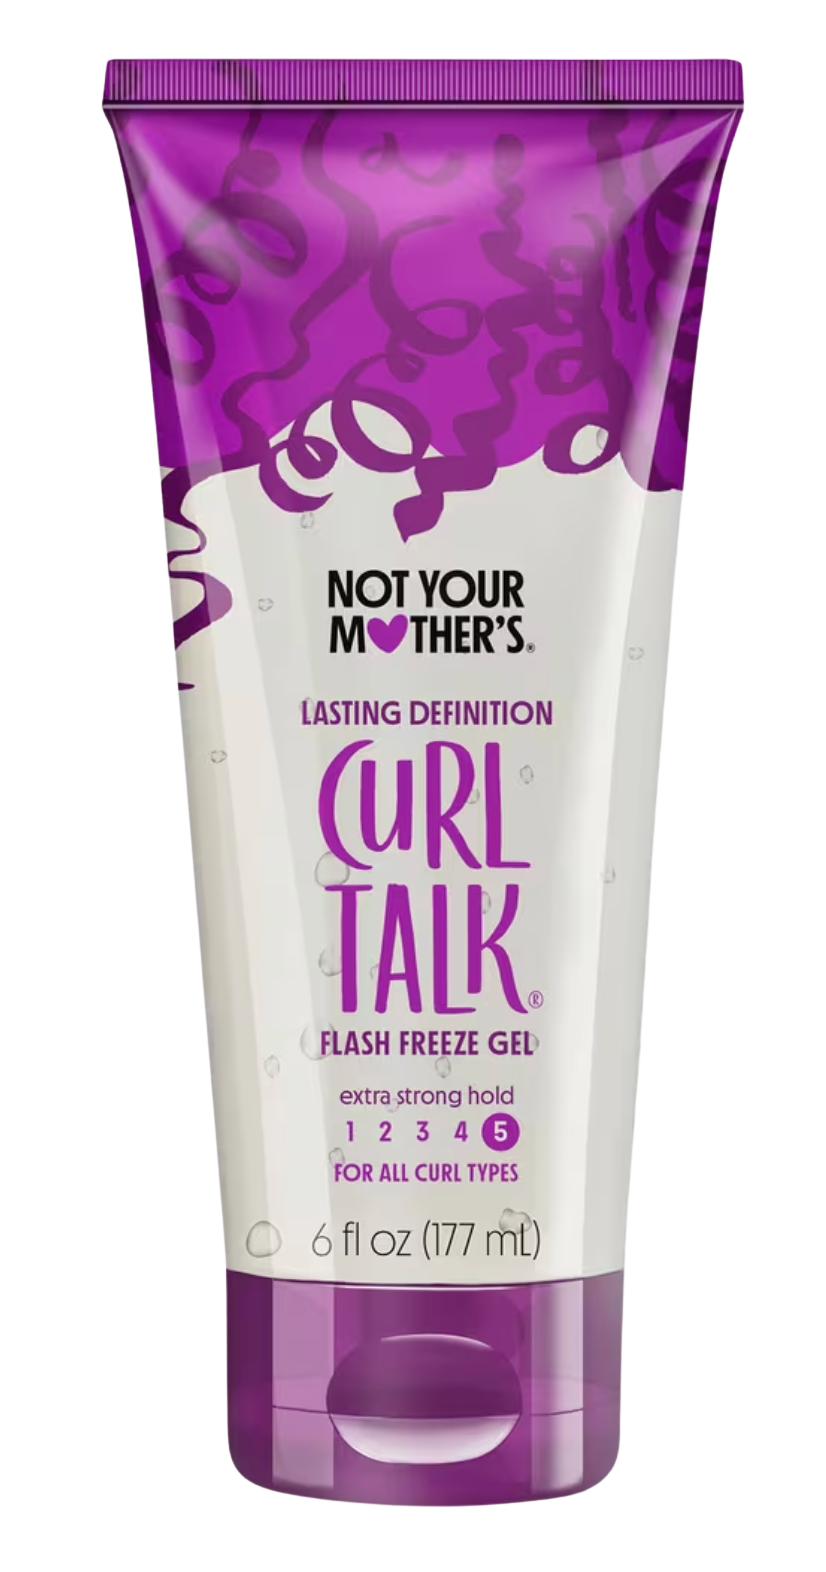
Bounce Curl Volume Root Clips Step 4: Apply Styler – Structure Comes FirstThis is the most important step. If you want curls that last, you need hold. For this wash day, I’m using Not Your Mother’s Curl Talk Flash Freeze Gel, Level 5 (not the Level 3 version). This is a strong-hold, gritty gel that helps give curls structure so they don’t fall quickly. A lot of beginners are taught to focus almost entirely on moisture when starting curly routines. The problem is that hair that’s very soft without enough structure struggles to hold a curl — especially if your hair is wavy, fine, or easily weighed down. This is where my approach is different. Instead of prioritizing maximum moisture, I prioritize structure first, using lightweight conditioning and a strong-hold styler. Moisture still matters, but without hold, curls stretch, fall, and don’t last.
Not Your Mother’s Curl Talk Flash Freeze Gel Before applying gel, it’s important to talk about how much to use. This depends on:
Thicker gels usually require less product. Start small and add more as you go instead of using a big glob. Because this gel is thick, I add water to help it spread. Mixing gel and water in your hands creates slip and helps with even application. I start at the bottom section, rake the gel through to smooth the hair, then scrunch to bring the curls back. This is the base method: smooth first, then scrunch. Remember, crunch is temporary. Skipping hold is one of the biggest reasons curls don’t last. If you really can’t stand thick, sticky gels while applying them, there are medium-hold drugstore alternatives you can try. Just know they may not give the same longevity:
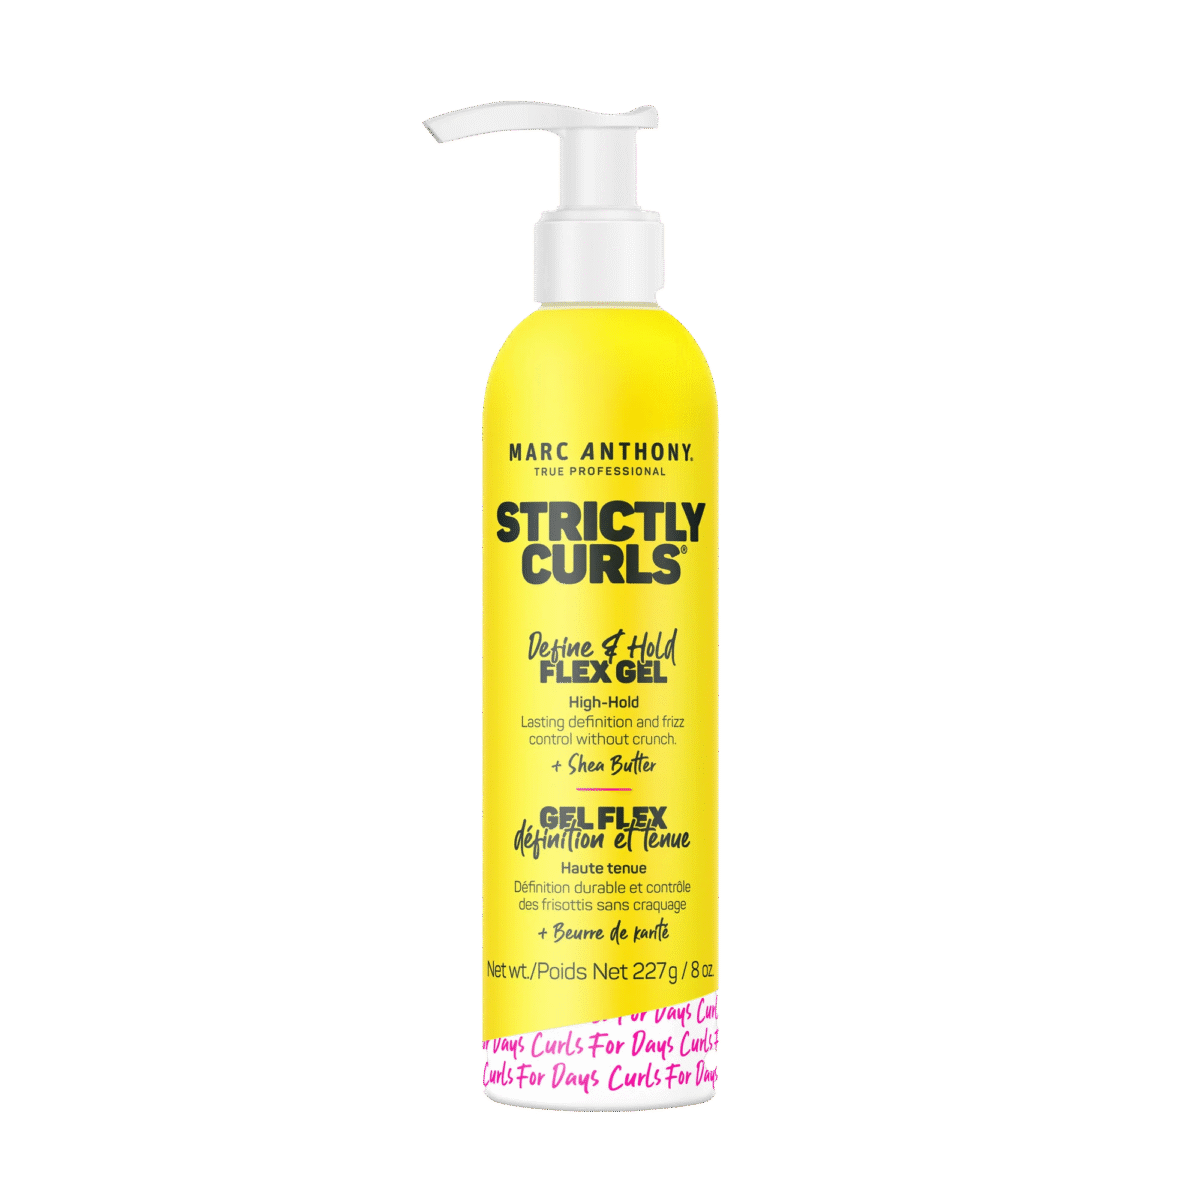
Marc Anthony Define & Hold Flex Hair Styling Gel
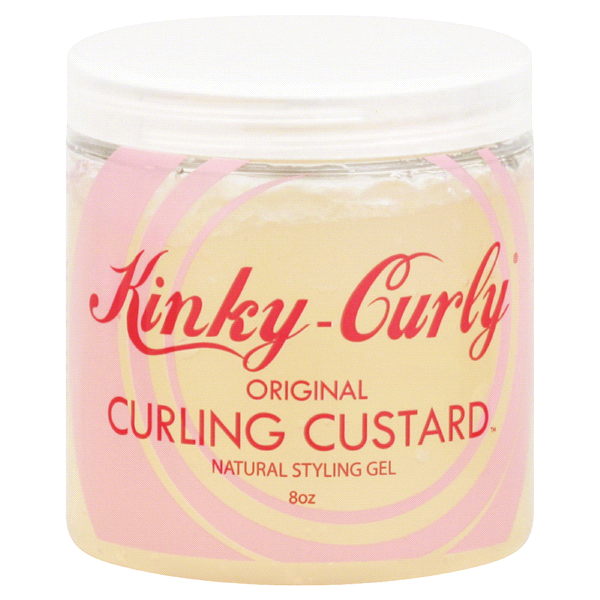
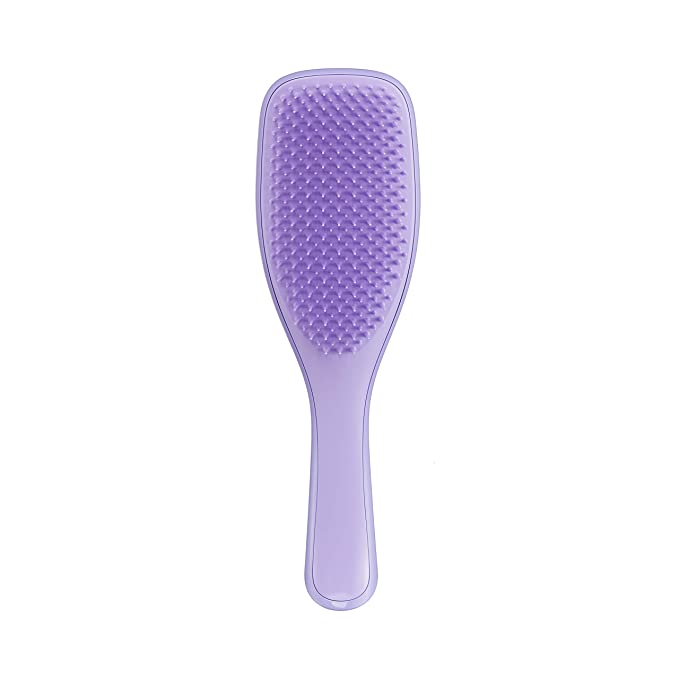
Kinky Curly Original Curling Custard Step 5: Style – Smooth First, Then DefineNow that gel is applied, here’s the key idea: Smooth first. Then scrunch. Smoothing distributes product evenly and creates tension. Scrunching brings the curls back. You have two options for smoothing: Option 1: Use Your Hands (Raking)Rake the gel through using your fingers. Keep your fingers closed together to create gentle tension and maintain curl clumps. Your hair may look looser or slightly straighter while you’re smoothing. That’s normal. Don’t worry yet. Once it feels evenly coated and smooth, scrunch upward to bring the curls back. Option 2: Use a Brush (Faster + More Even)You can also use a brush to smooth the product through. I’m using the Tangle Teezer Naturally Curly Brush. You’re not doing anything fancy — just running it through the hair to evenly distribute product. Don’t worry if your hair looks straightened after brushing. That’s temporary. Lightly lift the hair away from the scalp as you brush to create space at the roots. Don’t lift too high — the goal is separation, not stretching. Then scrunch.
Tangle Teezer Naturally Curly Detangling Brush Scrunch Between SectionsAs you work through each section:
This blending step is important. It helps encourage curl formation closer to the roots and prevents visible section lines. You should hear a soft squishy sound while scrunching. That means there’s enough water and product. The Final Scrunch (Very Important)Once all sections are down, gently shake the roots to loosen any part lines. Then give your hair one final, thorough scrunch — and don’t be afraid to use water here. If your hands feel sticky or the hair feels slightly dry, wet your hands and scrunch again. This final scrunch helps:
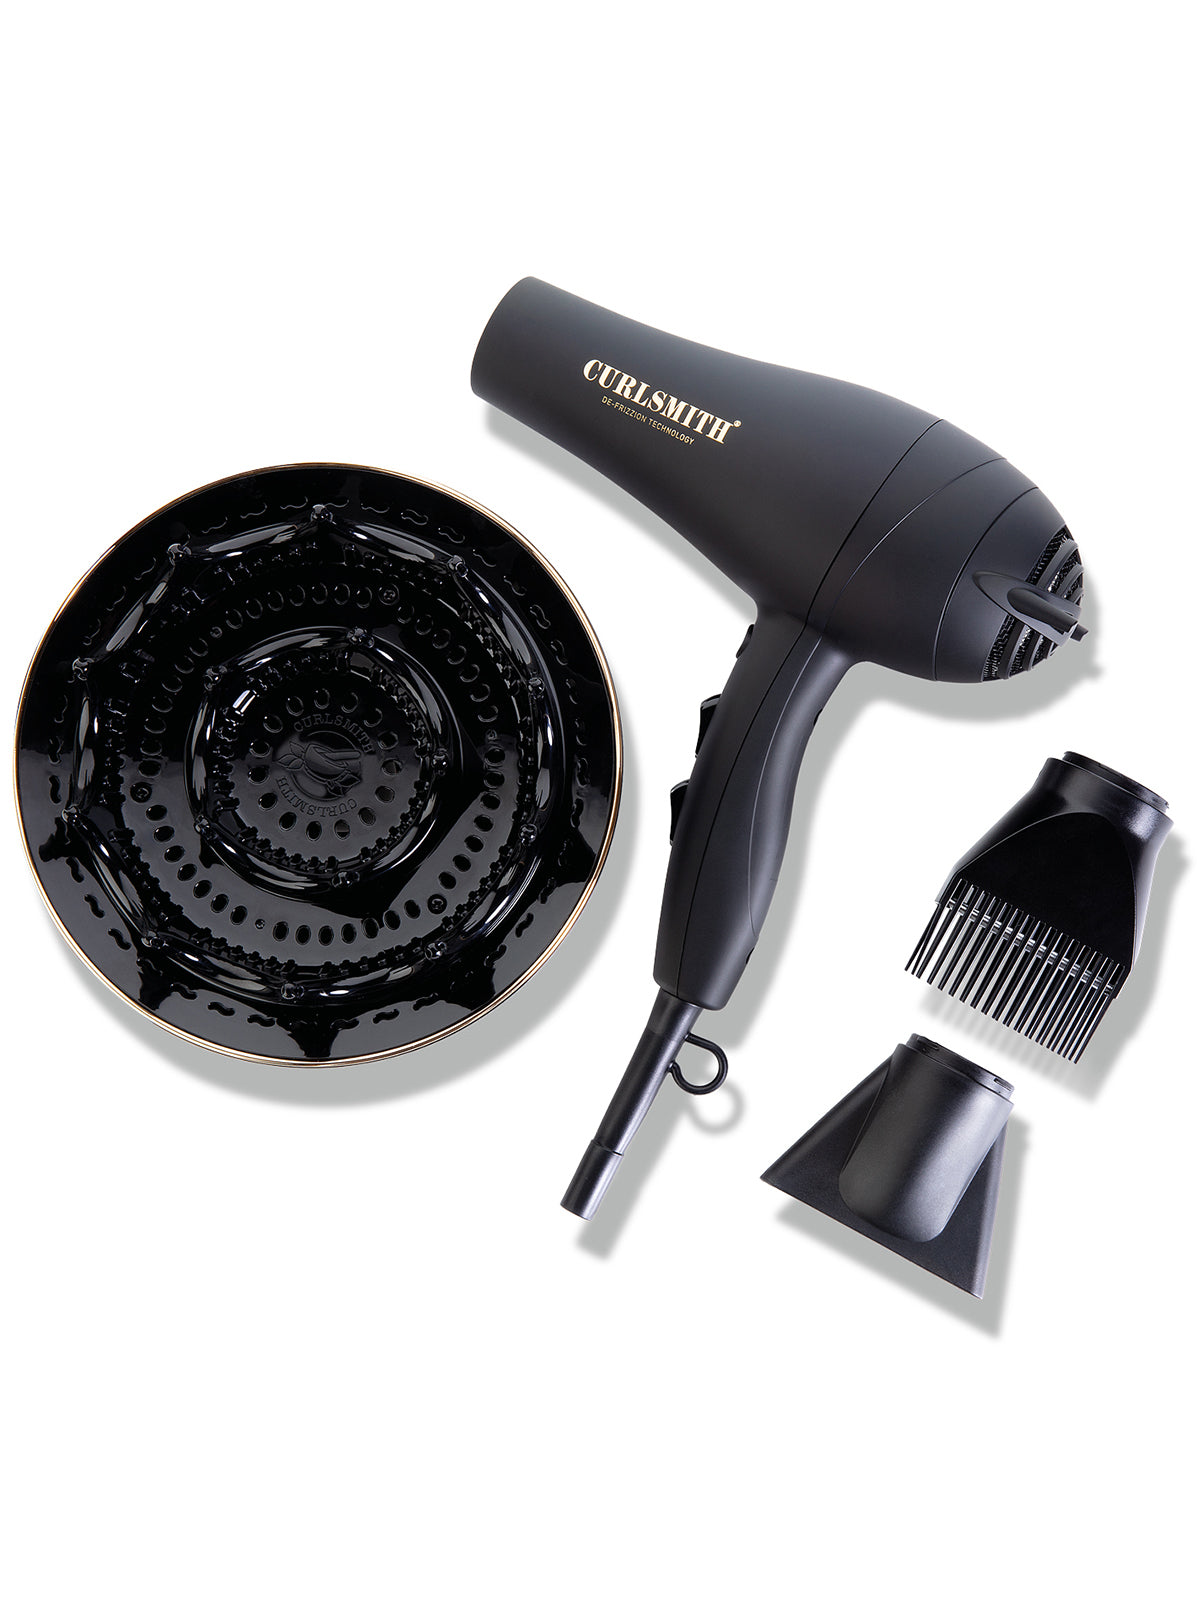
This step makes a big difference. Microplopping (Optional)If you styled with a lot of water, you can microplop to remove excess moisture and speed up dry time. Microplopping simply means gently scrunching upward with your hair towel or T shirt. If needed, you can add a very light glaze of gel mixed with water afterward to reinforce hold. This is optional. Now you’re ready to diffuse. Go straight from styling into diffusing. Don’t let your hair sit or air dry first — curls set best while fully wet. Step 6: Diffuse to Set the CurlsDiffusing helps set the curl pattern and lock in the shape you created. You can use any dryer and diffuser you already have. I’m using the Curlsmith Dryer with the XXL diffuser, but what matters most is the diffuser design. Look for a diffuser with long prongs that extend past the bowl. This makes it easier to reach the roots and create volume. I start by diffusing slightly upside down to set the front and sides, then flip upright and diffuse from underneath. Once partially dry, I use the prongs to gently lift at the roots. Avoid touching or scrunching too much while diffusing. Let the dryer do the work. Air drying tends to elongate curls, which can make it harder to see your true curl pattern — especially in the beginning.
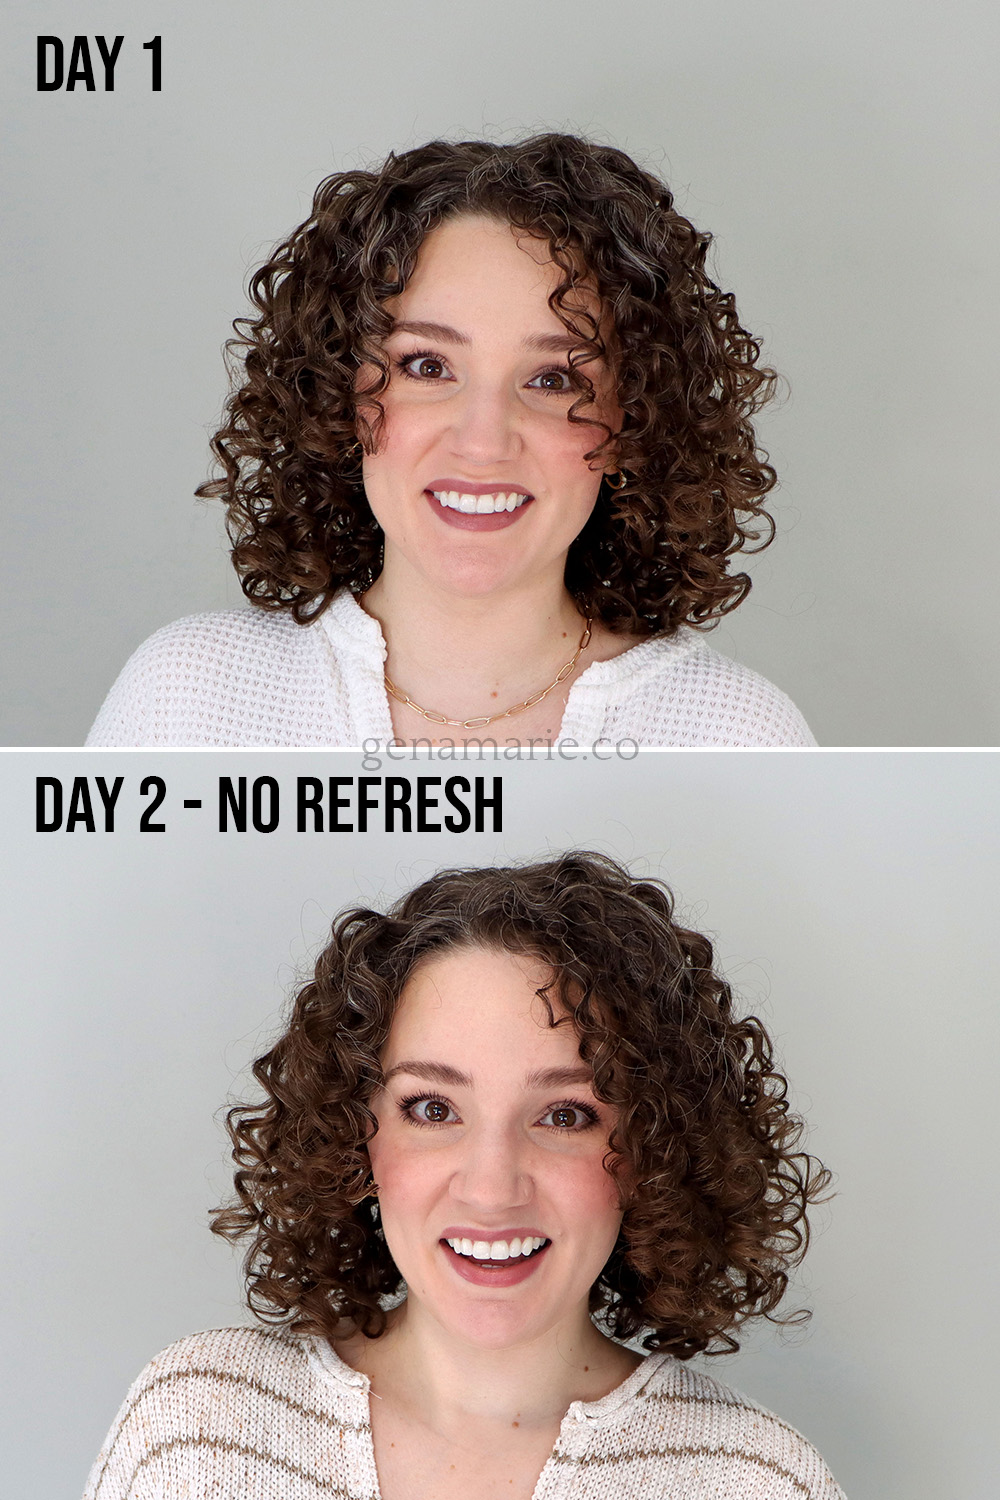
Curlsmith Defrizzion Hair Dryer & XXL Diffuser Step 7: Scrunch Out the CastOnce your hair is fully dry, scrunch out the cast using clean, dry hands. This removes crunch and reveals the final result. I recommend avoiding hair oils and serums if you want to maximize your hold and longevity, unless your hair is very brittle and coarse-textured. Day 1 ResultsThese are my day one results. And again, your hair does not need to look like this for the routine to be working. You’re looking for:
Frizz and inconsistency are normal at this stage.
Day 2 Check-InThis is day two. Not everyone gets here yet, and that’s okay. This is not something you judge after one wash day. Remember, when wearing your hair naturally curly, you do not need to wash and style daily. A full routine should only be done a few times a week, depending on your scalp type. I’ve designed my Strong Hold Method to help your curls last longer with minimal effort needed in between. You should not need to soak your hair down daily and restyle. Longevity improves with repetition and consistency. What to Do NextIf you tried this and feel unsure, don’t change everything yet. Repeat the same routine a few times and observe how your hair responds. This post is part of my Beginner Curl Series, with more content coming on damage recovery, what to stop and start doing, and how to know if you’re giving your curls a fair chance. If you want help getting longer-lasting results, download my free Strong Hold Method or join Group Coaching for personalized guidance. Today is the last day to save $100 off when you save your spot early for the Spring Curl Coaching Program.
|


Gena Marie
Curly hair coach helping you better understand your naturally curly hair through easy-to-follow tutorials, science-based haircare tips, and problem-solving.
A complete breakdown of every sleep protection method, who each one is best for, and how to choose If your curls look good before bed but worse in the morning, your styling routine usually isn’t the problem. Your sleep protection is. Most people either skip sleep protection entirely, or they try one method once, it doesn’t work, and they give up. But sleep protection isn’t one-size-fits-all. The method that works for someone else’s hair might actually be making yours worse. This is part of...
If you’ve been adding products to your curl routine hoping something finally clicks — this is the post to bookmark. Most curl routines don’t fail because the right product hasn’t been found yet. They fail because the foundation was never built in the first place. Before you buy anything new, check whether you actually have what matters most. This post covers the exact products and tools I start every client with — and the ones I almost always remove first. The Full Foundation Checklist Here’s...
If your curls look great right after diffusing but frizz out, collapse, or lose definition by the end of the day — you’re probably not dealing with a product problem. You’re dealing with a routine problem. Most people assume they need a different gel, or more moisture, or a better leave-in. But if the underlying routine isn’t balanced, switching products just moves the problem around. This is something I see with curl coaching clients all the time. They’re using good products, but the routine...