Curly hair coach helping you better understand your naturally curly hair through easy-to-follow tutorials, science-based haircare tips, and problem-solving.
Are you using the right amount of product? Side by Side Test
|
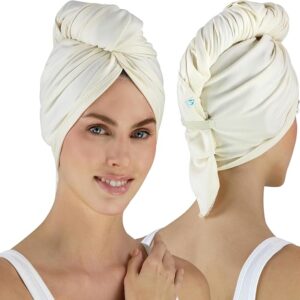
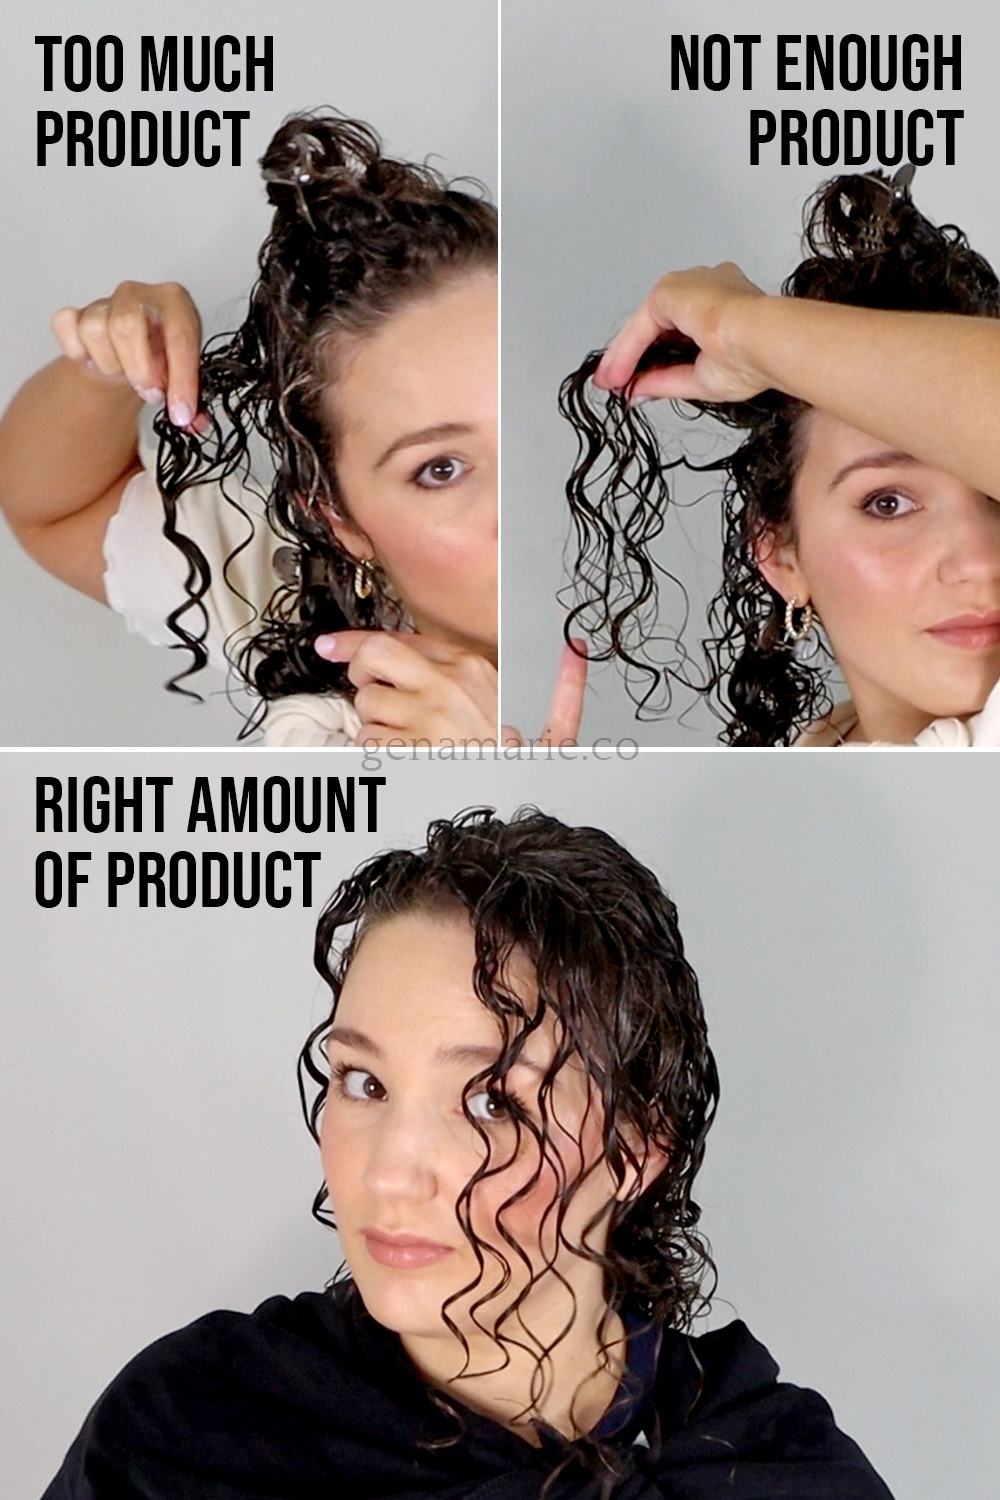
If your curls are falling flat or frizzing fast, the problem might not be the product — it could be how much you’re using. Today, I’ve put it to the test. I styled one side of my hair with too much product, one side with not enough product, and I’m showing you examples of what the right amount looks like. Through my curl coaching membership (now open for enrollment for $100 off), I help my clients determine exactly how much product they need based on their hair type. Step 1: Water + Heat protectant (optional)First, I took my hair down from my Hair RePear towel, made sure my hair is evenly wet, and applied my heat protectant. Water is a “product” too — too much can dilute the hold of your styler, while too little gives you patchy application. While it isn’t the focus of this test, there is such a thing as too much/not enough water.
Hair RePear Premium Cotton Hair Towel, Not Dyed
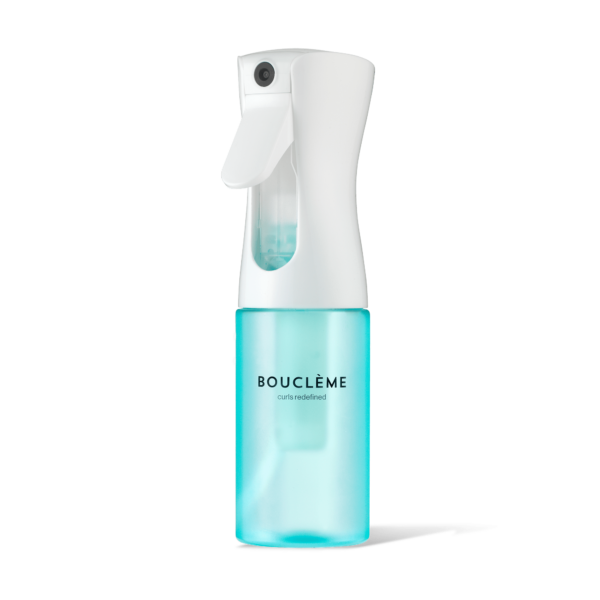
Bouclème Flairosol Mist Spray Bottle
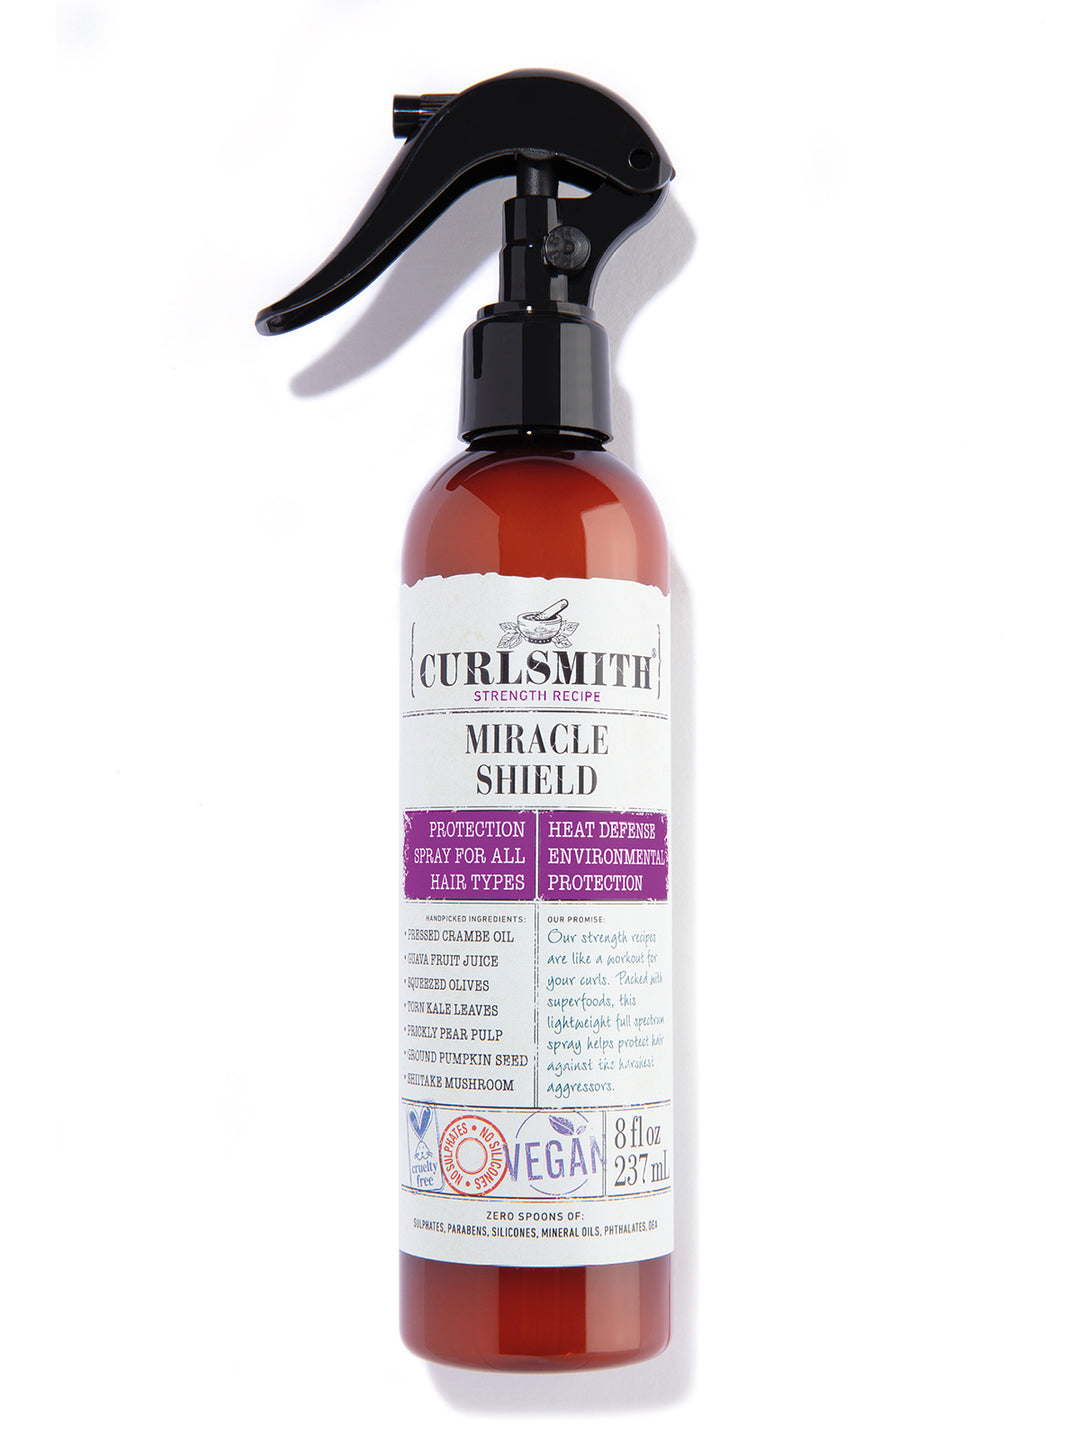
Curlsmith Miracle Shield Heat Protection Spray Too much water: Hold of your styler will be diluted and potentially cause you to pick up more product that you don’t need, which can be wasteful. Too little water: Not enough water can cause a stringy look and result in frizz and uneven curls from patchy application. Not enough water can also cause you to compensate with too much product, trying to wet and clump the hair, leading to a buildup feeling. For today’s experiment:
Everything else in my routine stayed exactly the same – same wash, same stylers, same drying method – so we can isolate this one factor of the amount of styler. Step 2: StylerWhen it comes to your styler, using too much or too little can completely change how your waves and curls form and hold. This can be from using too many products OR too much of a product.
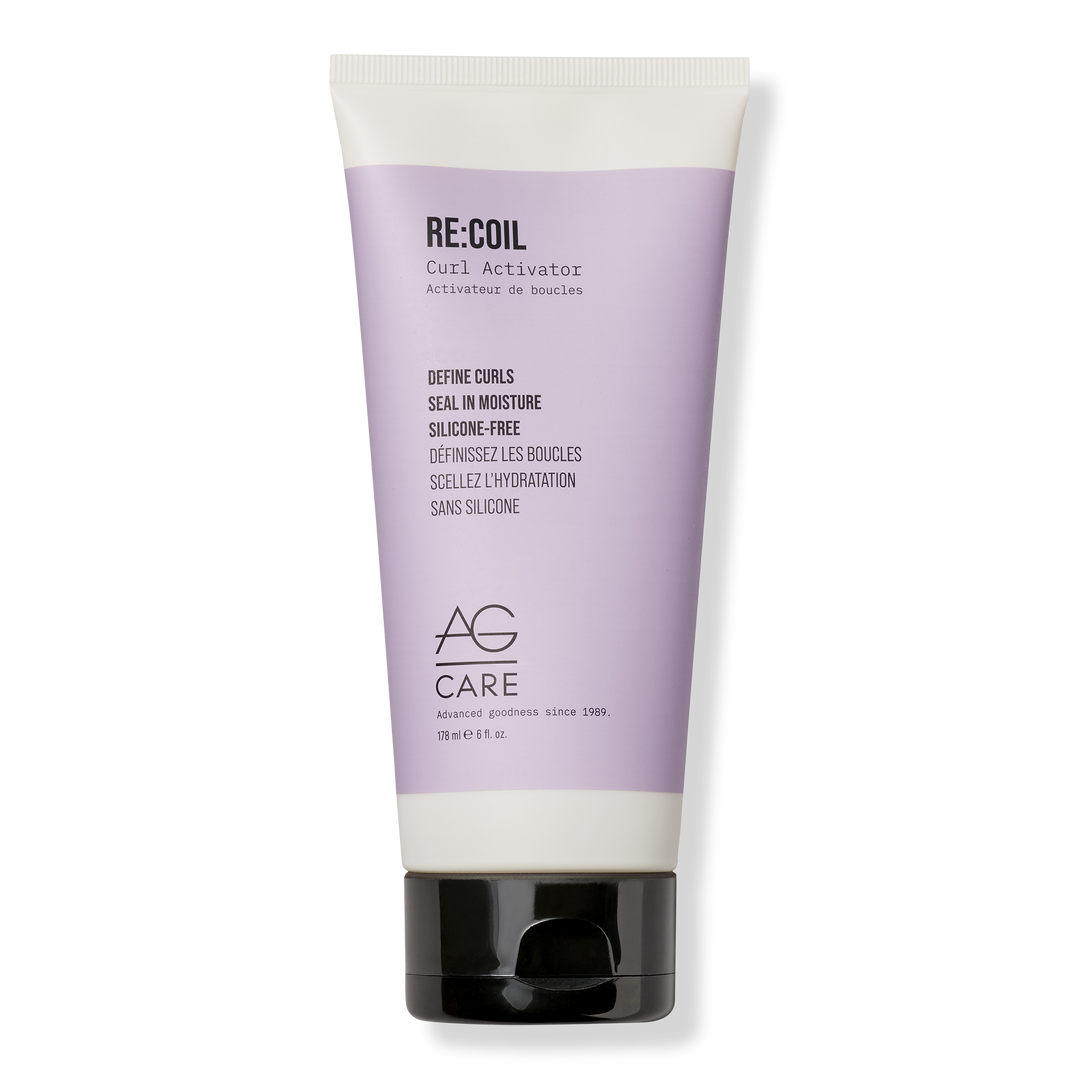
AG Re:coil Curl Activator
Curlsmith Fragrance-Free Strong Hold Gel Today I started with the AG Re:Coil Curl Activator Cream as my first styler. I chose this one today because I often see people not get the amount just right. It’s very concentrated, meaning a little goes a long way, and when you rub your palms together, it forms a white film. For my gel, I used the Curlsmith Fragrance-Free Strong Hold Gel. This a gel that you need to experiment with to get the right amount. In my experience, I often get the look of “too much” opposed to “too little” gel. Signs of Too Much Styling ProductWhen you’ve used too much, you’ll usually notice a few things:
Signs of Not Enough Styling ProductWhen you haven’t used enough product, the signs are almost the opposite:
Signs of the Right Amount of Styling ProductWhen you’ve used the right amount of product for your hair type and your styler type:
How to apply the right amount of product:
The key is to adjust in small amounts until you find the right balance for your hair. Step 3: StylingOnce I applied gel, I brush styled for even distribution and definition. On my top section, I finger coiled the front pieces for root lift.
Tangle Teezer Naturally Curly Detangling Brush Step 4: Microplopping + Extra Gel (if needed)After styling, microplopped and added an extra layer of gel for added hold. If you notice your hair doesn’t feel right, this is the point in your routine where you can best “fix” it. You want to make sure to do this before diffusing. Once the hair is dry, it’s much harder to “fix.” So, here are some ways to “fix” having too much or not enough product: How to Fix Too Much Styling Product:You’ll need to remove the product while your hair is still wet when styling.
This is difficult to fix when refreshing, so I recommend re-washing if needed. You can try wetting your hair and scrunching with a towel but you may notice frizz. If you can’t get your cast out once dried, you can try using your diffuser to scrunch it out and some oil. How to Fix Too Little Styling Product:If you didn’t apply enough styler, this can be fixed wet or dry; however, it’s easiest to fix while wet.
If you’re refreshing, you can do the same thing by adding more gel. You’ll likely need some water too. You may notice frizz within the inner layers if you’re just glazing over the surface. Doing a full refresh where you wet your hair down and add more product in sections is not ideal. Step 5: DiffusingNext, I diffused and used the same routine, same settings, and same technique on both sides. Diffusing sets the gel cast and freezes the curl shape in whichever position it’s in while drying. This is why I like to gather the hair in the diffuser and press it up towards my scalp. Then, I use the prongs to lift the roots to create volume. Diffusing helps my curls to dry more defined and last longer, so I always diffuse. But, if you don’t have the time to fully diffuse, just diffuse for a few minutes to set your cast then finish air drying.
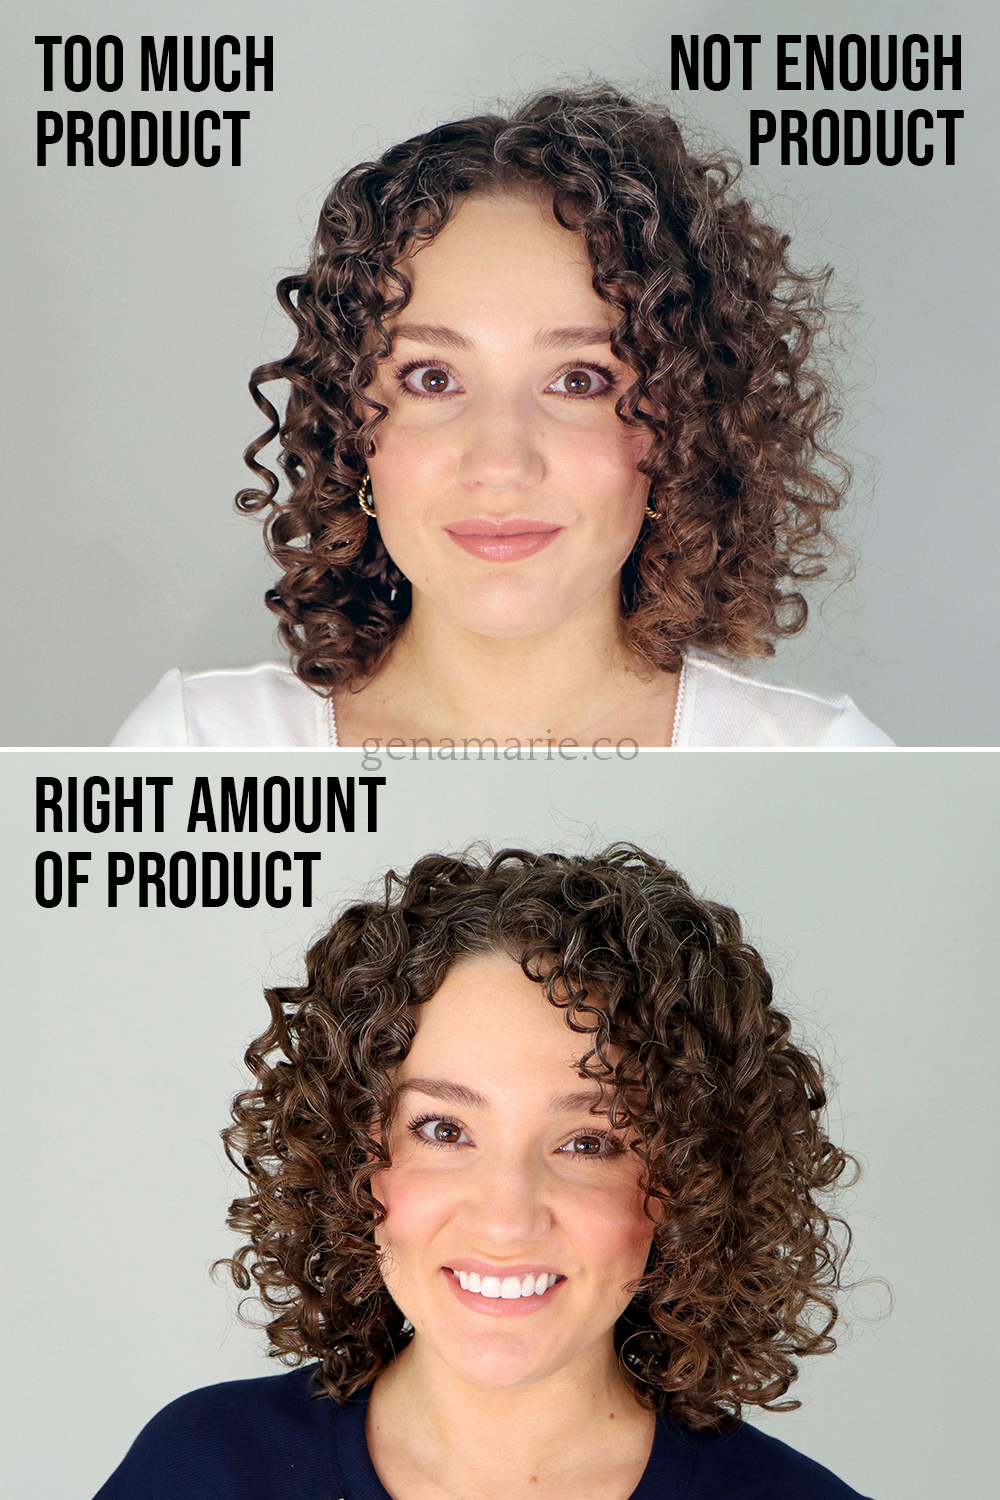
Curlsmith Defrizzion Hair Dryer & XXL Diffuser Step 6: Scrunch out the crunchOnce your hair is dry, you can leave the cast in if you want it to last longer, or scrunch out the cast for a softer look. With dry hands, reach underneath and shake out the roots. Gently scrunch the lengths until it softens up. If your hair is coarse or you live in a dry climate, you can use a little oil when scrunching out the cast. But I usually avoid this because oil on top of gel can shorten your hold. I have also found that when I go to refresh, I struggle to get my hold back with the oil in the way. Results Comparison
Too Much Product
Not Enough Product
Just the Right Amount
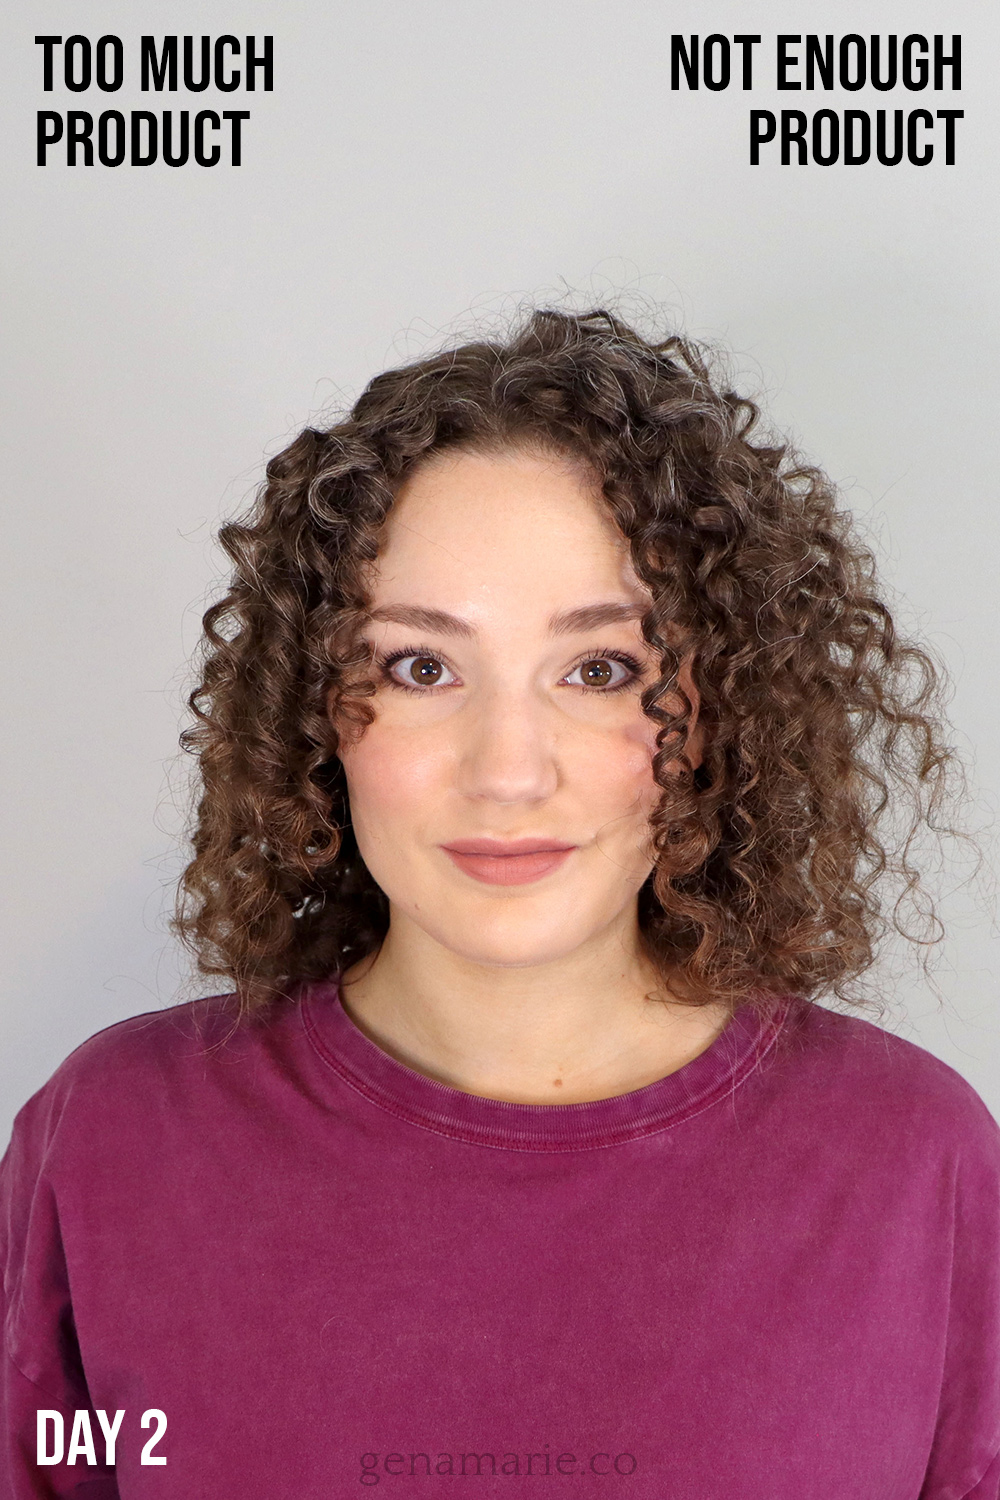
Day 2 Results
By day two, the differences between the two sides were even clearer. The side with not enough product became much frizzier, especially on my higher porosity ends, and some pieces even straightened out from lack of hold. On the too much product side, the curls still looked clumped, but they felt sticky and product-y, with residue transferring onto my hands. My roots were stuck flat, making it hard to fluff or add volume. In contrast, when I use the right amount, I usually get soft, touchable definition that still holds up on day two without feeling coated or frizzy. The Secret is in the ApplicationWhen we don’t get the results we want, we usually think it’s a problem with the product. Sometimes it’s not that a product “doesn’t work” — it’s that you’re not using the right amount for your hair type, density, or porosity. Or, the formula itself just isn’t the right fit. And keep in mind, how much you need will depend on the product type. Some gels are more forgiving if you use a lot, while others will easily look like too much if you go heavy-handed. It also could be HOW you’re applying your product. And that’s where my Strong Hold Method comes in. It guides you through the steps to make sure you have the best chance of success.
Still stuck?Finding your perfect amount takes some testing — and that’s exactly what I help you do inside my Curl Coaching Membership. I’ll walk you through how much you need, often with products you already have, and help you adjust until you’re getting results you love. If you want more personalized help and feedback from me every week, email me to join the Fall Coaching Program for $100 off until end of day Aug 31.
|


Gena Marie
Curly hair coach helping you better understand your naturally curly hair through easy-to-follow tutorials, science-based haircare tips, and problem-solving.
Do your curls or waves not last through the end of the day — or frizz up almost immediately?In this week’s video, I answered your most common questions about getting longer-lasting results and troubleshooting frizz and flattening, all while testing two new Not Your Mother’s Curl Talk products. Q&A Highlights These were some of the top questions I answered during the video — here’s a short summary of each.(Watch the full video for detailed examples and demonstrations!) 1. What if mousse isn’t...
Do your curls feel sticky, flat, or look worse after refreshing? You’re probably doing too much. Today, I showed you how to refresh your curls the right way — light, bouncy, and without that producty feel. What I Used on Wash Day A good refresh starts with using the right products on wash day and using my Strong Hold Method to apply them for maximum longevity. This was a day 3 refresh. On wash day, I used: Innersense I Create Lift Volumizing Foam Innersense I Create Curl Memory If you used a...
If you’re using the wrong curl cream for your hair type, it could be causing more frizz or weighing down your hair. Today, I’m breaking down the best curl creams for soft vs. rough curls and waves, how to tell what your hair actually needs, and when you might want to skip curl cream altogether. Soft Finish Hair (Hair that feels silky, limp, or overly moisturized; struggles to hold curl or volume) Look for: Lightweight formulas – fewer heavy oils or butters Low to moderate conditioning to...