Curly hair coach helping you better understand your naturally curly hair through easy-to-follow tutorials, science-based haircare tips, and problem-solving.
How to Finally Get Rid of Your Flat Middle Part and Style for Root Volume
|
If your curls keep separating into a flat middle part and you’re not able to get any root lift — your roots stretched out, not curling — you might be reinforcing it when you’re styling without even realizing it. In this post, I’m going to walk you through what causes this flat part and how to create more root volume, more lift at the root, and even more curl at the root. There’s nothing wrong with a middle part if that’s the look you prefer with your curls. But if you’re someone who wants more volume, this is for you. I’ll cover two styling methods — a quick simple version and the sectioned method I use when I want more volume — plus three different parting methods within the sectioned method, and exactly how to diffuse, finish, and maintain your volume into day two. PrepStart with clean, damp hair. Mist it with water so it’s evenly wet, then apply a leave-in conditioner with heat protectant. I’m using the Kristin Ess The One 12-in-1 Leave-In Primer with heat protection up to 450 degrees. Rake it through, focusing on the ends and working the rest upward. Before we get into the styling, I want to walk through the most common mistake that locks in a flat middle part — and the simplest fix you can make right now. Kristin Ess 12-in-1 Leave-In Primer The Most Common Way People Lock In a Flat Middle Part❌ Mistake: Ignoring your part when styling
The result: roots that look flat and stretched, scalp showing more than it should, and curls smooshed together with no space between them. Everything stays stuck to the head, the curls look stretched out, and any natural cowlick or split gets reinforced. If you have natural curl at the root that you’re not bringing out, this method hides it. You might not even realize how much curl you actually have at the root because the styling is preventing it from forming. ✅ The Fix: Styling Method 1 — Quick & SimpleIf you prefer a simple method and don’t want to section, here’s the simplest fix.
The key difference: your scrunch goes all the way to the root, not just the ends or mid-shaft. This is what springs the curl up. And by reducing the length of your part and directing hair back instead of into a split, you stop reinforcing the flat shape. Even with this simple, low-effort method — no brush, no sectioning — you’ll see more curl definition at the root, more scalp coverage at the back, and visibly less of that deep parting line. ✅ The Fix: Styling Method 2 – Section for Volume MethodThis is what I actually do when I want maximum root volume. Sectioning is nothing too complicated, but it really makes a big difference, especially if you want a lot of lift. I section into about three to four sections, working from the bottom up. Tools and Products
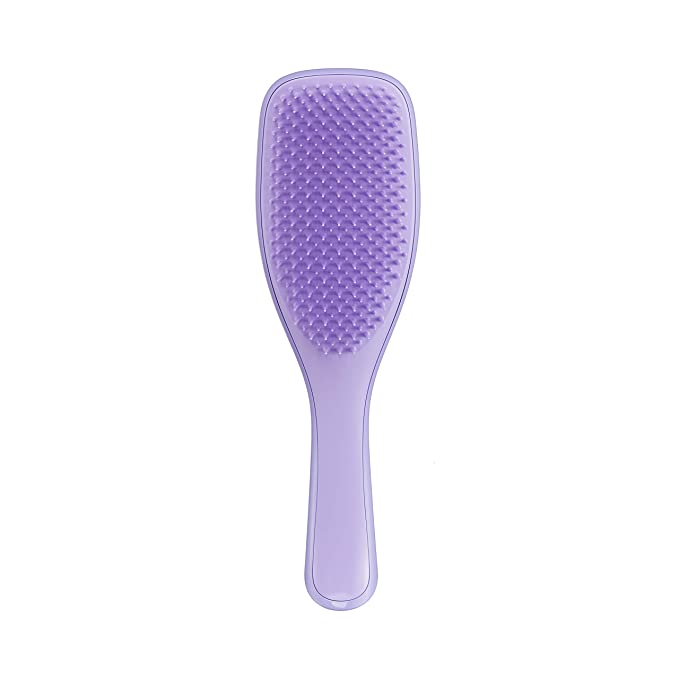
I chose the Tangle Teezer for this tutorial specifically because I can better control the curl clump size. I’m actually trying to reduce clumping at the root to create more volume. If you have a brush like the Bounce Curl Volume brush that gives you a less-clumped look, that works too.
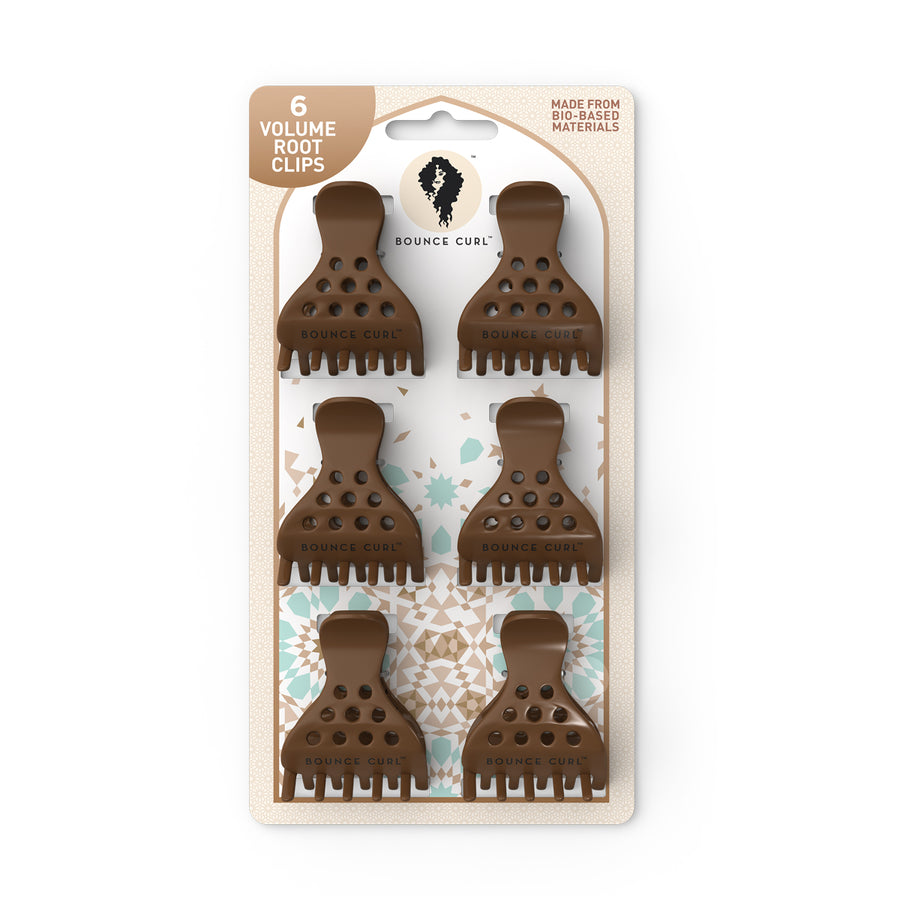
Bounce Curl Volume Root Clips
Tangle Teezer Naturally Curly Detangling Brush
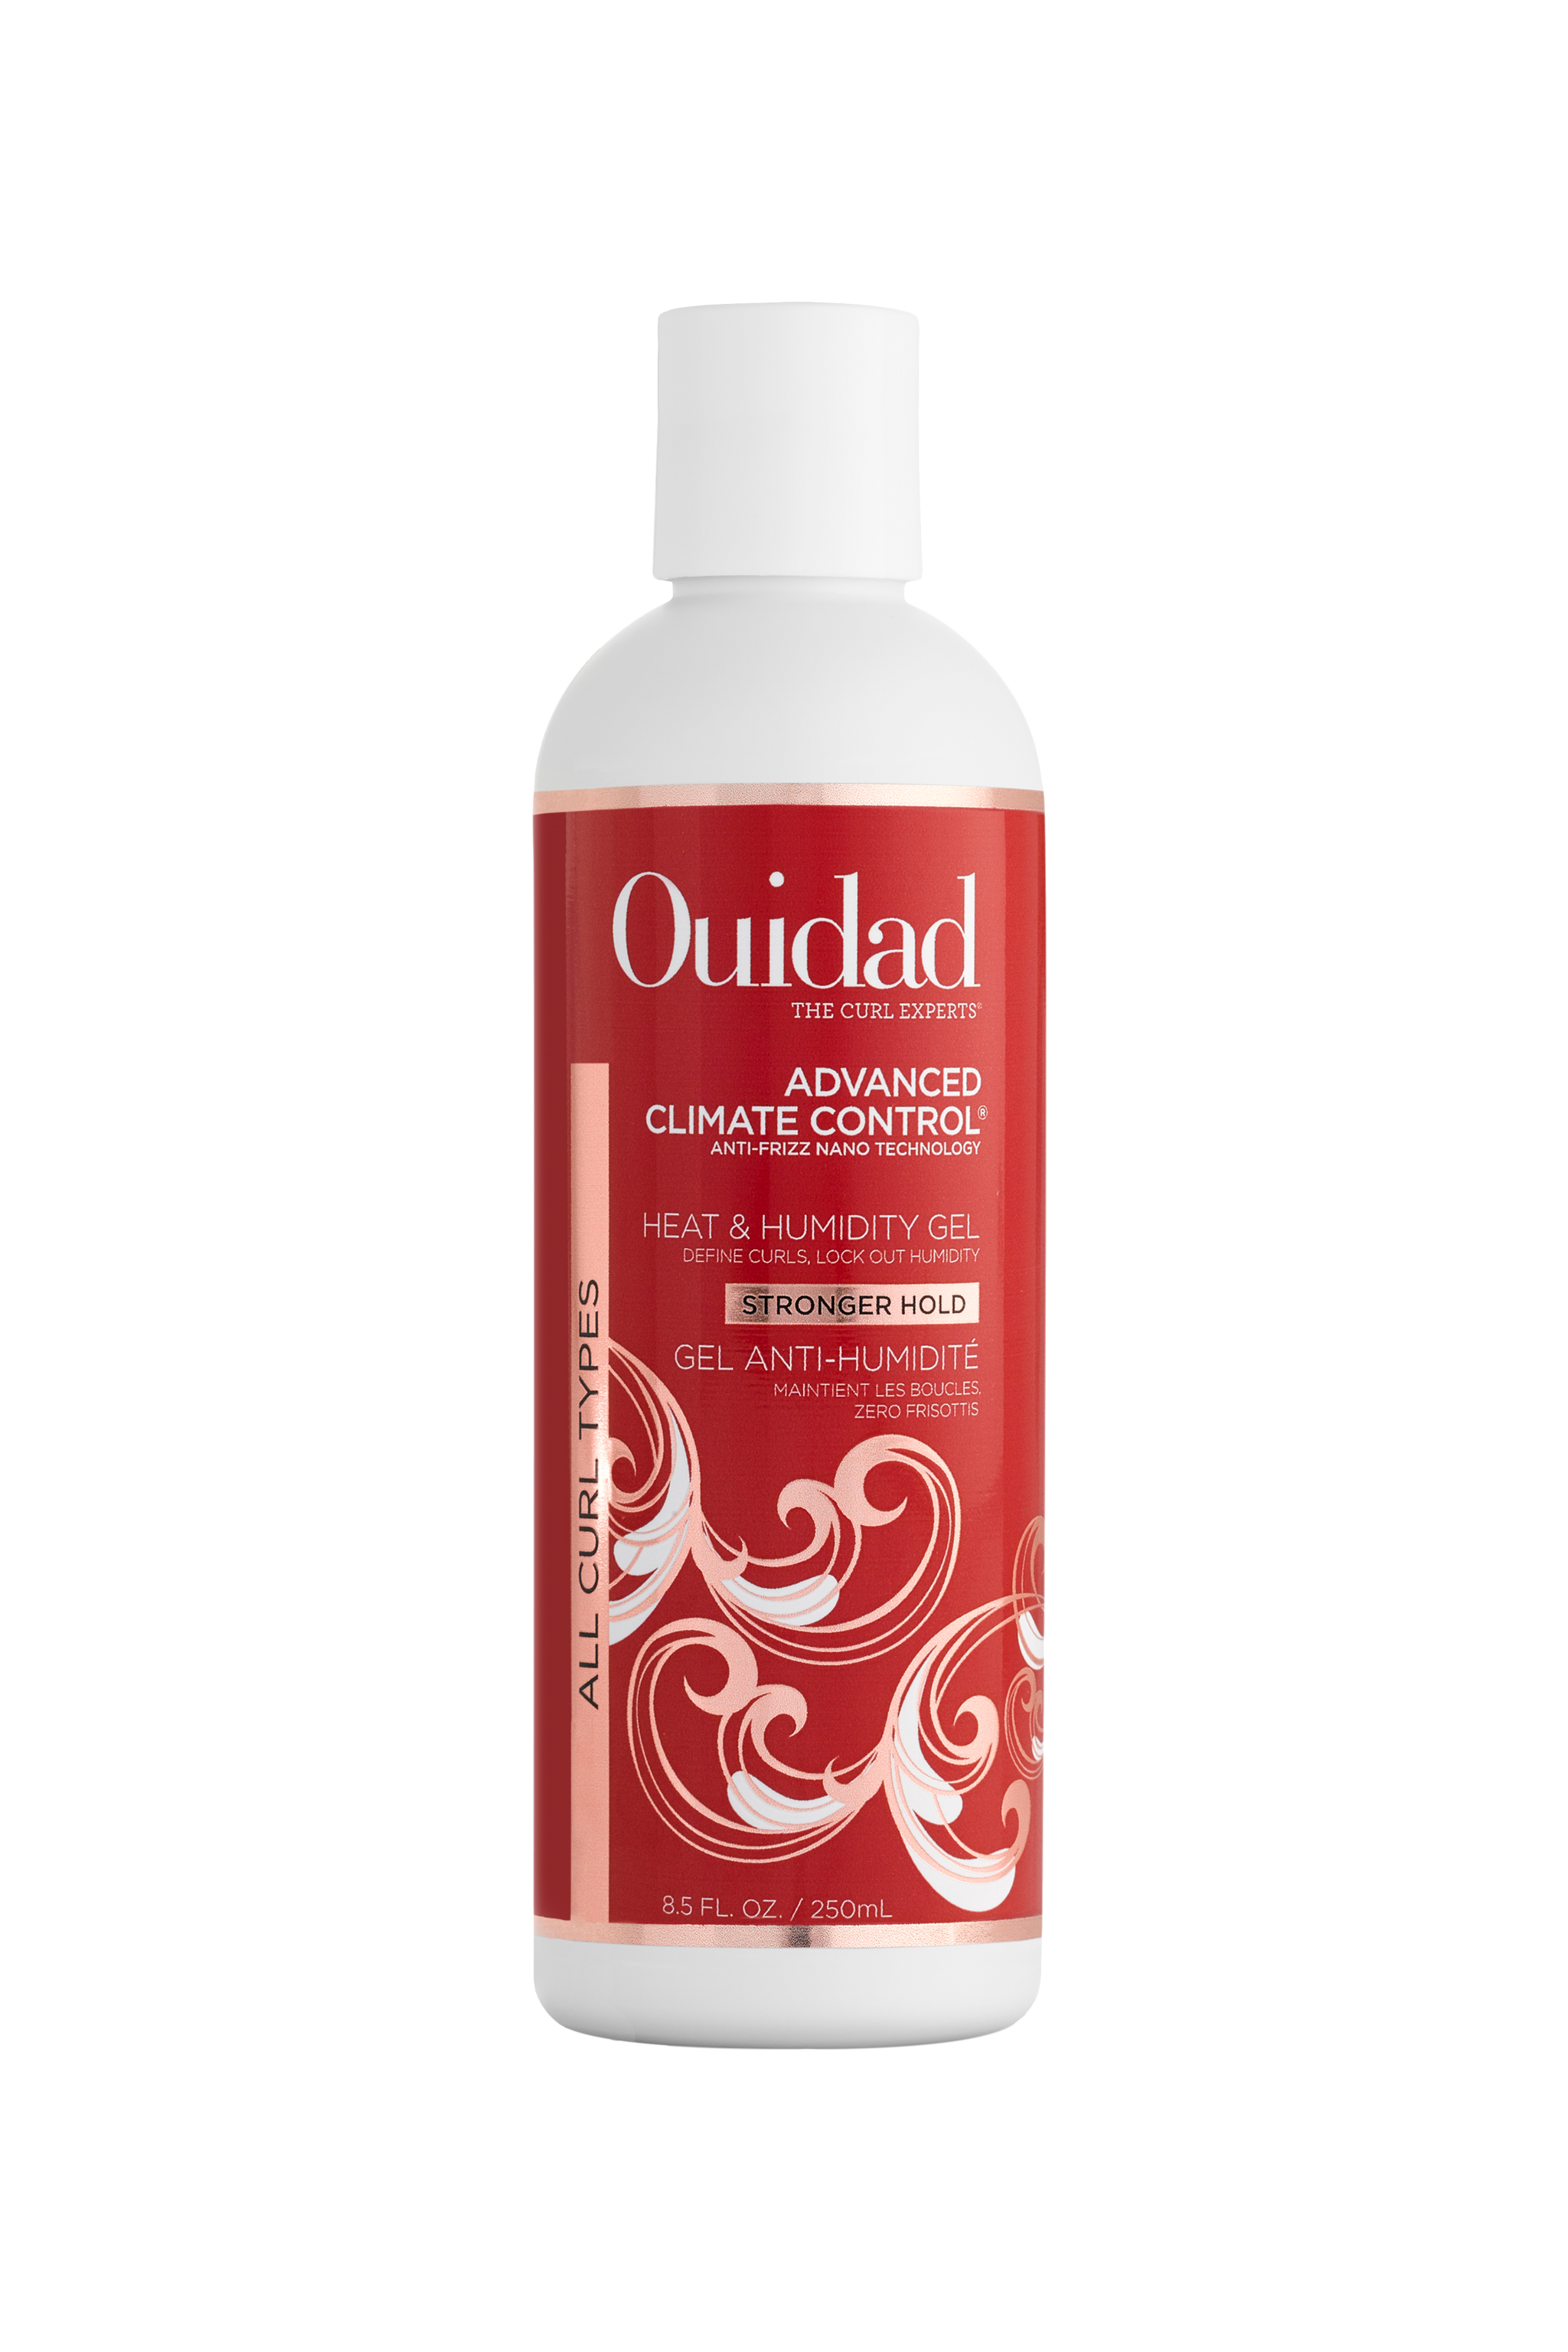
Ouidad Advanced Climate Control Heat & Humidity Stronger Hold Gel I work with the curve of my head rather than against it. Picture your head as having three different shapes — a flat shape on top, a diagonal shape on the corners, and a straight shape on the sides. Your sections should follow those shapes. For the crown section, I create a horseshoe shape that goes around the back of the head. It doesn’t have to be perfect, but a cleaner section line makes everything easier. Avoid leaving too much hair in the top section — it’ll be harder to style. Apply gel to the bottom section first, rake it through, then brush. Shake out the clumps to break them up with your hands, then scrunch. Clip that section away when finished. The middle section is straightforward — apply gel, brush through, scrunch. Nothing fancy here. This isn’t where root volume happens, but I still pull hair away from the scalp while styling so it doesn’t flatten. ❌ Mistake: Overclumping curlsThis is one of the biggest mistakes that reduces root volume, especially if you brush style.
The clump might look pretty, but it’s heavy. It stretches out your roots, reduces your volume, and often causes section lines or scalp to show through — especially in low-density hair. ✅ The Fix: Create space between clumps
This creates more surface area, more space between curl clumps, and visibly more curl at the root. After styling each section, scrunch with wet hands all the way to the root. Scrunching while the hair is still in sections lets you actually reach the root because the rest of the hair is out of the way. Styling the Top Section: Three Parting MethodsThis is where placement matters most. Once the lower sections are clipped away, you’re left with just the top crown section to work with — and how you handle this section determines whether you get real root volume or end up reinforcing the flat part. ❌ What NOT to Do
✅ What to Do InsteadBrush everything straight up first, pressing the bristles to the scalp so you can brush over the natural part. Then choose one of three parting methods below. Parting Method A: Simple Messy PartThis is the quickest of the three.
This works well because you have less hair to manage on top, so you can actually scrunch all the way up. And because the lower sections are still clipped away, the hair stacks better when you take everything down at the end. Without sections, hair tends to smoosh together and stick to itself instead of having space. Sectioning creates purposeful space between curl clumps — that’s a big part of why this method works better than the no-section approach. Parting Method B (My Go-To): Horizontal Top Sections, Short Front PartThis is the method I use most often. It gives more control without much added time. Take horizontal sections going from the back all the way to the front. I usually split the top in half so I have less hair to work with at once, plus this lets me work with the curve at the top of my head. The key: the hair at the root needs to be directed back, not down. That’s what creates root lift.
I take the very front section to the side or as a short part so my hair doesn’t fall in my face, but the most volume comes when I take it all the way back. The reason horizontal sections work so well: when you brush hair in a wide horizontal section, your part gets blurred when it falls. The hair sticks together horizontally rather than splitting into the natural part. That’s how this method hides the part. Parting Method C: Staggered Diagonal Top SectionsThis is the most advanced of the three. I’ll be honest — I get a little confused doing this because my muscle memory is so trained on horizontal sections. But I have clients who style this way and get beautiful results. The principle: take diagonal sections and stagger them so they overlap in the center. That overlap is what creates the stacked point at the top, which is your volume.
Avoid picking up your section right where your part naturally falls — that creates parting. Instead, pick up from the side and angle across. This method creates a zigzag part naturally because hairs from the middle get directed in different directions. If your hair is getting frizzy or messy and you can’t see your sections clearly, wet that section and smooth it out before continuing. I usually finger coil at the front section as I go, which is optional but gives you more curl formation at the root.
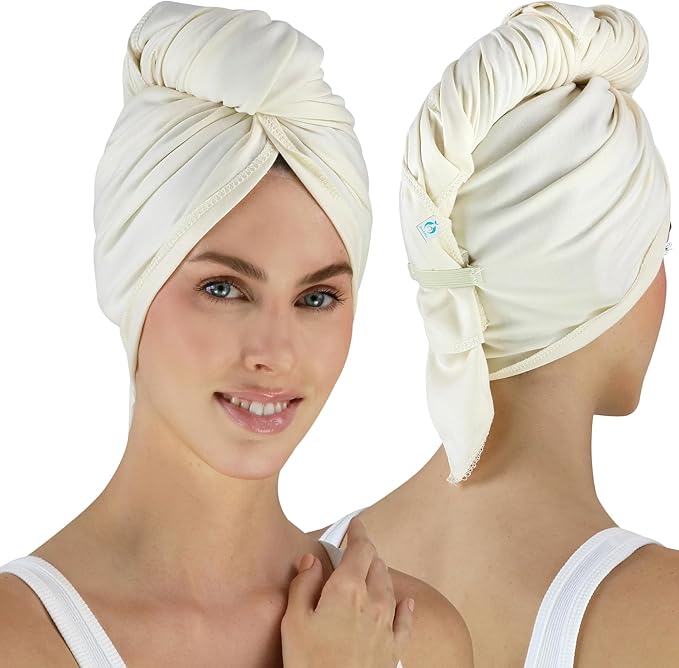
❌ Mistake: Not checking placement before diffusingIf you don’t refine your placement before diffusing, the structure locks in with whatever flaws are still there — visible section lines, a part that’s reverted to its natural fall, curls that didn’t quite stack the way you wanted. Once it dries, that’s how it stays. ✅ The Fix: Refine your placement before diffusingOnce I’m done styling and remove all my clips, there’s one step that often gets overlooked: refining the part placement and blurring out the section lines. Use wet hands so you don’t cause frizz. Go in from underneath and gently rub your scalp, shaking things out. This is what I call blurring the section lines — it’s not messing up the lengths where you’ve created curl clumps, it’s just fixing things at the scalp so those section lines don’t show when the hair dries. This is also where I do my final scrunch and check my part. If you have a stubborn part that wants to fall back, situate it intentionally instead of letting it revert. Flop hairs onto the other side. If a hair fell too far one direction, flop it over. Finger coiling makes the biggest difference here. If you have a bend at the root, finger coiling helps bring out the curl that’s already there. Spin the hair around your finger, then let it fall — you’ll see the height it creates. Flopping coils to the other side intentionally creates that extra height. After refining, scrunch everything once more with wet hands. Microplop (Optional)If you styled with soaking wet hair, microplopping with a towel can speed up your dry time significantly. I use my Hair RePear Premium Cotton Hair Towel. Pinch your hair at the root, then gently scrunch with the towel. Pinching at the root lets you scrunch all the way up. After microplopping, I add another light coat of gel to add hold and tame any frizz that may have formed. I add a little water to my hands so the gel doesn’t stick — just enough to glaze it on without disturbing the curls.
Hair RePear Premium Cotton Hair Towel, Not Dyed ❌ Mistake: Diffusing without lifting the roots
✅ The Fix: Use the prongs to scrunch at the rootDiffusing is key for root volume. It’s hard to work against gravity when you air dry, and while root clips help during air drying, they don’t have the same lasting effect as diffusing — heat is what actually sets the curls in position.
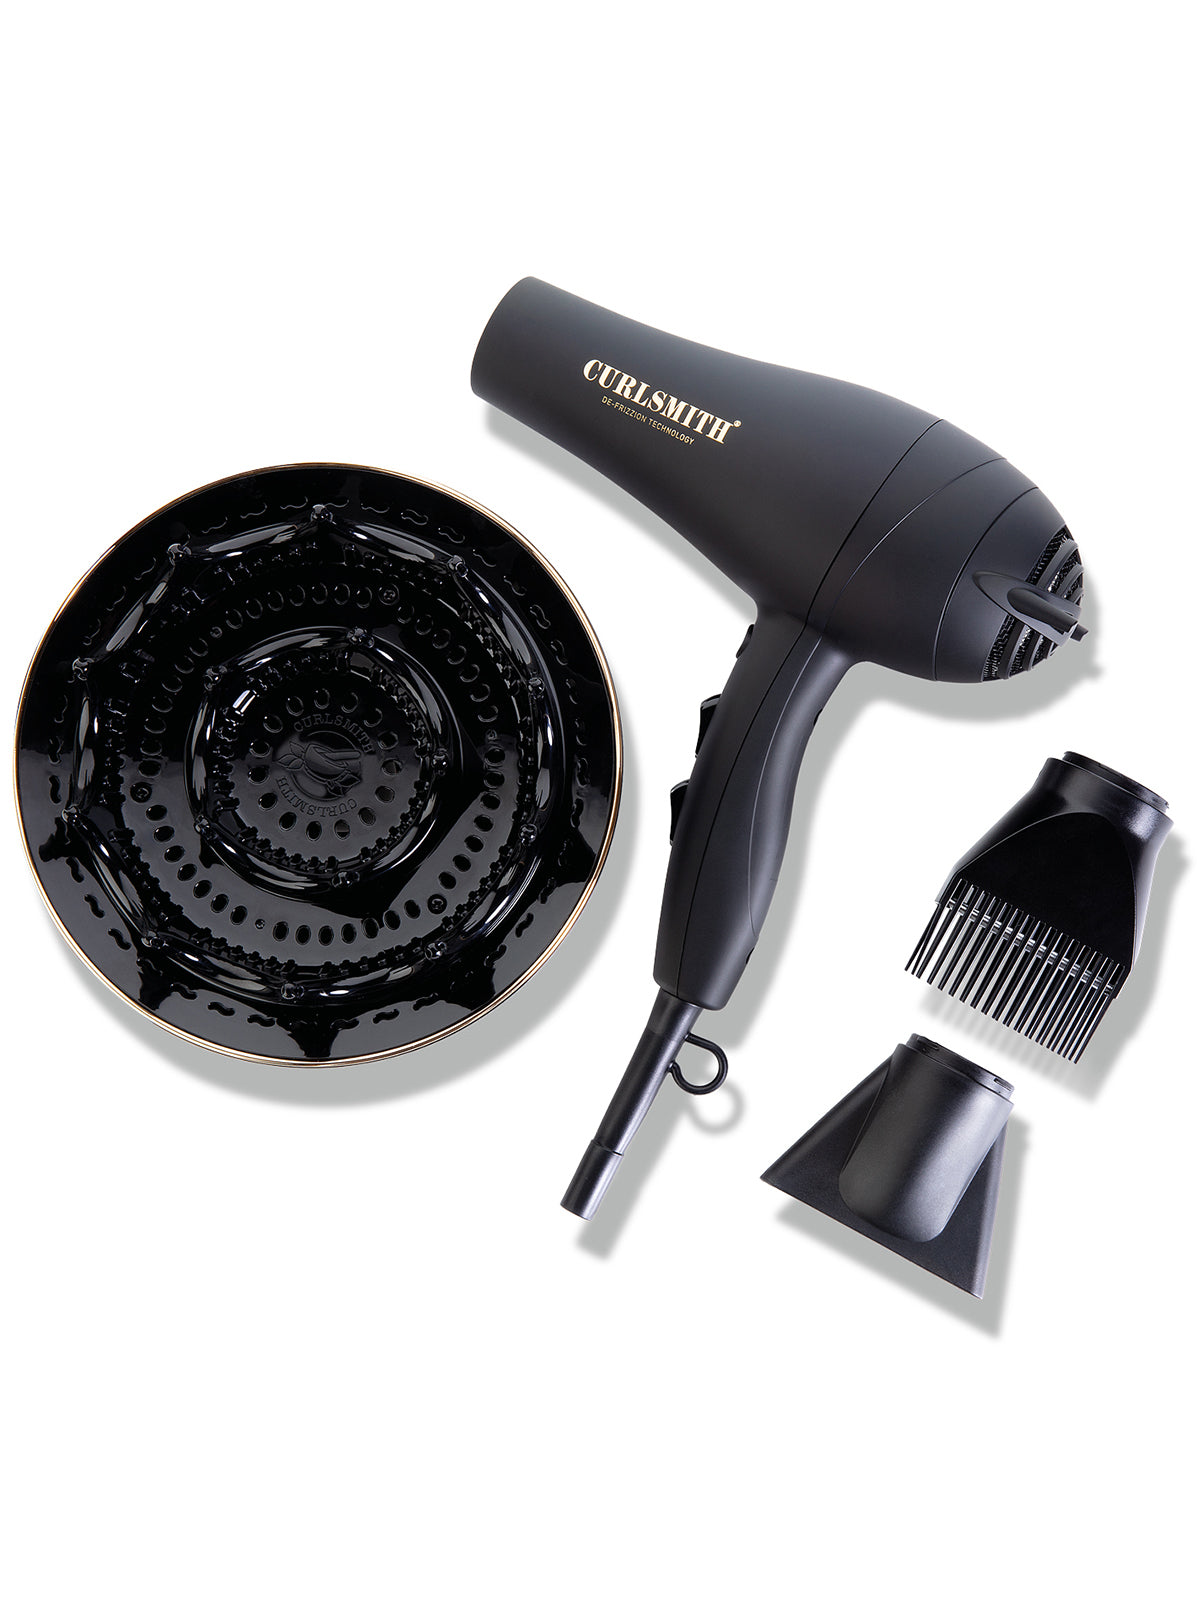
This creates more root volume than diffusing upside down or side to side alone, because you’re actually scrunching at the root and setting it that way with warm heat. As long as you have enough hold from your gel, this won’t cause frizz. You can also use the prongs from the side of your head to lift the mid-shaft area. This works well if your hair is too short to scrunch from ends to root, or if you’re worried about frizz from full-length scrunching. The diffuser you use makes a big difference. I use the Curlsmith Defrizzion Hair Dryer with the XXL Diffuser attachment because the prongs are long enough to actually reach into the roots — they extend out past the end of the bowl. Diffusers where you can barely see the prongs aren’t going to do much for root volume.
Curlsmith Defrizzion Hair Dryer & XXL Diffuser ❌ Mistake: Leaving in the castThe cast is what holds your placement in place during drying. But if you stop there, you’re leaving most of your volume on the table. The crunchy structure prevents your curls from fully expanding and stacking. ✅ The Fix: Scrunch the crunchOnce your hair is fully dry, break the cast — this is what actually creates the volume you’ve been building toward. If you don’t fluff out your roots, the volume isn’t there.
Texture Spray (Optional)If you have very soft, silky roots that tend to fall flat throughout the day — common with looser curls and waves — you can use a texture spray or hairspray at the root to add grip. Texture spray makes your hair feel less silky and a little more “dirty” — not sticky, just textured. That texture is what allows your curls to stack on top of each other and hold the space at the root. Without friction, soft roots collapse. I use the Living Proof Full Dry Volume Texture Spray. Lift the hair and spray at the root. If you struggle with your part falling back into a middle part constantly, hairspray gives you more lock-in than texture spray. Texture spray gives texture but not hold. After spraying, keep shaking your roots — you’ll notice that with the added texture, the volume actually stays. Living Proof Full Dry Volume Texture Spray Day 2 ResultsOn day two, I didn’t have to do any real refreshing — just arranged some curls. The root volume held up because of the intentional shaping I did during styling, not in spite of it. The main thing creating the volume I had were the curls I intentionally flopped to the other side during the refining step. If I put them back where they wanted to go, I lost root height. But because I directed them across the part while everything was wet, then set that with diffusing, they stayed. This is completely different from having a middle part dry into place and then trying to mess it up later — that just falls right back. The part has to be set the way you want it during styling. To revive day two, I just fluffed the roots a bit and pulled things up and forward to bring back shape. Because I used the texture spray, most of the volume came back with minimal effort. The gel also softened up nicely on day two, which made the whole look feel even better than day one. Tried Everything and Still Not Getting the Results You Want?The amount of volume you can get is highly dependent on your hair itself:
We don’t all need to have mega volume, and there’s nothing wrong with what your hair naturally does. But for those of you who want to push closer to your hair’s full volume potential — no matter your density, hair type, or whether you’re wavy or curly — you can get closer to the result you want with techniques dialed in for your specific hair. This is exactly what I help my clients with inside my Curl Coaching Program. I get to watch you style your hair and give you the small tweaks that make a real difference — better curl at the root, more volume, and clarity on whether you’ve actually reached your full volume potential or still have room for improvement. If you’re ready for personalized guidance, pre-registration is open for my summer program — only for those ready to commit and reserve their seat early. Make sure you get in before doors close.
|


Gena Marie
Curly hair coach helping you better understand your naturally curly hair through easy-to-follow tutorials, science-based haircare tips, and problem-solving.
If your waves or loose curls fall flat every summer — losing definition by midday, never lasting past wash day — this routine is built specifically for you. While I don’t have wavy hair myself, I’ve coached hundreds of clients with all hair types, from 2A to 3C. I’m familiar with the struggles and problems that wavy and loose curls experience, and the patterns are consistent. In my coaching program, we’ve tested and proven that my Moisture-Hold Balance Framework and Strong Hold Method work....
You read the reviews online. One person says a product completely changed their hair. Someone else says it’s the worst thing they’ve ever tried. And you’re left with no idea whether it will actually work for your hair. That disconnect is not a coincidence — and it’s not your fault. It’s a combination of misleading marketing, mismatched expectations, and the simple fact that products work very differently depending on your hair type, your needs, and what you’re pairing them with. As a Curl...
Amazon’s Prime Day Deals are happening today through Friday! I’ve rounded up my top curly hair picks on my Amazon storefront—plus shared quick notes below on each product’s key characteristics to help you decide what’s worth grabbing. I also went live on YouTube to break down these deals, explain how to choose for your hair type, and even picked out products for many of you! 🎥 Watch the replay here: Please note: Prices and deal amounts are subject to change and may vary based on your...