Curly hair coach helping you better understand your naturally curly hair through easy-to-follow tutorials, science-based haircare tips, and problem-solving.
Your Most Asked Questions About My Curl Method, Answered | Beginner Curl Series
|
If you’ve worked through the Beginner Curl Series and your curls still aren’t lasting the way you expected — this post is for you. I put together this Q&A because the same questions kept showing up in my comments across every video in the series. Not from people who hadn’t tried. From people who had. People who were consistent, who watched every video, who kept adjusting — and still felt like something wasn’t clicking. Most of the time, the issue isn’t your hair type. It isn’t the wrong products. And it isn’t that the method doesn’t work for you. It’s usually one specific adjustment that hasn’t been made yet. This post walks through the five areas where people most often get stuck, what’s actually happening underneath each one, and what to look at next. #1 Does This Method Actually Apply to My Hair?This is one of the most common questions I hear, and I understand why it comes up. When you’re watching someone else’s curls work and yours aren’t, it’s easy to conclude that your hair must be the exception — that this method was designed for a different hair type, not yours. The specific versions I see most often:
Here’s what’s actually happening in most of these cases: the method hasn’t been calibrated yet for your specific hair characteristics. That’s different from the method not applying. The Curl Type Number MisconceptionA lot of people arrive at this series with their curl type number already in hand — 2C, 3A, 2B — expecting that number to tell them what routine to follow. It doesn’t. Your curl type tells you what your hair looks like. It tells you nothing about what your hair needs. Two people with the exact same curl type can need completely different routines. This is why my frameworks teach you to read signs, symptoms, and levers — not hair-type-specific rules. These Frameworks Apply to All Textured HairI teach the same frameworks to all of my coaching clients, and I coach across every hair type you can think of — waves, fine hair, gray hair, short hair, color-treated hair. The Beginner Curl Series is built around these frameworks:
None of these change based on hair type. What changes are the adjustments within them. You don’t need different rules. You need adjustments within the same rules. Where hair type does matter, I address it explicitly. For example, The Best Strong Hold Gels video was broken down by soft vs. rough finish. The Styling Techniques Ladder was broken out by curl type and desired result. Those distinctions are intentional. If I don’t mention a specific hair type in a method or video, it’s because it doesn’t change the approach. Some Hair Types Require More Precise CalibrationFine hair, low-density hair, and looser wave patterns are less forgiving. The margin for error is smaller, which means small things — water level, product amount, styling technique — show up faster in your results. That doesn’t mean nothing will work. It means calibration takes longer and needs to be more deliberate. If you’ve been through the series and still feel like your hair is the exception, you likely haven’t found your specific adjustments yet. That’s not a hair problem. That’s a calibration problem — and it’s solvable. #2 Water-to-Product CalibrationA lot of frequently asked questions I receive are caused by an imbalance in your water and gel amount when styling.
This is one of the most common troubleshooting questions I see. And most of the time, it doesn’t mean the gel is wrong. It means the application conditions are off. Gels respond differently depending on how much water is in your hair when you apply them. Slip level also affects how much product your hair can actually handle. Getting this balance right is usually the missing piece — not the product itself. How Slip Level Affects Application
Examples:
Curlsmith Fragrance-Free Strong Hold Gel
Not Your Mother’s Curl Talk Flash Freeze Gel
Ouidad Advanced Climate Control Heat & Humidity Stronger Hold Gel
AG Liquid Effects Medium Hold Weightless Styling Gel Reading the SymptomsInstead of changing products right away, look at when and how the problem shows up. That tells you which variable to adjust first — and adjust one at a time, not both at once. ❌ If your curls look stringy while styling, or the product feels hard to spread evenly: → You likely need more water. Water helps curls form before the gel sets them. ❌ If your curls look defined while wet but dry frizzy, soft, or don’t form a cast: → You likely need more gel. Gel is what locks structure in place after styling. ❌ If your curls form a cast but fall apart early in the day: → Either the gel amount is too low, or the gel was diluted by too much water. Increase gel first, then if needed, slightly reduce water. Some gels tolerate more water than others. Thinner gels dilute more easily. Thicker gels usually don’t. This is worth knowing before you assume the product isn’t right for you. #3 Do I Actually Need to Diffuse?These are the questions I hear most often around diffusing:
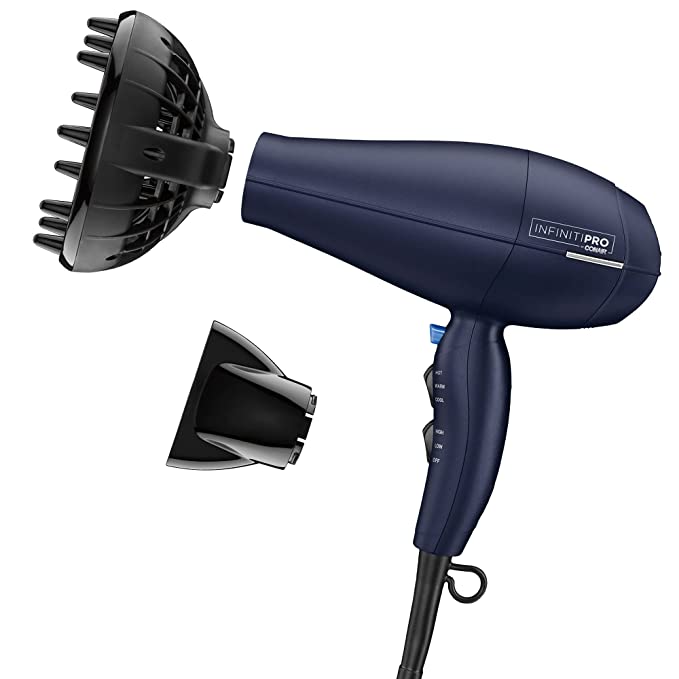
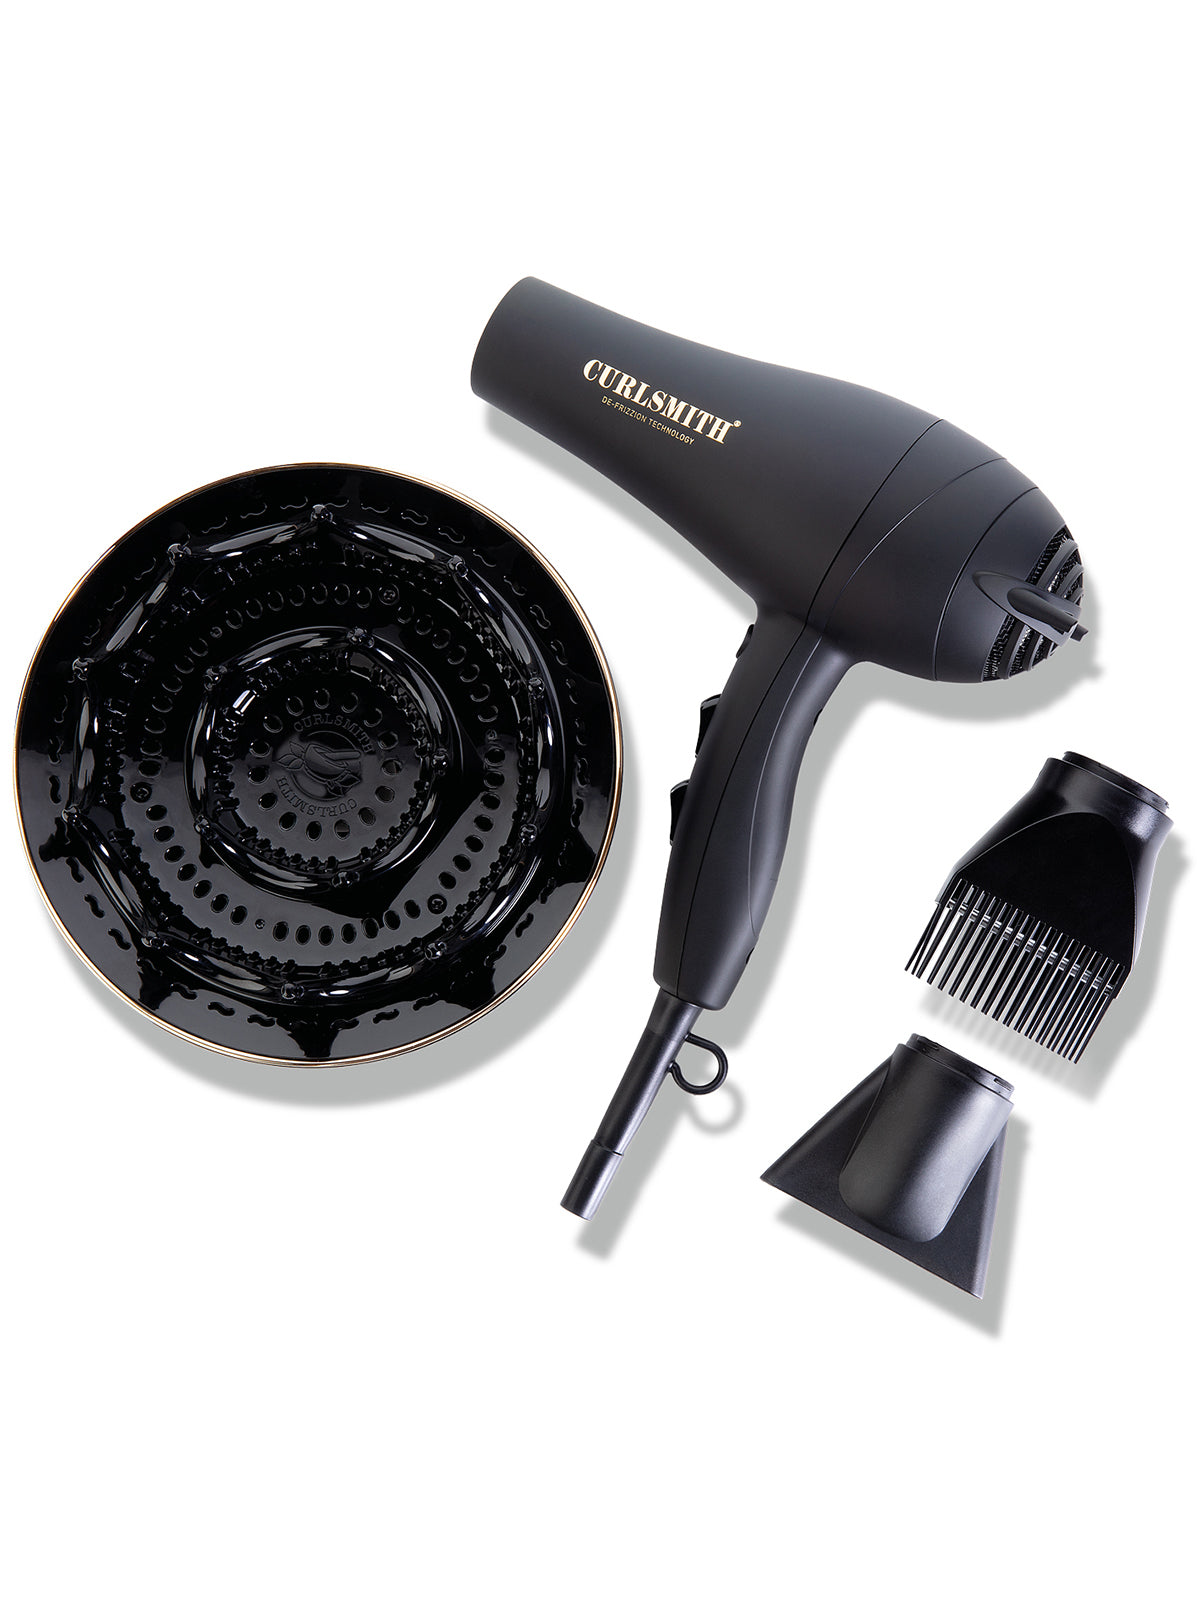
These sound like different concerns, but they usually come down to the same underlying question: Is diffusing solving a problem I actually have? Diffusing is a tool, not a requirement. The decision should be based on your results — not what tools you already own or don’t own. Air Drying vs. Diffusing — Which One Is Right for You?Air drying is a valid choice if: ✅ You’re satisfied with your curl shape after drying Diffusing is worth using if you’re experiencing any of these: ❌ Cast isn’t setting firmly during drying If you’re dealing with any of those issues and you’re not diffusing, that’s your variable to test first. Many of my clients who switched from air drying to diffusing saw an immediate improvement in longevity without changing a single product. If you don’t own a diffuser, a budget-friendly option like the Conair diffuser is a reasonable entry point before investing in something more advanced. If you’re diffusing properly and have a diffuser that is made for curl so it doesn’t get too hot, diffusing will not damage your hair. You can also use a heat protectant, which is what I recommend anyway. If Diffusing Gives You FrizzDiffusing does not inherently create frizz. When frizz happens during diffusing, it’s almost always a technique issue or a diffuser design issue — not a hair limitation. Common technique causes: ❌ Not applying enough hold product before drying The diffuser I recommend is the Curlsmith Defrizzion, because its design allows you to set the cast without disturbing the curl pattern or causing damage. If you’re using a diffuser with a poor bowl design or a dryer that gets way too hot for curls, that alone can create frizz or damage regardless of technique.
Infiniti PRO by Conair 1875 Watt Texture Styling Hair Dryer
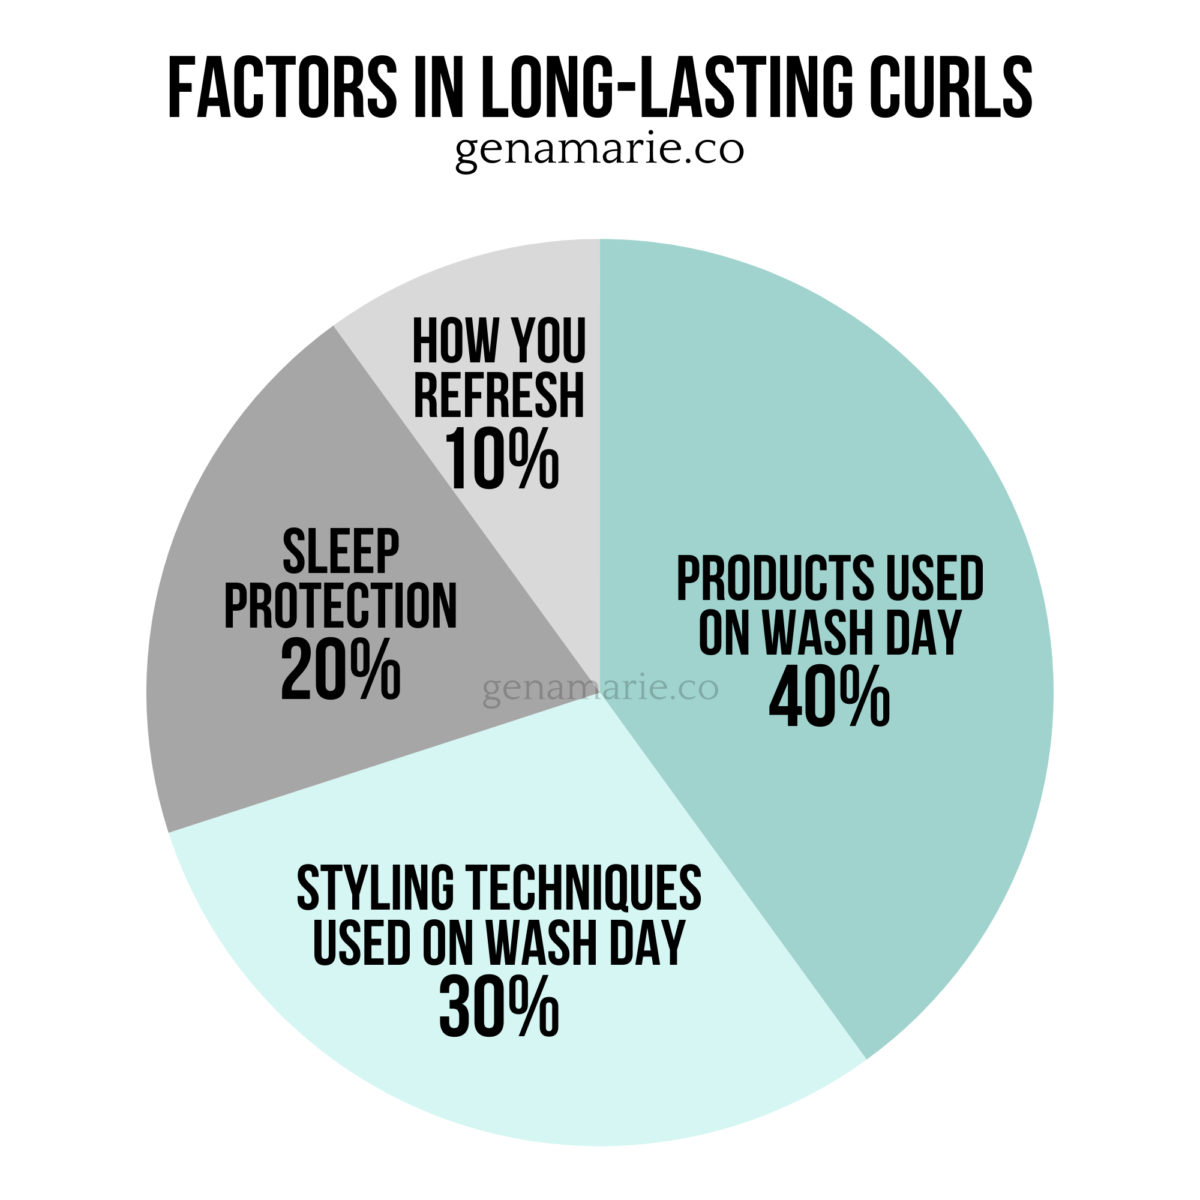
Curlsmith Defrizzion Hair Dryer & XXL Diffuser #4 Why Your Curls Aren’t LastingThis is the most emotionally charged version of the stuck feeling — the point where someone has stopped troubleshooting and started concluding that their hair just can’t do this. “I’ve tried all of this and my curls still don’t last.” Most of the time, that conclusion isn’t accurate. What’s usually happening is that one part of the routine still isn’t aligned, and without a diagnostic framework, there’s no way to know which part. When my new clients come to me and feel like they’ve lost all hope, I can almost always uncover something that needs tweaking. Routine Breakdown vs. Environmental InfluenceBefore adjusting anything, check whether what you’re seeing is actually a routine problem. If your curls only change after humidity, wind, a workout, or time outside — that’s the environment changing the conditions. That’s not routine failure. Environmental influence requires a different solution than routine adjustment. If your curls break down before any of those factors come into play, that’s when you look at the routine. The Factors in Long-Lasting Curls Framework
Curl longevity depends on four parts of your routine working together: 👉🏼 Products used on wash day (moisture-hold balance) — 40 These pieces affect each other. When one is off, it puts pressure on the others. This is why changing everything at once rarely works — you can’t tell which variable made the difference. The Diagnostic: When Do Your Curls First Break Down?Instead of changing everything again, identify the earliest point where results change. That tells you which slice of the framework to address first. ❌ If curls don’t last through Day 1: → Revisit your moisture-hold balance. The wash day product setup is where longevity starts. ❌ If the shape looks uneven, stringy, or over-clumped right after drying: → Revisit your styling or diffusing technique. The issue is in how product is being applied, not the product itself. ❌ If curls flatten or stretch significantly overnight: → Revisit sleep protection. This is one of the most commonly skipped variables. ❌ If refreshing makes things worse or turns into a full restyle: → Revisit your refresh strategy. How you maintain between wash days directly affects how long results last. Most people don’t need a completely different routine. They need to identify which piece of the system isn’t aligned yet — and adjust that piece first. #5 When Free Content Stops Being EnoughAnother common comment I see is: “I’ve watched everything and I’m still stuck.” If this is where you are, I want to say this clearly: that’s not a sign that nothing works for your hair. It’s a signal that the remaining adjustment isn’t obvious from the outside anymore. At this stage, most people aren’t missing effort. They aren’t using the wrong products. They don’t have the wrong curl type. What’s usually happening is that more than one part of the routine is influencing the result at the same time — and without someone looking at the full picture, it’s difficult to isolate which variable is doing what. This is the structural limit of video content. A video can teach you the framework. It can’t watch you apply products, evaluate your specific result, assess how your hair is behaving on Day 2, or tell you which of your four variables is the one that’s slightly off. When everything you’re trying is reasonable and results still aren’t consistent, the next step is diagnosis — not more information and research. That’s what coaching is designed for. Inside my Curl Coaching Program, we work through each piece of your routine together — products, technique, sleep protection, and refresh strategy — so you’re not guessing anymore. Most clients identify their missing adjustment within the first few weeks. What to Do NextIf your curls still aren’t lasting after working through this series, start here: ✅ Step 1: Identify WHEN your curls first break down — Day 1, overnight, or during refresh. ✅ Step 2: Go back to the video in the Beginner Curl Series that addresses that specific piece. Each framework has its own video. ✅ Step 3: Implement one adjustment at a time and track your results. Give each change at least two to three wash days before evaluating. ✅ Step 4: If you’ve done all of that and still can’t pinpoint what’s off, that’s when coaching makes sense. If you’ve already done that and you’re ready for personalized support, you learn more about the Curl Coaching Program here. Ready for Personalized Support?If you’ve worked through the series and you’re still not sure which adjustment you’re missing, that’s exactly what I help my coaching clients figure out inside the Curl Coaching Program. We go through every piece of your routine together so you’re not troubleshooting alone. I’m allowing a few select people reserve their spot early for the upcoming Summer program who are ready to commit. Apply here.
|

Gena Marie
Curly hair coach helping you better understand your naturally curly hair through easy-to-follow tutorials, science-based haircare tips, and problem-solving.
You read the reviews online. One person says a product completely changed their hair. Someone else says it’s the worst thing they’ve ever tried. And you’re left with no idea whether it will actually work for your hair. That disconnect is not a coincidence — and it’s not your fault. It’s a combination of misleading marketing, mismatched expectations, and the simple fact that products work very differently depending on your hair type, your needs, and what you’re pairing them with. As a Curl...
Amazon’s Prime Day Deals are happening today through Friday! I’ve rounded up my top curly hair picks on my Amazon storefront—plus shared quick notes below on each product’s key characteristics to help you decide what’s worth grabbing. I also went live on YouTube to break down these deals, explain how to choose for your hair type, and even picked out products for many of you! 🎥 Watch the replay here: Please note: Prices and deal amounts are subject to change and may vary based on your...
If your curls are frizzing, falling flat, and costing you way too much time every single week this summer, the problem is not that it’s summer. The problem is your foundation. Summer does not require a completely different routine. What it does is make a weak routine impossible to ignore. The humidity, the sweat, the chlorine — all of it just exposes what was already not working. This is the routine I use year-round, with a few small summer-specific adjustments built in at each step. When you...